Engine Mechanical: 1D-54
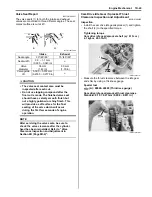
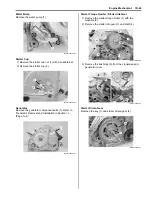
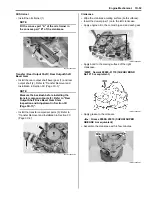
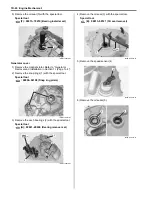
• Tighten the gear position switch mounting bolts.
CAUTION
!
• Be careful not to tighten the bolts too
much.
• Clamp the read wire firmly.
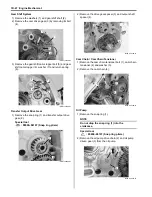
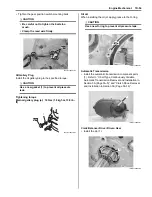
Oil Gallery Plug
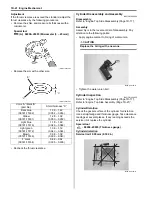
Install the oil gallery plug to the specified torque.
CAUTION
!
Use a new gasket (1) to prevent oil pressure
leak.
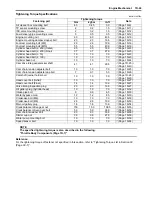
Tightening torque
Main oil gallery plug (a): 18 N·m (1.8 kgf-m, 13.0 lb-
ft)
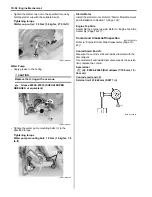
Oil Jet
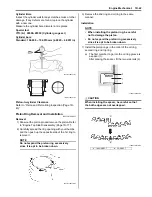
When installing the oil jet, apply grease to the O-ring.
CAUTION
!
Use a new O-ring to prevent oil pressure leak.
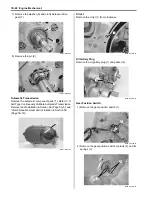
Automatic Transmission
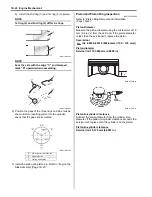
• Install the automatic transmission component parts
(1). Refer to “V-belt Type Continuously Variable
Automatic Transmission Removal and Installation in
Section 5A (Page 5A-5)” and “Clutch Shoe Removal
and Installation in Section 5A (Page 5A-16)”.
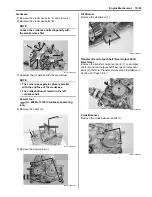
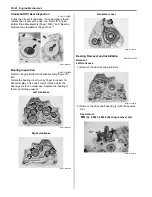
Crank Balancer Drive / Driven Gear
• Install the pin (1).
(a)
I831G1140261-03
1
(a)
I831G1140339-01
I831G1140262-01
1
I831G1140263-01
1
I831G1140264-02
Содержание 2009 LT-A750XK9
Страница 2: ......
Страница 4: ......
Страница 5: ...SUPPLEMENTS L LT A750XK9 09 MODEL 10 LT A750XPK9 09 MODEL 11 ...
Страница 29: ...0A 15 General Information 99565 01010 013 CD ROM Ver 13 ...
Страница 57: ...0B 28 Maintenance and Lubrication 09915 40610 Oil filter wrench Page 0B 12 Page 0B 12 ...
Страница 68: ...0C 11 Service Data ...
Страница 310: ...1K 5 Exhaust System ...
Страница 482: ...4D 6 Parking Brake ...
Страница 528: ...6B 13 Steering Handlebar ...
Страница 555: ...Exterior Parts 9D 1 Body and Accessories Exterior Parts Repair Instructions Exterior Parts Construction B831G29406001 ...
Страница 581: ......
Страница 631: ...4A 6 Brake Control System and Diagnosis ...

