


1-24
99
Set
tin
g
s a
nd
Adj
us
tm
en
ts
Downmix (DVDs only)
Switches the method for mixing down to two
channels when you play a DVD which has rear
sound elements (channels) or is recorded in Dolby
Digital format. For details on the rear signal
components, see “
A
Connecting to audio L/R
jacks” on page 19. This function affects the output
of the following jacks:
– LINE OUT (AUDIO L/R) jacks
– AUDIO OUT L/R jacks
– DIGITAL AUDIO OUT (OPTICAL or
COAXIAL)/HDMI OUT jack when “Dolby
Digital” is set to “D-PCM” (page 98).
To enjoy the surround effect of Dolby Digital, turn
off the surround settings of this recorder
(page 99).
Audio DRC (Dynamic Range Control) (DVDs
only)
Makes the sound clear when the volume is turned
down when playing a DVD that conforms to
“Audio DRC.” This affects the output from the
following jacks:
– LINE OUT (AUDIO L/R) jacks
– AUDIO OUT L/R jacks
– DIGITAL AUDIO OUT (OPTICAL or
COAXIAL)/HDMI OUT jack only when
“Dolby Digital” is set to “D-PCM” (page 98).
Audio (HDMI) (DVD VIDEOs only)
Selects the output method from the HDMI OUT
jack.
Scan Audio (DVDs only)
Note
Sound will be interrupted during Scan Audio.
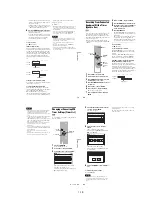
Surround
Turns on the surround function to create virtual
rear speakers from a stereo TV or two separate
front speakers (page 19).
Notes
• When the playback signal does not contain a signal for
the surround speakers, the surround effects will be
difficult to hear.
• When you select one of the surround modes, turn off
the surround settings of the connected TV or amplifier
(receiver).
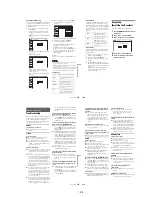
Dolby
Surround
Normally select this
position.
Multi-channel audio signals
are output to two channels
for enjoying surround
sounds.
Normal
Multi-channel audio signals
are downmixed to two
channels for use with your
stereo.
Standard
Normally select this
position.
TV Mode
Makes low sounds clear
even if you turn the volume
down.
Wide
Range
Gives you the feeling of
being at a live performance.
Auto
Normally, select this.
Outputs audio signals
according to the “Dolby
Digital” or “DTS” settings
(page 98).
PCM
Converts Dolby Digital or
DTS to PCM.
On
Outputs audio signals during
FF1 fast-forward of a DVD
disc with Dolby Digital
soundtracks.
Off
No sound is output during
FF1 fast-forward.
Off
No surround effect
Surround1
Creates one set of virtual
surround speakers
Surround2
Creates two sets of virtual
surround speakers
Surround3
Creates three sets of virtual
surround speakers
,
continued
100
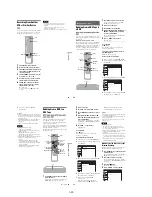
DV/D8 Audio Input
Note
Select “Stereo 2” or “Mix” if you have added a second
audio channel when recording with your digital video
camera.
Line Audio Input
When recording from equipment connected to the
LINE 1 IN or LINE 2 IN jacks to a DVD disc in
this recorder, select line input audio.
z
Hint
When recording on a disc other than DVD-RWs (VR
mode)/DVD-Rs (VR mode), select either sound track
with the connected equipment before recording.
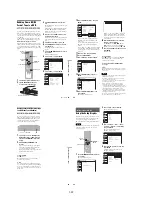
Recording, Set Top Box
Control, and VCR Settings
(Features)
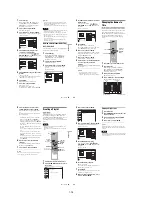
The “Features” setup allows you to make various
settings for recording, playback, and the set top
box control function.
1
Press SYSTEM MENU while the recorder is
in stop mode.
2
Select “Setup,” and press ENTER.
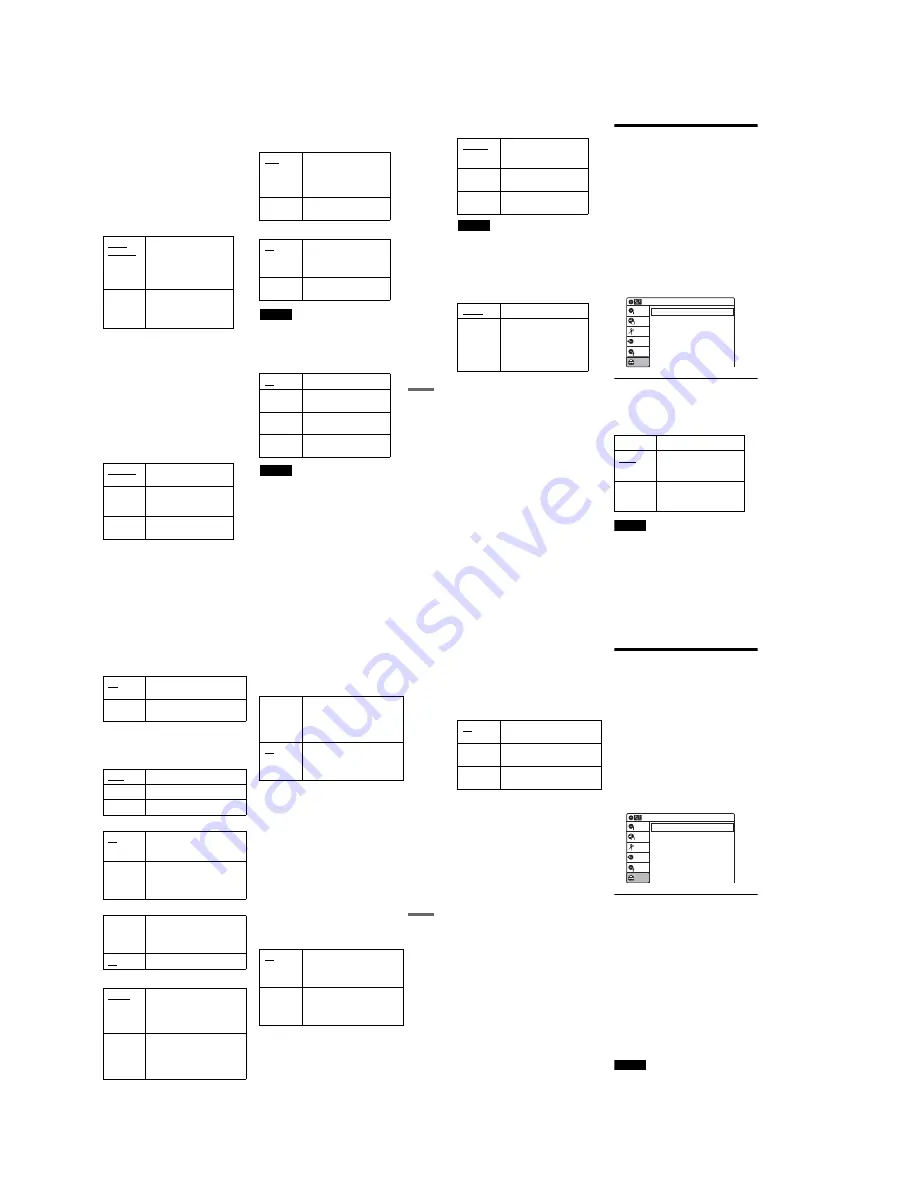
3
Select “Features,” and press ENTER.
The “Features” setup appears with the
following options. The default settings are
underlined.
DVD Auto Chapter
Automatically divides a recording (a title) into
chapters by inserting chapter markings at
specified intervals. The markings are inserted
while the recording is being made.
Note
Actual intervals may differ depending on the size of the
recording. The selected setting should be regarded as an
approximate chapter interval.
Stereo 1
Records original sound only.
Normally select this when
dubbing a DV format tape.
Stereo 2
Records additional audio
only.
Mix
Records both original and
additional sounds.
Stereo
Records stereo sound only.
Main/Sub
Records the two different
soundtracks on DVD-RWs
(VR mode)/DVD-Rs (VR
mode). You can select either
soundtrack when playing
back the disc.
Off
No chapter mark is inserted.
5 Min
Inserts chapter marks at
approximately 5 minute
intervals.
15 Min
Inserts chapter marks at
approximately 15 minute
intervals.
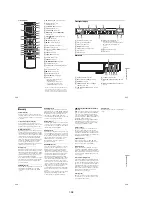
Setup
Disc Setting
Edit
Title List
Timer
Dubbing
10:10 AM
DVD Auto Chapter
Format DVD-RW
VCR Function
Synchro Recording
Set Top Box Control
Features
: 5 Min
: VR
: to DVD
101
Set
tin
g
s a
nd
Adj
us
tm
en
ts
Format DVD-RW (DVD-RWs only)
Selects the recording format for an unused DVD-
RW, when first inserted.
VCR Function
Press ENTER and select “Tape Length,” “Auto
Play,” or “Auto Repeat.”
◆
Tape Length
◆
Auto Play
◆
Auto Repeat
Synchro Recording
Set Top Box Control
You can control your cable box/satellite receiver
using the supplied set top box controller. See
“Step 7: Easy Setup” for details. Press ENTER,
and select “On” or “Off.”
When “Set Top Box Control” is set to “On,” you
can make the following settings. Note that when
you change “Set Top Box Control” to “On” or
“Off,” all timer recording settings will be
canceled.
◆
Brand Code
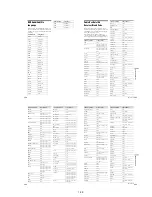
See “Cable Box/Satellite Receiver Brand Code”
(page 121) for the brand code for your cable box
or satellite receiver, and enter the code using the
number buttons and ENTER.
◆
Connections
Selects the connection you used for your cable box
or satellite receiver. Select the connection from
“Line1” or “Line2.”
◆
Ch. Digit lock
Allows you to select whether to fix the digits for
your cable box or satellite receiver.
VR
Automatically formats the disc in
VR mode.
Video
Automatically formats the disc in
Video mode.
T120
For T-120 or shorter length tapes.
T160
For T-160 length tapes.
T180
For T-180 or longer length tapes.
On
Starts playback automatically,
when you insert a tape with its
safety tab removed.
Off
Turns off the function. You need
to press
H
PLAY to start
playback, even if you insert a tape
with its safety tab removed.
On
Plays back a tape repeatedly. The
VCR rewinds the tape to the
beginning and restarts playback
automatically.
Off
Turns off the function.
to DVD
Sets the recorder to record
programs from connected
equipment that has a timer
function (such as a satellite tuner)
to a DVD disc.
to VIDEO
Sets the recorder to record
programs from connected
equipment that has a timer
function (such as a satellite tuner)
to a VHS tape.
On
Turns on the cable box/satellite
receiver control function. See
“Using the cable box/satellite
receiver control function”
(page 12).
Off
Turns off the cable box/satellite
receiver control function. Select
this if you do not want to use the
supplied set top box controller.
Off
Select this when your cable box or
satellite receiver only accepts a
three or more digit channel
number. Normally select this.
Lock to
2 digits
Select this only when your cable
box or satellite receiver only
accepts a two digit channel
number.
,
continued
102
◆
Mode for SET button
Select “Mode 1” or “Mode 2” if your cable box or
satellite receiver requires pressing an ENTER
button or a SET button etc., after entering the
channel number. If “Mode 1” does not work, try
“Mode 2.” If your cable box or satellite receiver
does not respond to either setting, contact the
manufacturer of the cable box or satellite receiver.
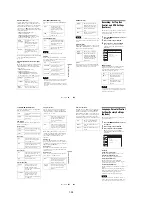
Language, Parental Control
Settings/Factory Settings
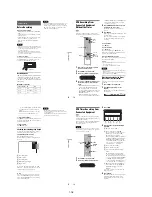
(Options)
The “Options” setup allows you to set up other
operational settings.
1
Press SYSTEM MENU while the recorder is
in stop mode.
2
Select “Setup,” and press ENTER.
3
Select “Options,” and press ENTER.
The “Options” setup appears with the
following options. The default settings are
underlined.
Language
◆
OSD (On-Screen Display)
Switches the display language on the screen.
◆
Disc Menu (DVD VIDEOs only)
Switches the language for the DVD menu.
◆
Audio (DVD VIDEOs only)
Switches the language of the soundtrack.
When you select “Original,” the language given
priority in the disc is selected.
◆
Subtitle (DVD VIDEOs only)
Switches the language of the subtitles recorded on
the disc.
When you select “Auto,” the subtitle language
changes according to the language you selected
for the soundtrack. See page 120 for an
explanation of the language abbreviations.
Note
If you select a language in “Disc Menu,” “Subtitle,” or
“Audio” that is not recorded on the DVD VIDEO, one of
the recorded languages will be automatically selected.
Off
No code is sent when SET is
pressed. Normally select this.
Mode 1
Sends the channel number you
entered.
Mode 2
Sends the channel number you
entered.
Language
Parental
Front Display
Command Mode
Factory Setting
: Auto
: DVD 3
10:10 AM
Options
Setup
Disc Setting
Edit
Title List
Timer
Dubbing
Содержание RDR VX555 - DVDr/ VCR Combo
Страница 62: ...2 22 2 22E MEMO ...
Страница 64: ...3 4E MEMO ...
Страница 66: ...4 1 DVD Main PCB 4 4 4 3 COMPONENT SIDE ...
Страница 67: ...4 6 4 5 CONDUCTOR SIDE ...
Страница 68: ...4 8 4 7 4 2 VCR Main PCB COMPONENT SIDE ...
Страница 69: ...4 10 4 9 CONDUCTOR SIDE ...
Страница 70: ...4 12 4 11 4 3 Function PCB COMPONENT SIDE COMPONENT SIDE ...
Страница 71: ...4 14 4 13 4 4 Front Jack PCB COMPONENT SIDE CONDUCTOR SIDE ...
Страница 72: ...4 16E 4 15 4 5 DV Jack PCB COMPONENT SIDE COMPONENT SIDE ...
Страница 74: ...5 4 5 3 5 1 S M P S VCR Main PCB ...
Страница 75: ...5 6 5 5 5 2 Power VCR Main PCB ...
Страница 76: ...5 8 5 7 5 3 Logic VCR Main PCB ...
Страница 77: ...5 10 5 9 5 4 A V VCR Main PCB ...
Страница 78: ...5 12 5 11 5 5 Hi Fi VCR Main PCB ...
Страница 79: ...5 14 5 13 5 6 MPEG Decoder DVD Main PCB ...
Страница 80: ...5 16 5 15 5 7 A V Decoder DVD Main PCB ...
Страница 81: ...5 18 5 17 5 8 In Out DVD Main PCB ...
Страница 82: ...5 20 5 19 5 9 DV HDMI DVD Main PCB ...
Страница 83: ...5 22 5 21 5 10 Front Timer Front Jack PCB DV Jack DV Jack PCB ...
Страница 84: ...5 24E 5 23 5 11 Function Function PCB ...
Страница 127: ...MEMO ...


