18
Before Installing Your 600i2 Interactive Whiteboard System
99-00850-21 B0
6.
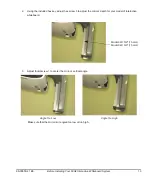
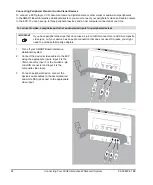
Use the included hex key to adjust hex screw 3 to change the size of the image.
NOTE:
Adjusting this screw may affect the other adjustments.
7.
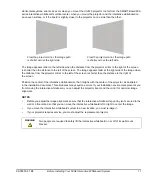
Repeat steps 1 through 6, using smaller increments. Adjust the image so that the top corners
of the projected image fit into the top corners of the interactive whiteboard’s screen.
8.
When you are finished adjusting the image size, adjust the focus if necessary.
Securing the Pen Tray and Interactive Whiteboard
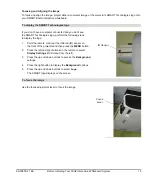
Because the pen tray that comes with your SMART Board interactive whiteboard is detachable, you may want to
safeguard it—and the interactive whiteboard at the same time—by anchoring it with a security cable
(not included).
IMPORTANT
Securing the pen tray can provide theft deterrence for the interactive whiteboard as well.
The screws that secure the interactive whiteboard to the wall are located directly behind the pen
tray. The pen tray must be removed before you can remove the interactive whiteboard. When
you secure the pen tray, you also secure the interactive whiteboard.
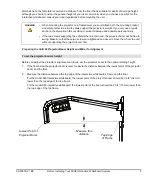
Hex Screw 3
Содержание SmartBoard 600i2
Страница 1: ...Configuration and User s Guide SMART Board 600i2 Interactive Whiteboard System...
Страница 8: ...vi Important Information 99 00850 21 B0...
Страница 16: ...6 About Your 600i2 Interactive Whiteboard System 99 00850 21 B0...
Страница 30: ...20 Before Installing Your 600i2 Interactive Whiteboard System 99 00850 21 B0...
Страница 50: ...40 Maintaining Your 600i2 Interactive Whiteboard System 99 00850 21 B0...
Страница 64: ...54 Remote Management of Your 600i2 Interactive Whiteboard System 99 00850 21 B0...
Страница 72: ...62 Index 99 00850 21 B0...
Страница 73: ......


