63 76 482 D 3572
42
D 3572
.
031.01.04
.
02 12.2015
7 Commissioning
Sirona Dental Systems GmbH
7.6 Test exposure
Installation Instructions Facescan
White balance
✔
1 white sheet of paper (such as DIN A4)
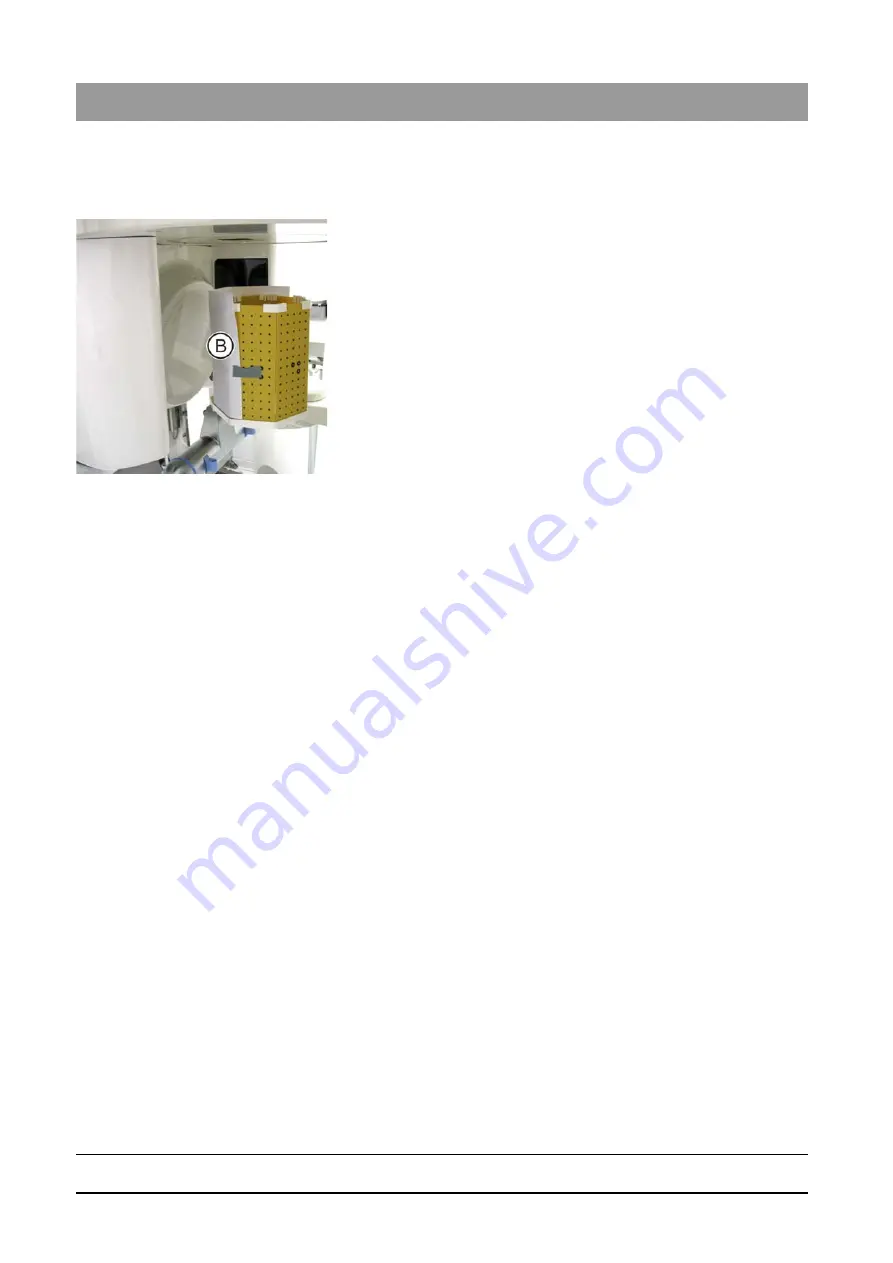
1. Attach the sheet of paper (B) across the 3D calibration phantom with
the help of two adhesive tapes, so that the cameras are pointed to the
center of the sheet.
In so doing, the cameras must be aimed at the center of the
sheet.
2. Select the menu item
"SERVICE"
.
3. Press the
"Enter Auto White Balance"
button.
The
"Auto White Balance"
dialog box opens.
4. Wait until the status LEDs light up.
5. Press the
"Auto White Balance"
button.
The white balance starts. During this time, the LEDs of the
FaceScan are on for the duration of the white balance.
The white balance takes a minimum of 2 minutes (up to 20
minutes in the event of errors).
In the event of errors: If the white balance does not work, then the
white balance procedure must be repeated.
The FaceScan restarts.
The white balance is complete
7.6
Test exposure
Creating a test exposure
✔
Successful geometric calibration
✔
The room lighting must fit with the white balance.
1. Perform a SIDEXIS FaceScan-only test exposure with the 3D
calibration phantom.
2. Open the test exposure in the
"Facescan Viewer"
.
Checking the text exposure
➢ Check the exposure result from different viewpoints (to do this rotate
the scan in the viewer).
➢ When checking, take the example exposures described in sections
Example 1 [ → 43], Example 2 [ → 44] and Example 3 [ → 45] as a
reference.
Steps to take in case of errors
➢ Repeat the following steps until the test exposure is okay:
1. Check the brightness conditions (presumably it will be too light or
there may be a direct ray of light, for example a window without
dimout).
2. Adjust the lighting conditions.


