Rostock MAX v2 Assembly Guide – 4thEd.
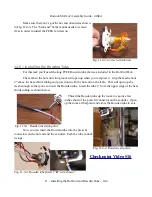
Now we can move on to attaching the EZStruder bracket to the top of the printer!
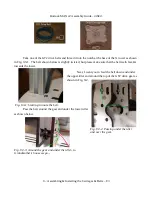
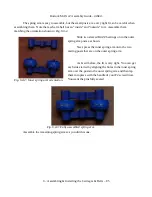
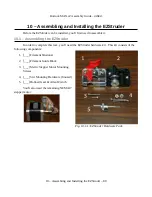
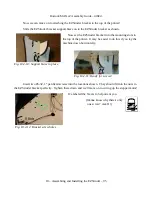
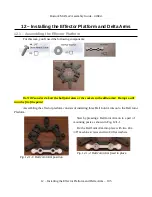
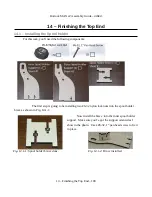
Slide the EZStruder bracket support brace on to the EZStruder bracket as shown.
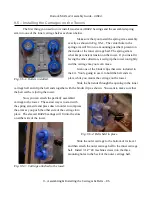
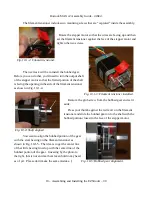
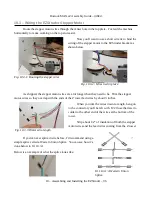
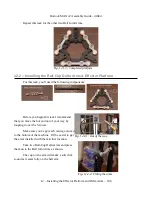
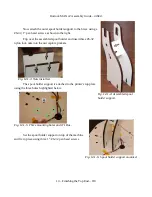
Now set the EZStruder bracket into the mounting slots in
the top of the printer. It may be easier to do this if you lay the
machine down horizontally.
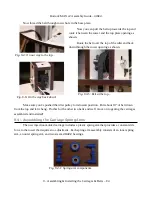
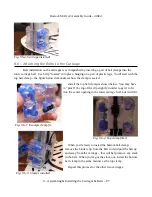
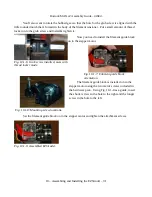
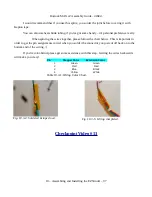
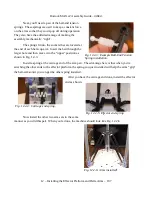
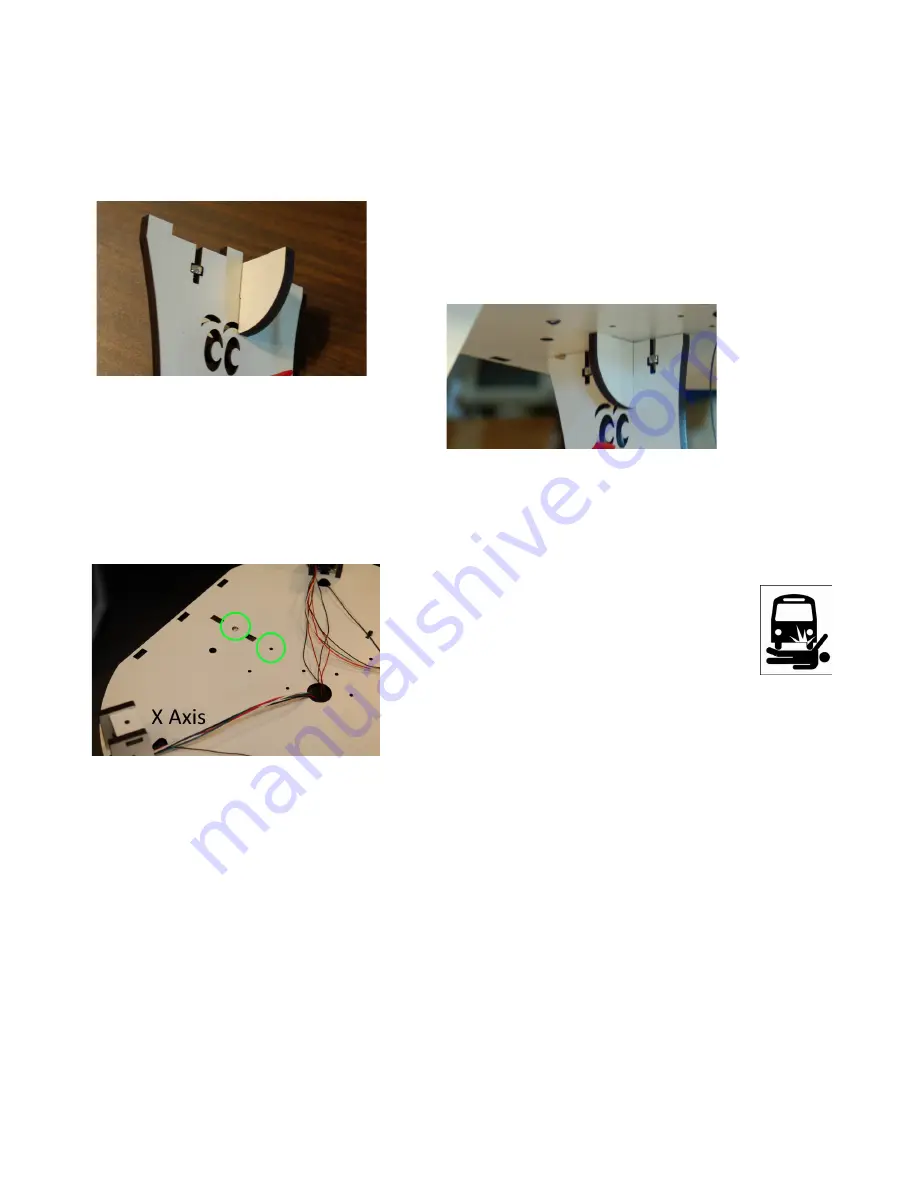
Insert two #6-32, 1” pan head screws into the locations shown. They should fit into the nuts in
the EZStruder bracket perfectly. Tighten them down and we'll move on to wiring up the stepper motor!
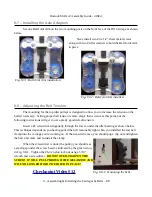
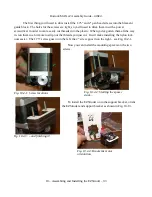
I've labeled the X axis to help orient you.
(Wanna know why there's only
one screw? Ask JJ!)
10 – Assembling and Installing the EZStruder – 95
Fig. 10.2-10: Support brace in place.
Fig. 10.2-11: Ready for screws!
Fig. 10.2-12: Bracket screw holes.

