Rostock MAX v2 Assembly Guide – 4thEd.
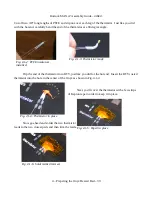
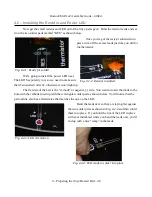
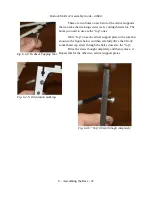
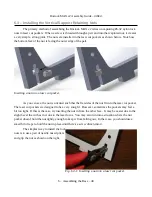
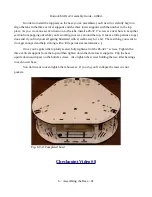
When you're done with one of the vertical supports, you should have four nuts installed as
shown below.
Install the eight remaining nuts into the other two
Vertical Supports.
6.4 – Installing the Vertical Supports and Power Supply Mount
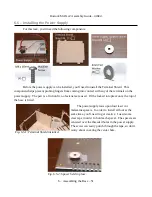
By now I suspect you're wondering what's going on. “There's no WAY that power supply is
going to fit on that mount!” You're entirely correct. The power supply NOT installed on the power
supply mount any longer. The mount was designed to be used with the same ATX power supply that's
(likely) in your computer. The Rostock MAX v1 and many v2s used the ATX power supply and now
SeeMeCNC has gone to a much more compact and reliable power supply. The power supply mount
has been left in as a structural component.
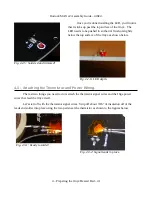
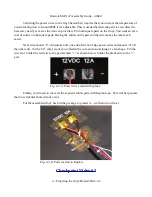
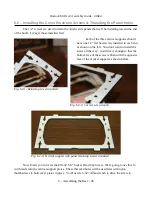
The power supply support is held in place with the vertical supports that are installed to either
side of it. You'll install all three parts at the same time – the fit tolerance is loose enough that they just
drop in. Make sure that when you're installing the vertical supports that the 1/2” screws you installed
are facing
inward
. (
“Inward” in this case means the screw heads are pointed at the interior of the
frame.)
These screws are used to capture the acrylic covers that are installed later.
6 – Assembling the Base – 49
Fig. 6.3-2: Completed Vertical Support.
Fig. 6.3-3: All done!

