Rostock MAX v2 Assembly Guide – 4thEd.
The Melamine parts are covered with a special cutting mask that prevents the laser cutting
operation from depositing cutting byproducts on the Melamine surface.
Leave this protective covering on the parts until you need them. This will save you the
laborious task of stripping all the masking tape off before the build. Note that if you want to paint your
Rostock MAX v2, you'll probably want to go ahead and strip the masking off of the parts now. If you
do so, please keep the parts grouped by sheet. When I specify parts for a task, I'll let you know what
sheet you can find them. If you don't keep them grouped together by sheet number after you paint
them, you'll spend more time looking for the parts I call out for a particular step.
Take special care when removing the laser cut parts from the sheets. Sometimes the laser
doesn't quite cut all the way through. If you find a part like this, you'll want to gently score the back
side of the sheet along the faint cut line and then press the part out from the front of the sheet. The
front and back of the sheet is easily identifiable – the front of the sheet will have very dark laser cut
lines with “flash” deposits to either side of the laser cut line. The back of the sheet will have much
fainter marks.
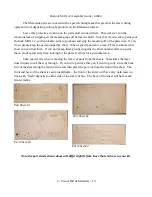
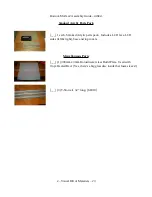
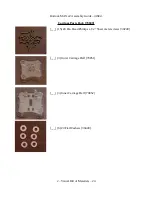
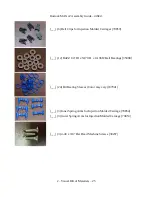
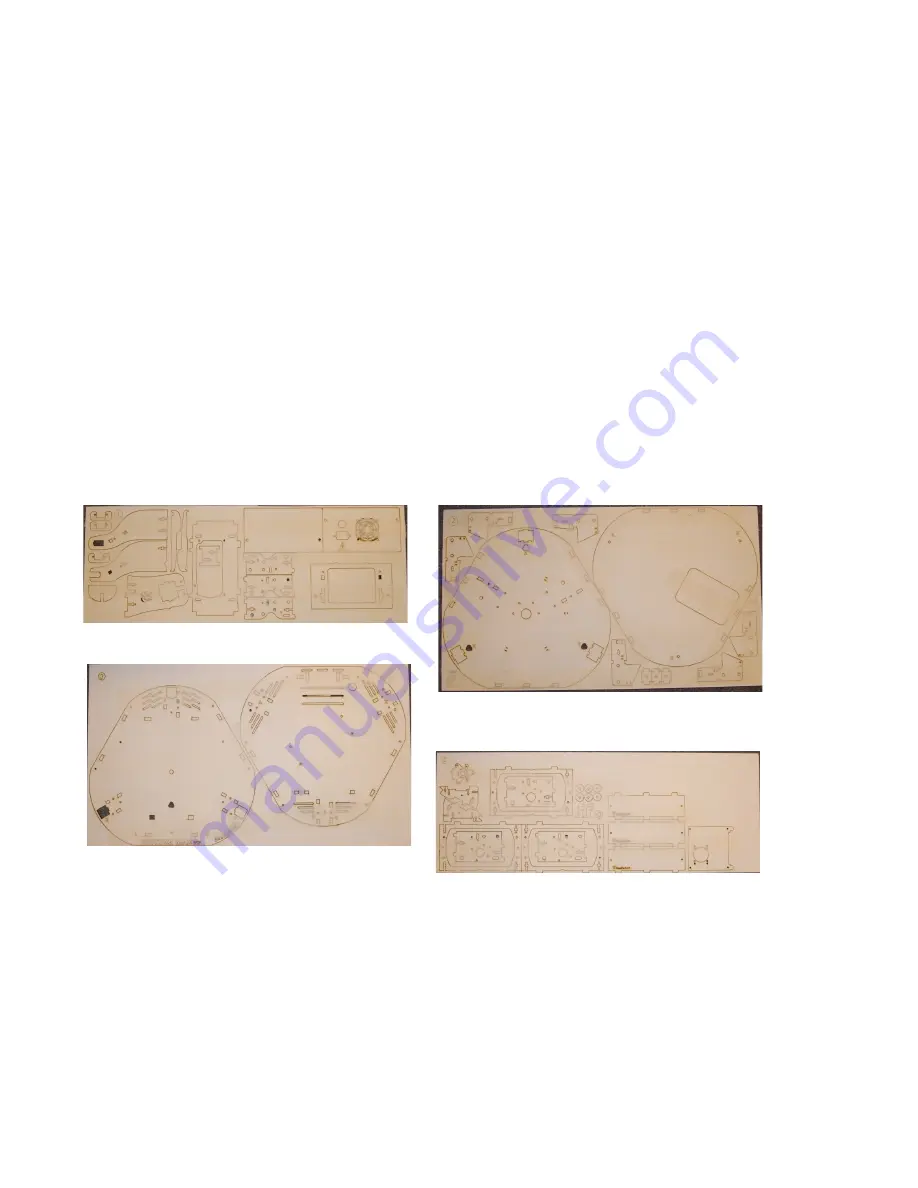
Note, the part sheets shown above will differ slightly from those that you have in your kit.
2 – Visual Bill of Materials – 10
Part Sheet #1
Part Sheet #2
Part Sheet #3
Part Sheet #4


