Rostock MAX v2 Assembly Guide – 4thEd.
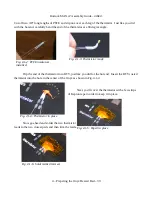
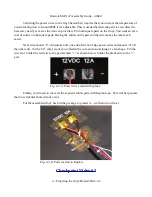
Soldering the power wires to the Onyx heated bed requires that you increase the temperature of
your soldering iron to around 800F if it's adjustable. This is needed because the pad size can draw the
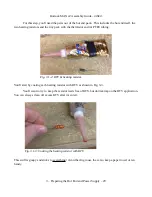
heat away nearly as fast as the iron can provide it. Tin both square pads on the Onyx. You want an even
coat of solder on the square pads. Having the solder on the pad and the wire makes the task much
easier.
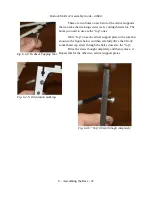
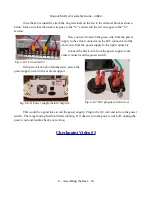
Next, trim about 1/2” of insulation off one end of the two 18ga power wires and about 1/4” off
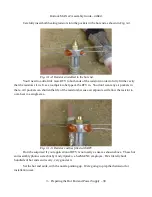
the other end. On the 1/2” end, I want you to flatten the wire out in something of a fan shape. Tin the
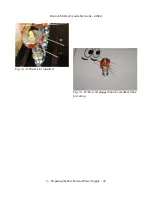
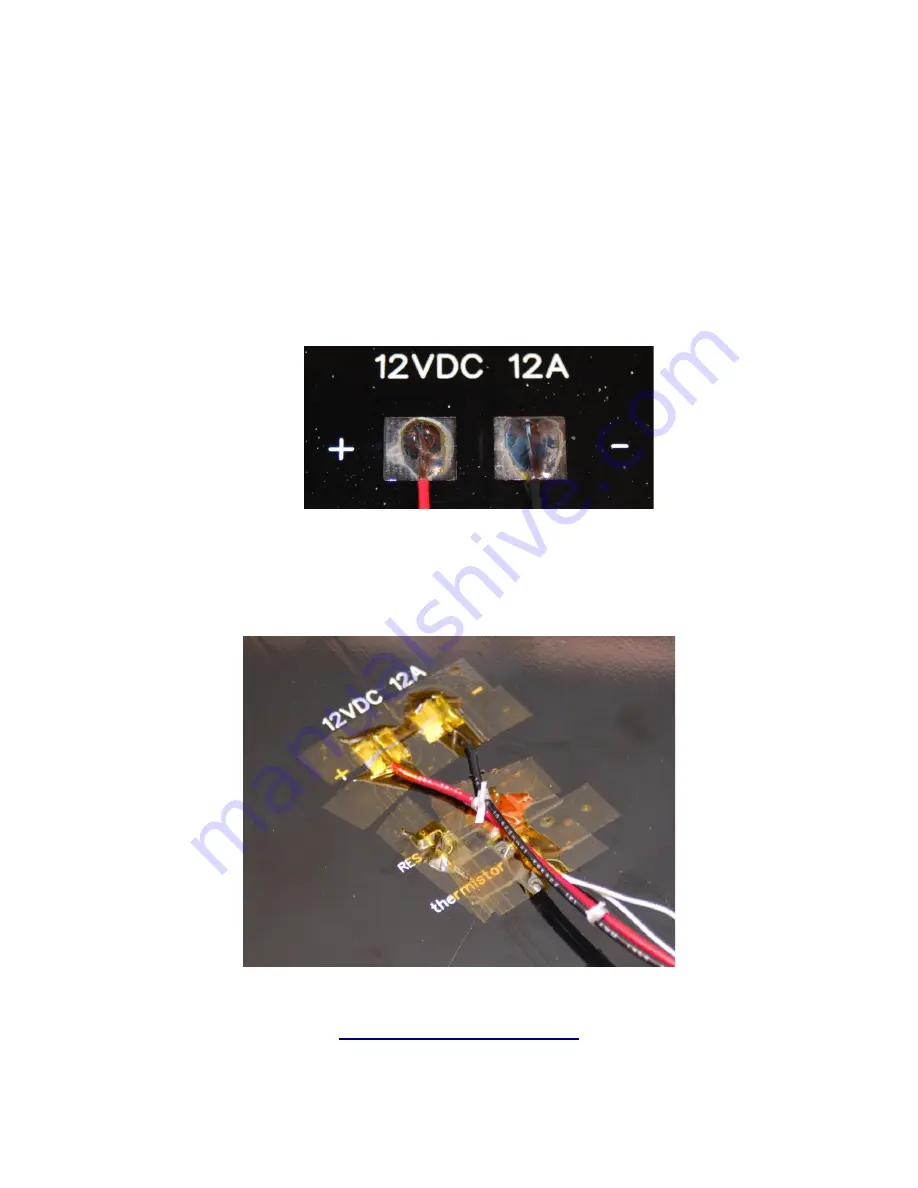
wire end. Solder the red wire to the pad marked “+” as shown below. Solder the black wire to the “-”
pad.
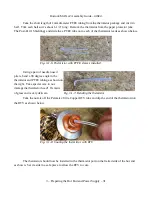
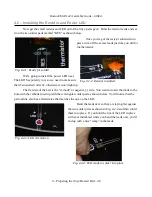
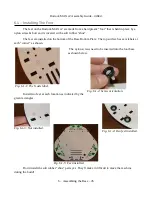
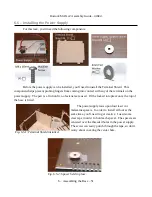
Finally, you'll need to cover all the exposed solder pads with Kapton tape. This will help ensure
that no accidental short-circuits occur.
Put the assembled Onyx back in the package to protect it – we'll return to it later.
Checkpoint Video #2
4 – Preparing the Onyx Heated Bed – 42
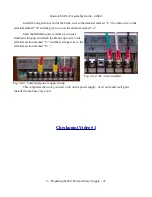
Fig. 4.3-3: Power wires soldered in place.
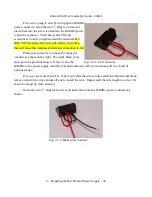
Fig. 4.3-6: Pads covered in Kapton.

