ENGLISH
66
66
Photo Mode : Setting the Capturing Options
4
5
6
Photo
이동
선택
나가기
MENU
0
0
Photo
Photo
Metering
Metering
Multi
Center
Spot
Move
Move
Select
Select
Exit
Exit
Photo
Metering
Move
Select
Exit
Photo
이동
선택
나가기
0
0
Photo
Metering
Move
Select
Exit
MENU
Photo
Photo
Metering
Metering
Multi
Center
Spot
Move
Move
Select
Select
Exit
Exit
Photo
이동
선택
나가기
0
IN
0
30
2592
Photo
Metering
Move
Select
Exit
Photo
Metering
Move
Select
Exit
EV
0
Setting the Metering Method
Metering controls the brightness and exposure of the picture taken. Select an appropriate
metering method for the best results.
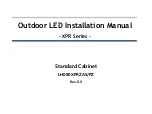
1. Set the Mode Dial to
Photo
mode.
2. Press the [POWER] button to turn on the device.
3. Press the [MENU] button.
◆
Menu screen appears.
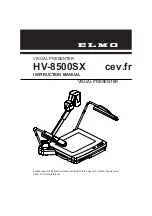
4. Move the joystick left / right (
œ
œ
/
√
√
) to select <Metering>.
5. Select an option by moving the joystick up / down (
▲
/
▼
), and then press the
[OK] button.
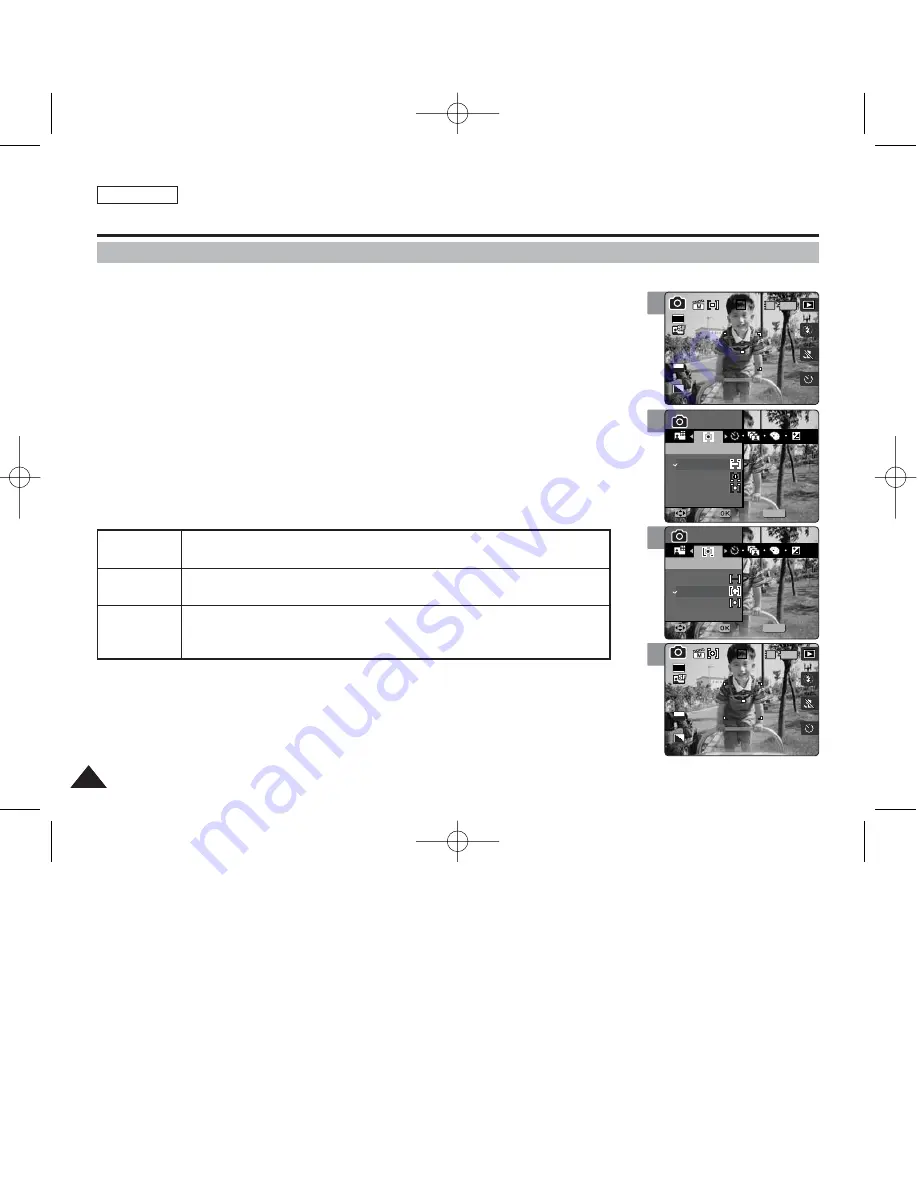
6. Press the [MENU] button to exit the menu.
◆
An icon indicating the selected Metering mode appears on the screen.
[ Notes ]
✤
Metering methods can be set only in <Manual> Scene mode. By default, the scene mode is set to
<Auto>.
✤
While the menu screen is displayed, pressing the [Record / Stop] button will exit the menu.
3
Photo
이동
선택
나가기
IN
0
30
2592
0
Photo
Metering
Move
Select
Exit
Photo
Metering
Move
Select
Exit
EV
0
<Multi>
<Center>
<Spot>
It splits the screen into many areas and adjusts the exposure accordingly based on the
center screen and each area’s brightness information.
Meters only the area displayed in the square in the center of the LCD. You can select this
when you want to accurately expose the subject regardless of background brightness.
It meters a very narrow area in the center. You can select this when the subject’s
surrounding area is very bright or there is a backlight, therefore you can meter the subject
accurately.
00934C SC-MS10 USA~089 9/30/05 10:56 AM Page 66