47
Parts and Sounds
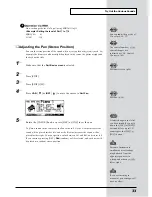
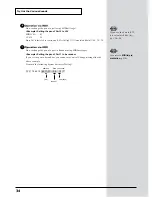
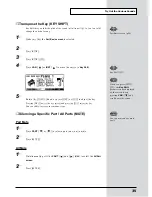
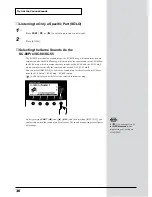
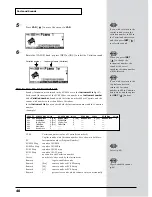
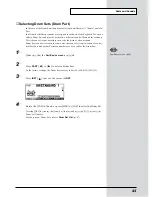
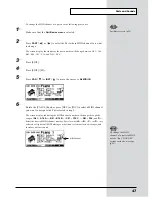
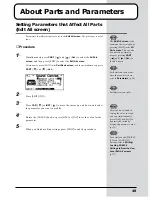
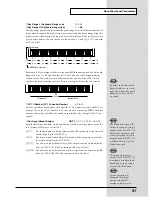
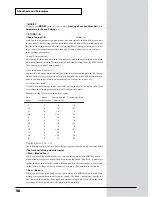
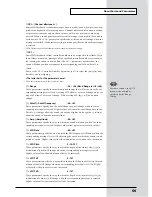
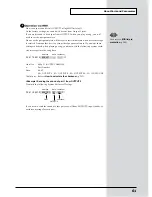
To change the MIDI channel of a part, use the following procedure.
1
Make sure that the
Part Basic screen
is selected.
2
Press
PART
[
] or [
] to select the Part whose MIDI channel you want
to change.
The screen display that indicates the part number will change between A01 – A16,
B01 – B16, C01 – C16, and D01 – D16.
3
Press [EDIT].
4
Press [EDIT] ([F2]).
5
Press
VAR.
[
] or
INST
[
] to move the cursor to
Rx MIDI CH
.
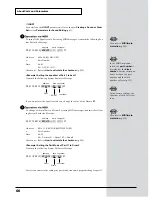
fig.4-24
6
Rotate the [VALUE] knob, or press [DEC] or [INC] to select a MIDI channel
you want to assign to the Part selected in step 2.
The screen display indicating the MIDI channel number will change through the
range of
A01 – A16
,
A - -
,
B01 – B16
,
B - -
,
C01 – C16
,
C - -
,
D01 – D16
, and
D - -
.
Select the desired MIDI channel number. Parts for which
A - -
,
B - -
,
C - -
or
D - -
are
selected will ignore all MIDI messages other than system exclusive messages, and
therefore will not sound.
fig.4-25e
Part Basic screen (p.29)
MIDI Channel
To change the MIDI
channel of a part via MIDI,
use the “Rx. CHANNEL”
system exclusive message.
(p.237)
Содержание Sound Canvas SC-8850
Страница 256: ...SC 8850 Owner s Manual 01891545 00 7 A3 31N...

