AirPick - Instruction Manual
1
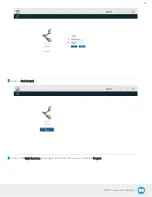
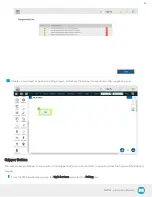
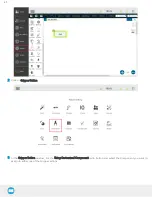
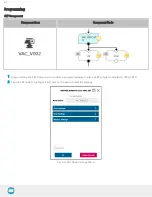
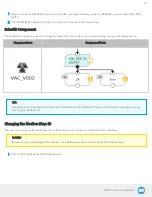
Drag and drop the RELEASE Component icon after a program Gateway to place a RELEASE program node (VAC_V003_
GRIP1)
2
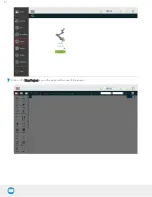
Tap the RELEASE node to highlight it and click on the pencil to edit the settings
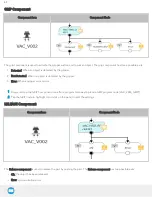
SelectID Component
The SelectID component is used to change the Slave ID for the modbus communication when using a dual gripper setup.
Component Icon
Component Node
Info
Use the Robotiq User Interface to change the Modbus Slave ID Address of the second Vacuum Gripper when using a
dual gripper (Default = 9).
Changing the Modbus Slave ID
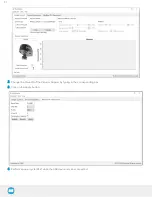
The user can change the Modbus Slave ID of a Robotiq Vacuum Gripper via the Robotiq User Interface.
Installer
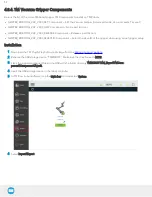
Browse to the support page of the Gripper in the Software section to download the RUI installer (.exe).
1
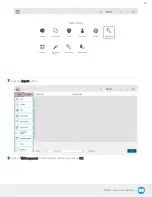
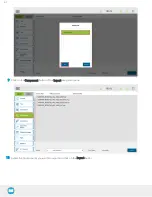
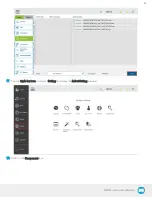
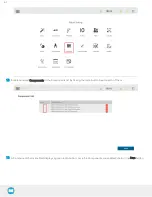
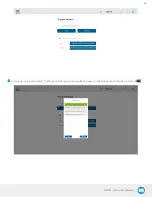
First, click on the Modbus RTU Parameters tab
70
Содержание AirPick
Страница 25: ...Fig 3 7 Mounting air nodes suction cups air bolts air nuts on the bracket 25...
Страница 27: ...Fig 3 9 Robotiq Vacuum Gripper with pigtail cable and device cable wiring scheme 27...
Страница 35: ...Fig 4 1 Vacuum Gripper control logic overview 35...
Страница 57: ...7 Click on the New Project icon in the upper left corner of the screen 57...
Страница 58: ...AirPick Instruction Manual 8 Enter a name for your program and click on the OK button 9 58...
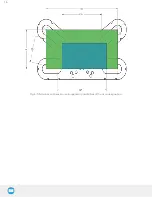
Страница 76: ...Fig 6 5 Minimum and maximum arrangement possibilities of the air nodes position 76...
Страница 77: ...AirPick Instruction Manual 6 1 3 Air nodes Fig 6 6 Air nodes dimensions 77...
Страница 103: ...AirPick Instruction Manual 12 Appendix Fig 12 1 Pneumatic schema of the AirPick Vacuum Gripper...

