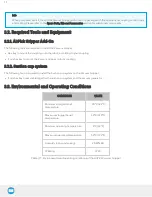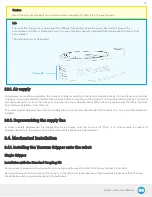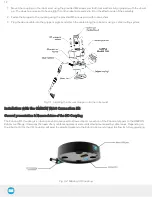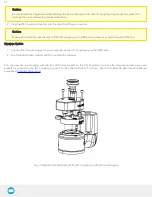
3. Installation
The following subsections will guide you through the installation and general setup of your Robotiq Vacuum Gripper.
Warning
Before installing:
l
Read and understand the safety instructions related to the Vacuum Gripper.
l
Verify your package according to the scope of delivery and your order.
l
Make sure to have the required parts, equipment and tools listed in Scope of delivery.
Warning
When installing:
l
Meet the recommended environmental conditions.
l
Do not operate the Vacuum Gripper, or even turn on the power supply, before the device is firmly anchored and the
machine area is cleared. Make sure that the air supply is secured.
3.1. Scope of Delivery
3.1.1. Robotiq AirPick Vacuum Gripper Kit
Standard upon delivery:
l
Single Suction Cup Kit
o
One (1) pneumatic vacuum generator (with one (1) suction cup : Ø 40 mm ; 1.5 bellows)
o
One (1) suction cup : Ø 55 mm ; 1.5 bellows
o
One (1) tubing 8 mm - (8 m)
o
One (1) End-effector coupling kit
o
One (1) 10-meter communication cable
o
One (1) USB to RS485 signal converter
o
One (1) RS485 to RS232 Converter
o
One (1) USB stick
o
Required hardware
AirPick - Instruction Manual
14
Содержание AirPick
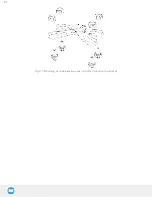
Страница 25: ...Fig 3 7 Mounting air nodes suction cups air bolts air nuts on the bracket 25...
Страница 27: ...Fig 3 9 Robotiq Vacuum Gripper with pigtail cable and device cable wiring scheme 27...
Страница 35: ...Fig 4 1 Vacuum Gripper control logic overview 35...
Страница 57: ...7 Click on the New Project icon in the upper left corner of the screen 57...
Страница 58: ...AirPick Instruction Manual 8 Enter a name for your program and click on the OK button 9 58...
Страница 76: ...Fig 6 5 Minimum and maximum arrangement possibilities of the air nodes position 76...
Страница 77: ...AirPick Instruction Manual 6 1 3 Air nodes Fig 6 6 Air nodes dimensions 77...
Страница 103: ...AirPick Instruction Manual 12 Appendix Fig 12 1 Pneumatic schema of the AirPick Vacuum Gripper...


