Troubleshooting
Troubleshooting Tips
92
In the Book shadow editing, the
position for shadow erasure is
shifted.
Custom-size paper has been placed
on the Paper Feed Tray.
The Book shadow editing does not
allow custom-size paper to be used.
Set standard-size paper.
Custom-size book or magazine was
placed as an original.
Place a book or magazine on the
Stage Glass so that its binding
section comes to the center of the
paper size placed on the Paper Feed
Tray (or the size specified for the
Size of originals for Book shadow
editing using the Custom Setting
mode).
The size of the original differs from
the Size of originals for Book shadow
editing specified using the Custom
Setting mode.
Check the Size of originals for Book
shadow editing specified in the
Custom Setting mode.
• With “0” selected
Place standard-size paper of the
same size of the original onto the
Paper Feed Tray.
• With “1” through “4” selected
Set the Size of originals for Book
shadow editing to the same size
as the size of the original.
)
p.57
Shadow erase processing in the
Book shadow editing does not erase
the central shadow.
The width of the erased central
shadow is too narrow.
Using the Custom Setting mode, set
the Width of central shadow for
Book shadow editing again.
)
p.57
Vertical blank lines are found on
printed copies.
The Thermal Print Head has been
smudged.
Open the Master Making Unit Cover
and clean the Thermal Print Head.
)
p.77
If this does not solve the problem,
contact your authorized service
representative.
The unwanted background of an
original is picked up on copies.
If newspaper or colored paper is
used as an original, the background
is picked up on copies.
Set the scanning level to “Auto” (for
RZ2XX, unavailable) or lower the
level, and then perform the master-
making operation again.
)
p.37
Dirt is found on printed copies.
The Stage Glass (and/or the ADF
Scanner Glass) is not clean.
Clean the Stage Glass (and/or the
ADF Scanner Glass).
)
p.77
Problem
Cause
Action
Troubleshooting
Check & Error Display
89
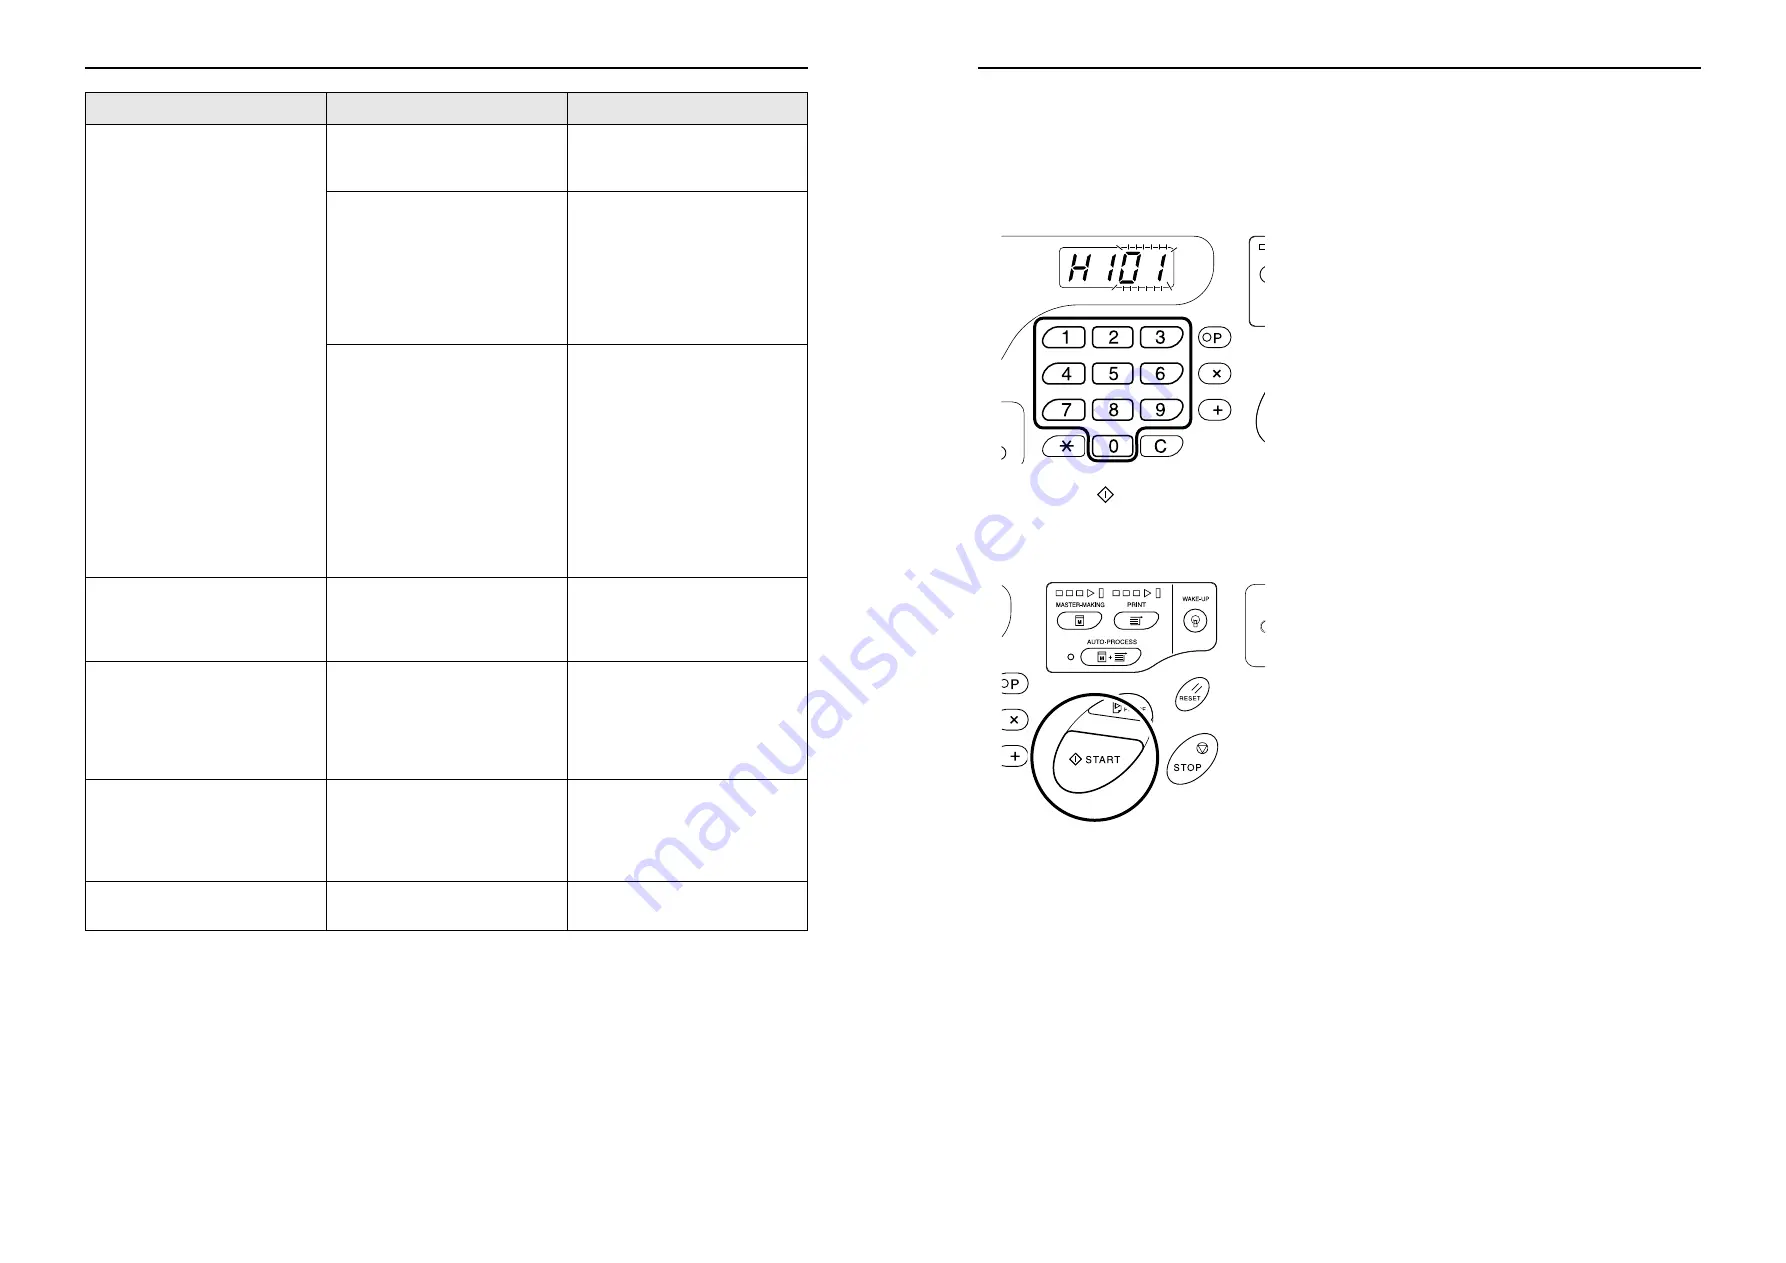
Use the following procedure to enter necessary information.
1
Enter a parameter using the Print
Quantity keys.
The parameters that can be entered differ among
the consumables.
2
Press the
key to complete the set-
ting.
If the next H No. appears, repeat steps 1 and 2.
Note:
• When necessary entry is completed, the Print
Quantity Display restores the normal status and
is available for usual operations.
Riso Kagaku Technical Training Center Version
Содержание RZ200AW
Страница 1: ...Riso Kagaku Technical Training Center Version...
Страница 2: ...MEMO Riso Kagaku Technical Training Center Version...
Страница 111: ...MEMO Riso Kagaku Technical Training Center Version...
Страница 112: ...Riso Kagaku Technical Training Center Version...


