Port
Test
Appears on the display
Port 3
Test J
Test K
Test SEO NAK
Test Packet
Test Force Enabled
USB High Speed Certification
Testing...
To stop testing before completion, turn the machine off.
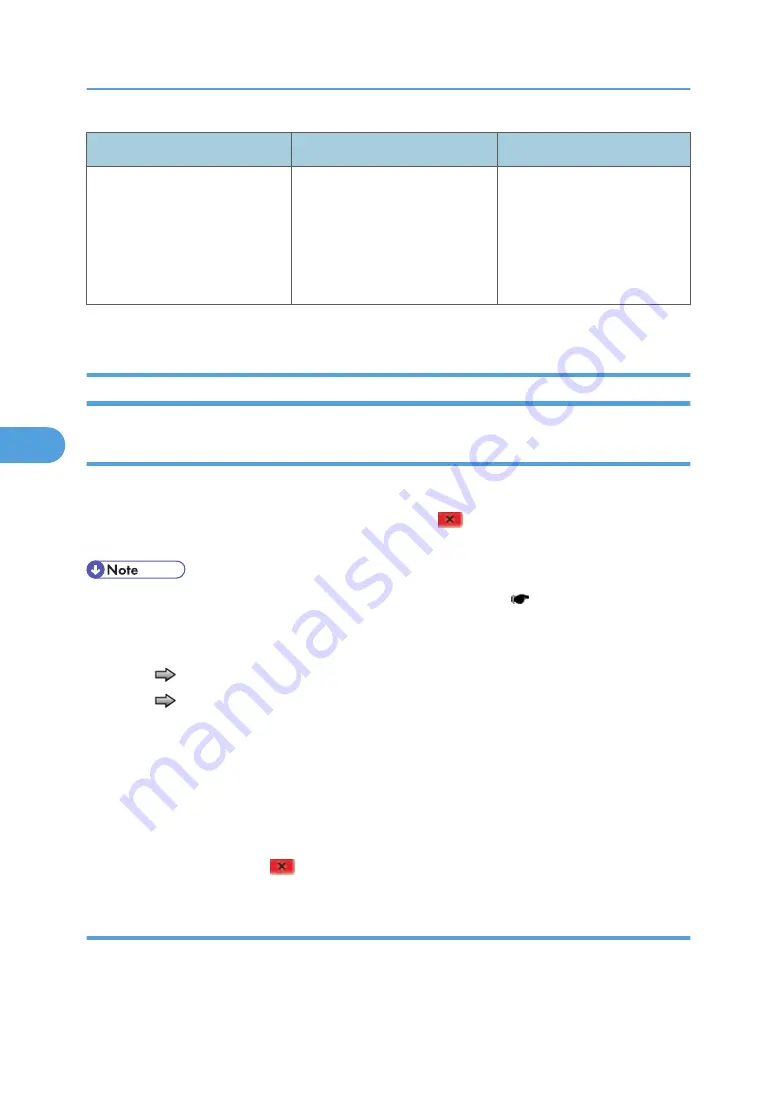
Duplex Tests
Quick test (duplex)
This test prints a duplex version of the Quick Test that can be used to verify that the correct placement of
the top margin on the back side of a duplex page. You can run one duplexed page ("Single"), or
continue printing duplexed pages ("Continuous") until "Stop"
is pressed. For information about
changing the margin, see “Top Margin (duplex)” in “System Maintenance”.
• Before you set the duplex top margin, be sure to set the registration ( Registration (Printer)).
The paper you choose to print the page on should be either Letter or A4.
To run the Quick Test (duplex):
1. Touch
to select "Quick Test" from DUPLEX TESTS.
2. Touch
to select "Single" or "Continuous".
• The single Duplex Quick test cannot be canceled.
• The machine attempts to print the Quick Test Page from the default paper source. If the default
paper source only supports envelopes, then the page is printed from Tray 1.
• Check the Quick Test Page for the correct offset between the placement of the first scan line on
the front and back side of a duplexed sheet.
The single test stops automatically when a single duplex sheet is printed, and the continuous test
continues until you press "Stop"
.
Top margin (duplex)
This setting controls the offset between the first scan line on the front of the duplex page and the first scan
line on the back of the page. Therefore, be sure to set the top margin in REGISTRATION before setting
the duplex top margin. See “Registration (Printer)” in “System Maintenance”.
5. System Maintenance
168
5
Содержание LI-MF1 M126
Страница 1: ...Model LI MF1 Machine Codes M126 M127 M128 Field Service Manual 26 August 2011 ...
Страница 2: ......
Страница 3: ...Safety Notices The following laser notice labels may be attached to this machine 1 ...
Страница 4: ...2 ...
Страница 5: ...3 ...
Страница 6: ...4 ...
Страница 7: ...5 ...
Страница 8: ...6 ...
Страница 9: ...7 ...
Страница 10: ...8 ...
Страница 17: ...XPS XML Paper Specification 15 ...
Страница 29: ...M Auto compensator Overview 27 1 ...
Страница 30: ...Main Boards Controller Board 1 Product Information 28 1 ...
Страница 37: ...2 Installation Installation Refer to the User s Guide 35 2 ...
Страница 38: ...2 Installation 36 2 ...
Страница 51: ...2 Remove the three screws B securing the top of the controller shield Removal Procedures 49 4 ...
Страница 58: ...4 Remove the e clip A from the gear 5 Remove the gear B and gear shaft C 4 Replacement and Adjustment 56 4 ...
Страница 59: ...6 Remove the screw D from the gear E 7 Remove the plastic bushing F Removal Procedures 57 4 ...
Страница 118: ...13 Remove the three screws A from the left rear frame assembly 4 Replacement and Adjustment 116 4 ...
Страница 119: ...14 Remove the three screws B from the right rear frame assembly Imaging Component Removals 117 4 ...
Страница 142: ...4 Replacement and Adjustment 140 4 ...
Страница 192: ...5 System Maintenance 190 5 ...
Страница 198: ...Symptom Action Fax reception fails p 276 Fax Reception Service Check 6 Troubleshooting 196 6 ...
Страница 286: ...4 Remove the jam 5 If the paper is still not visible open the rear door 6 Troubleshooting 284 6 ...
Страница 289: ...3 Remove the jam 4 Close the rear door 5 Close the front door 6 Touch Continue Paper Jams 287 6 ...
Страница 295: ...2 Open the ADF cover 3 Unlock the ADF separator roll 4 Remove the ADF separator roll Paper Jams 293 6 ...
Страница 298: ...6 Troubleshooting 296 6 ...
Страница 302: ...7 Energy Saving 300 7 ...
Страница 303: ...Model LI MF1 Machine Codes M126 M127 M128 Appendices 12 October 2011 ...
Страница 304: ......
Страница 306: ...2 ...
Страница 322: ...1 Appendix Specifications 18 1 ...
Страница 324: ...MEMO 20 EN ...


