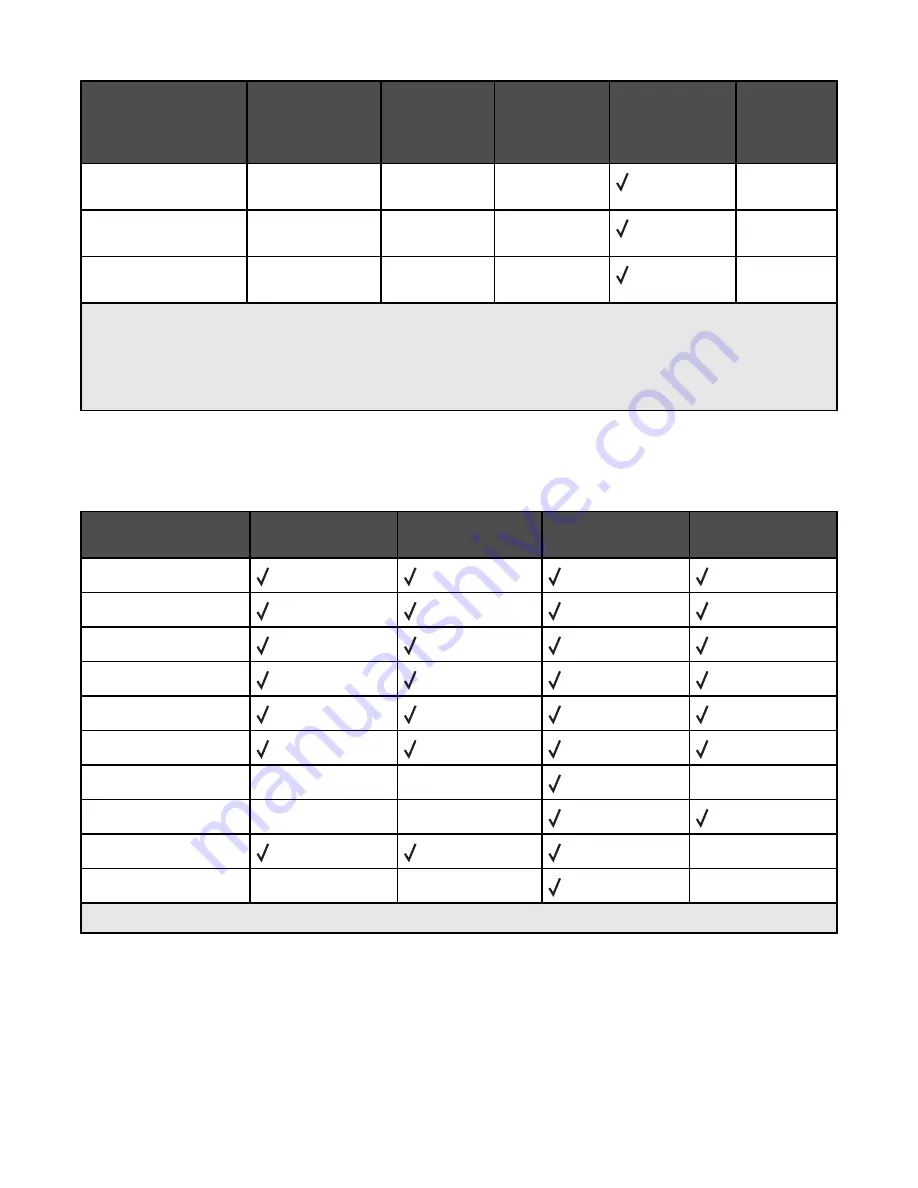
Paper size
Dimensions
520-sheet
trays
(standard or
optional)
High capacity
feeder
Multipurpose
feeder
Duplex unit
9 Envelope
98 x 225 mm
(3.9 x 8.9 in.)
X
X
X
10 Envelope
105 x 241 mm
(4.1 x 9.5 in.)
X
X
X
DL Envelope
110 x 220 mm
(4.3 x 8.7 in.)
X
X
X
1
The printer cannot simultaneously sense A5 and statement paper sizes. From the Size Sensing menu, specify
which size you want the printer to detect. This setting applies to all automatic trays except the multipurpose feeder.
The multipurpose feeder can support both sizes.
2
Measurements apply to simplex (one-sided) printing only. For duplex (two-sided) printing, the minimum size is
140 x 148 mm (5.5 x 5.8 in.) and the maximum size is 297 x 432 mm (11.7 x 17 in.).
Paper types and weights supported by the printer
The printer engine supports 60–220 g/m
2
(16–60 lb) paper weights. The duplex unit supports 63–170 g/m
2
(17–
45 lb) paper weights.
Paper type
520-sheet trays
High capacity
feeder
Multipurpose
feeder
Duplex unit
Plain Paper
Bond
Letterhead
Preprinted
Colored Paper
Card stock
Glossy paper
X
X
X
Paper labels
*
X
X
Transparencies
X
Envelopes
X
X
X
*
Vinyl labels are not supported.
Paper types and weights supported by the finisher
Use this table to determine the possible output destinations of print jobs which use supported paper types and
weights. The paper capacity of each output bin is listed in parentheses. Paper capacity estimations are calculated
based on 75 g/m
2
(20 lb) paper.
51
Содержание InfoPrint 1759
Страница 1: ...InfoPrint Color 1759 MFP 1769 MFP MT 4886 4887 User s Guide S510 7102 00...
Страница 2: ......
Страница 14: ...14...
Страница 34: ...1 USB port 2 Ethernet port 3 Scanner connector 4 Scanner connector 34...
Страница 111: ...5 Pull the multipurpose feeder down and then open Door B 6 Remove the jammed paper 7 Close Door B 8 Touch Continue 111...
Страница 204: ...If the service message appears again contact Customer Support and report the message 204...
Страница 210: ...9 Insert the new waste toner box 10 Place the new printhead lens cleaner in the notches of Door E 11 Close Door E6 210...
Страница 214: ...8 Insert the waste toner box 9 Place the printhead lens cleaner in the notches of Door E 10 Close Door E6 214...
Страница 272: ...Printed in USA S510 7102 00...


