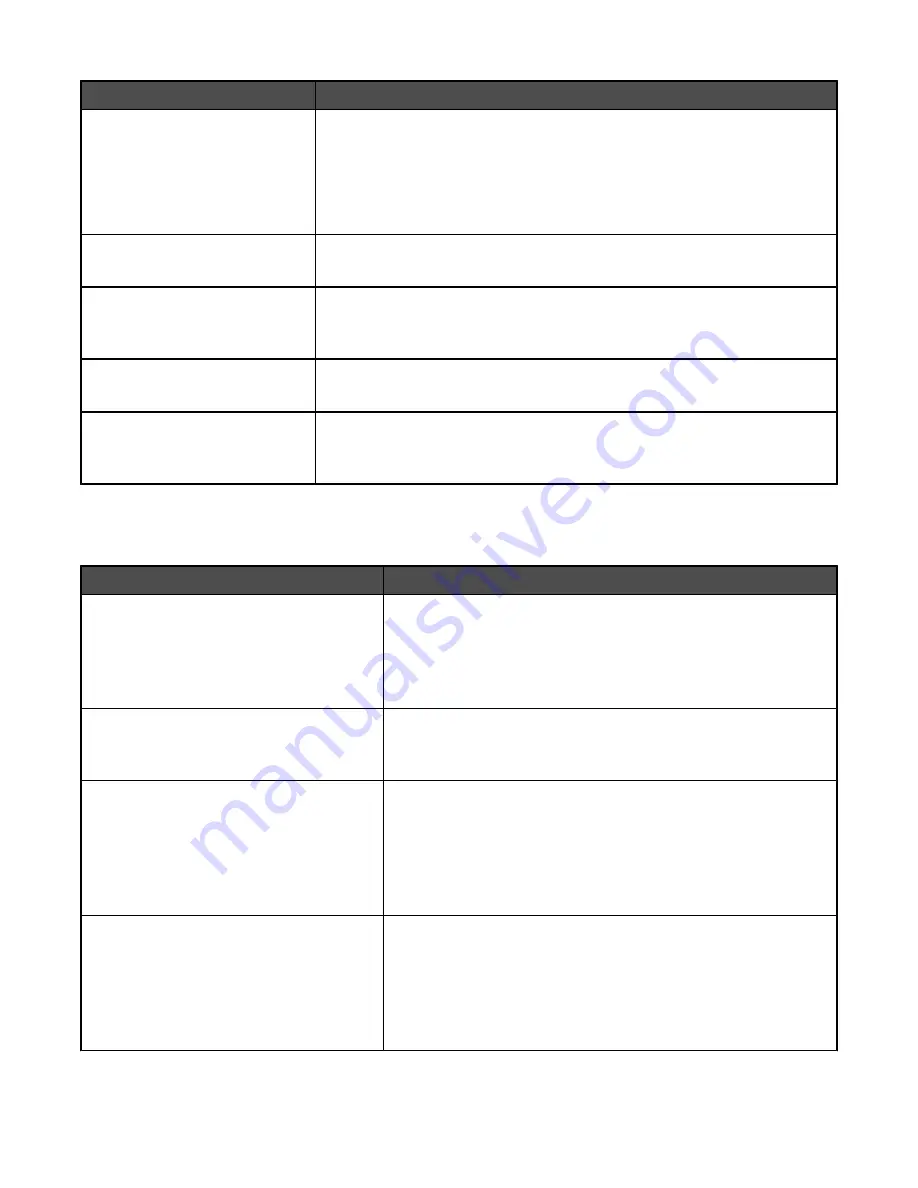
Menu item
Description
Allow Save as Shortcut
On
Off
Lets you save e-mail addresses as shortcuts at the device
Notes:
•
Off is the factory default setting.
•
When set to No, the Save as Shortcut button does not appear on the E-
mail Destination screen.
Background Removal
-4 to +4
Adjusts the amount of background visible on a copy.
Note:
0 is the factory default setting.
Contrast
Best for content
0–5
Specifies the contrast of the output
Note:
“Best for content” is the factory default setting.
Shadow Detail
-4 to +4
Adjusts the amount of shadow detail visible on a copy
Note:
0 is the factory default setting.
Scan edge to edge
On
Off
Specifies if the original document is scanned edge-to-edge
Note:
Off is the factory default setting.
E-mail Server Setup menu
Use the following menu to configure the SMTP e-mail server.
Menu item
Description
E-mail Server Setup
Primary SMTP Gateway
Primary SMTP Gateway Port
Secondary SMTP Gateway
Secondary SMTP Gateway Port
Specifies SMTP server port information
Note:
25 is the default SMTP gateway port.
E-mail Server Setup
SMTP Timeout
5–30
Specifies the amount of time in seconds before the server stops
trying to send the e-mail
Note:
30 seconds is the factory default setting.
E-mail Server Setup
SMTP Server Authentication
Off
Device Userid and password
User ID and password
User e-mail and password
Specifies the type of user authentication required for scan to e-mail
privileges
Note:
Off is the factory default setting.
E-mail Server Setup
Device Userid
Password
Reply Address
Subject
Message
Specifies e-mail server information
Note:
The message box has a limitation of 512 characters.
155
Содержание InfoPrint 1759
Страница 1: ...InfoPrint Color 1759 MFP 1769 MFP MT 4886 4887 User s Guide S510 7102 00...
Страница 2: ......
Страница 14: ...14...
Страница 34: ...1 USB port 2 Ethernet port 3 Scanner connector 4 Scanner connector 34...
Страница 111: ...5 Pull the multipurpose feeder down and then open Door B 6 Remove the jammed paper 7 Close Door B 8 Touch Continue 111...
Страница 204: ...If the service message appears again contact Customer Support and report the message 204...
Страница 210: ...9 Insert the new waste toner box 10 Place the new printhead lens cleaner in the notches of Door E 11 Close Door E6 210...
Страница 214: ...8 Insert the waste toner box 9 Place the printhead lens cleaner in the notches of Door E 10 Close Door E6 214...
Страница 272: ...Printed in USA S510 7102 00...


