


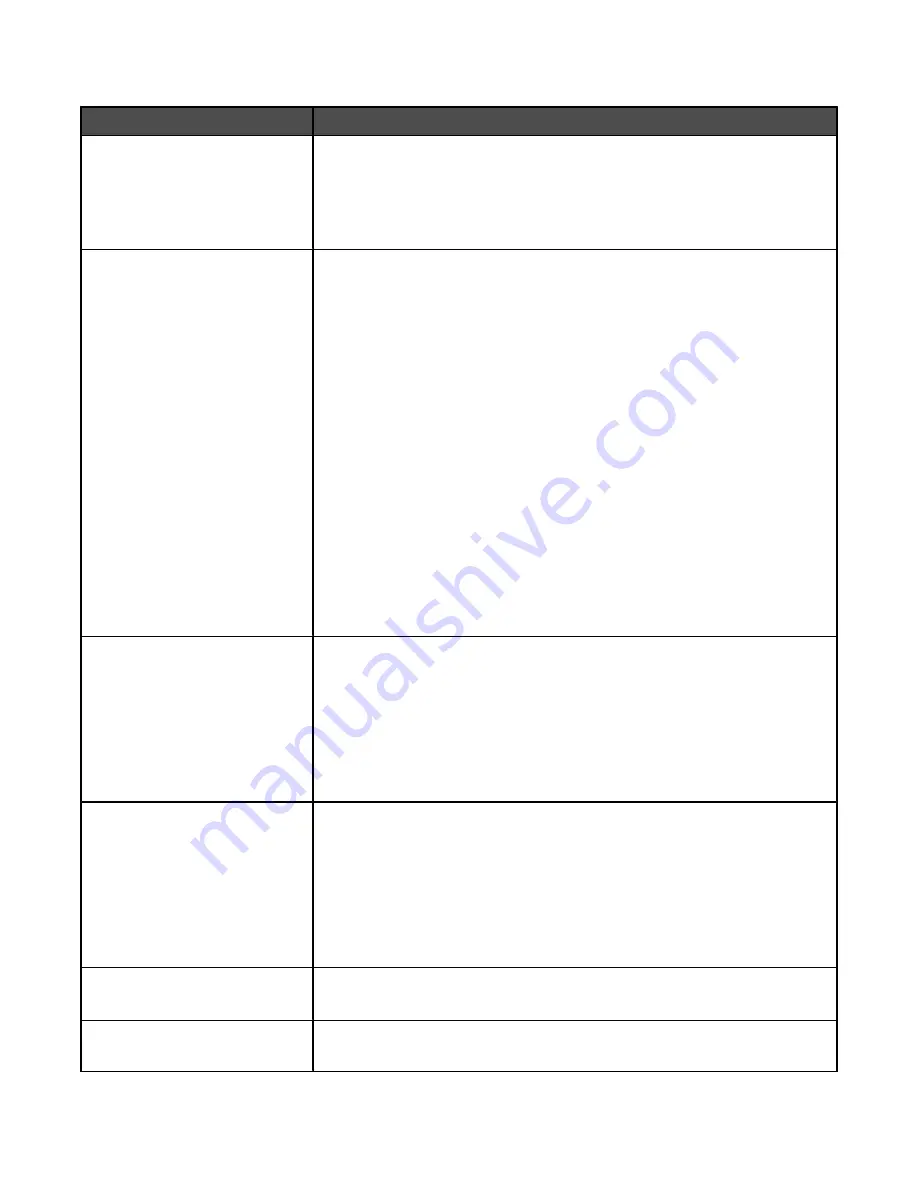
Fax Send Settings
Menu item
Description
Resolution
Standard
Fine
Super Fine
Ultra Fine
Specifies quality in dots per inch (dpi). A higher resolution gives greater print
quality, but it increases the fax transmission time for outgoing faxes.
Note:
Standard is the factory default setting.
Original Size
Letter
Legal
Executive
Tabloid
Folio
Statement
A3
A4
A5
JIS B4
JIS B5
Book Original
4 x 6
3 x 5
Business Card
Auto Size Sense
Mixed Sizes
Specifies the paper size of the document that is being scanned
Note:
Letter is the US factory default setting. A4 is the international factory
default setting.
Duplex
Off
Long edge
Short edge
Specifies how the text and graphics are oriented on the page
Notes:
•
Off is the factory default setting.
•
Long edge assumes binding along the long edge of the page (left edge for
portrait orientation and top edge for landscape orientation).
•
Short edge assumes binding along the short edge of the page (top edge
for portrait orientation and left edge for landscape orientation).
Content
Text/Photo
Photograph
Text
Specifies the type of content that will be scanned to fax
Notes:
•
Text/Photo is the factory default setting. Text/Photo is used when the
documents are mostly text or line art.
•
Photograph is used when the document is a high-quality photograph or
inkjet print
•
Text is used when the document is mostly text.
Darkness
-5 to +5
Lightens or darkens the output
Note:
5 is the factory default setting.
Dial Prefix
<none>
A numeric entry field is provided to enter numbers
146
Содержание InfoPrint 1759
Страница 1: ...InfoPrint Color 1759 MFP 1769 MFP MT 4886 4887 User s Guide S510 7102 00...
Страница 2: ......
Страница 14: ...14...
Страница 34: ...1 USB port 2 Ethernet port 3 Scanner connector 4 Scanner connector 34...
Страница 111: ...5 Pull the multipurpose feeder down and then open Door B 6 Remove the jammed paper 7 Close Door B 8 Touch Continue 111...
Страница 204: ...If the service message appears again contact Customer Support and report the message 204...
Страница 210: ...9 Insert the new waste toner box 10 Place the new printhead lens cleaner in the notches of Door E 11 Close Door E6 210...
Страница 214: ...8 Insert the waste toner box 9 Place the printhead lens cleaner in the notches of Door E 10 Close Door E6 214...
Страница 272: ...Printed in USA S510 7102 00...