


Menu item
Description
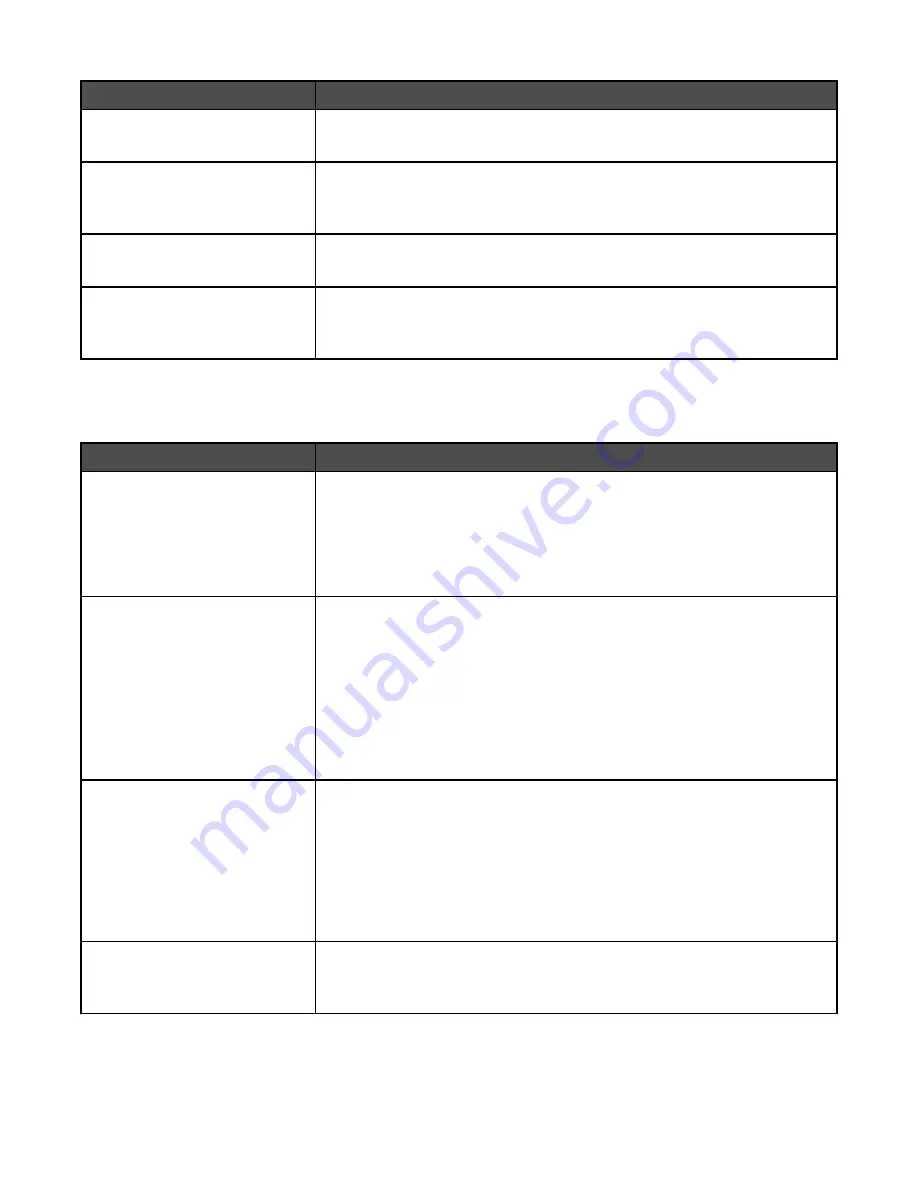
Background Removal
-4 to +4
Adjusts the amount of background visible on a copy
Note:
0 is the factory default setting.
Contrast
Best for content
0–5
Specifies the contrast of the output
Note:
“Best for content” is the factory default setting.
Shadow Detail
-4 to +4
Adjusts the amount of shadow detail visible on a copy
Note:
0 is the factory default setting.
Scan edge to edge
On
Off
Specifies if the original document is scanned edge-to-edge
Note:
Off is the factory default setting.
Print Settings
Finishing menu
Menu item
Description
Duplex
On
Off
Specifies whether duplex (2-sided) printing is set as the default for all print jobs
Notes:
•
Off is the factory default setting.
•
To set 2-sided printing from the software program, click
File
, and
then click
Properties
,
Preferences
,
Options
, or
Setup
.
Duplex Bind
Long Edge
Short Edge
Defines the way duplexed pages are bound and how the printing on the back
of the page is oriented in relation to the printing on the front of the page
Notes:
•
Long Edge is the factory default setting.
•
Long Edge specifies that binding be placed on the left edge of portrait
pages and the top edge of landscape pages.
•
Short Edge specifies that binding be placed on the top edge of portrait
pages and the left edge of landscape pages.
Copies
1–999
Specifies a default number of copies for each print job
Notes:
•
1 is the factory default setting.
•
To specify the number of copies for a specific print job, from the software
program, click
File
, and then click
Properties
,
Preferences
,
Options
, or
Setup
. Software settings always override control panel
settings.
Blank Pages
Do Not Print
Specifies whether blank pages are inserted in a print job
Note:
Do Not Print is the factory default setting.
162
Содержание InfoPrint 1759
Страница 1: ...InfoPrint Color 1759 MFP 1769 MFP MT 4886 4887 User s Guide S510 7102 00...
Страница 2: ......
Страница 14: ...14...
Страница 34: ...1 USB port 2 Ethernet port 3 Scanner connector 4 Scanner connector 34...
Страница 111: ...5 Pull the multipurpose feeder down and then open Door B 6 Remove the jammed paper 7 Close Door B 8 Touch Continue 111...
Страница 204: ...If the service message appears again contact Customer Support and report the message 204...
Страница 210: ...9 Insert the new waste toner box 10 Place the new printhead lens cleaner in the notches of Door E 11 Close Door E6 210...
Страница 214: ...8 Insert the waste toner box 9 Place the printhead lens cleaner in the notches of Door E 10 Close Door E6 214...
Страница 272: ...Printed in USA S510 7102 00...