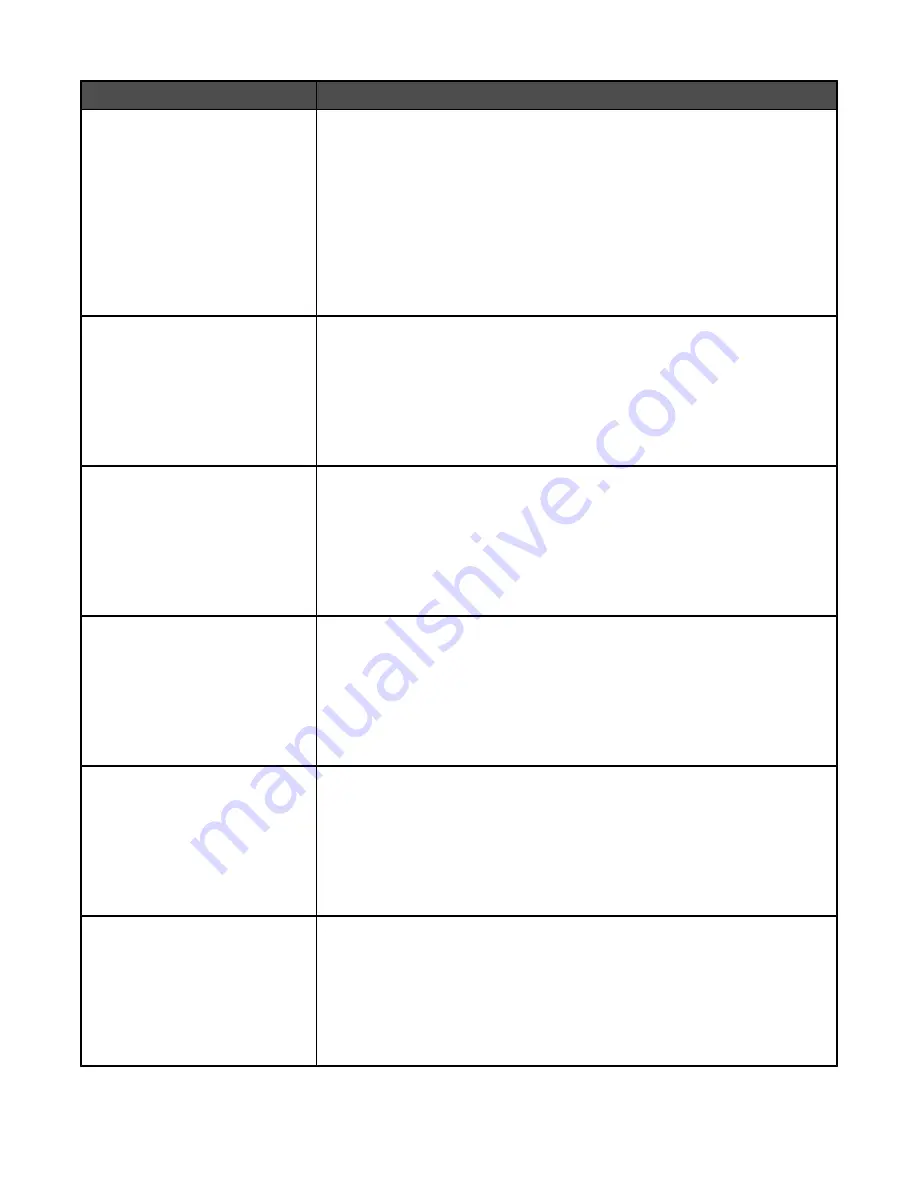
Menu item
Description
Password Protect
Settings
Accept Advanced
Password only
Accept Advanced and
User Passwords
Not Protected
Protects access to the Settings menu
Notes:
•
“Accept Advanced Password only” is the factory default setting.
•
Protection is not applied unless a valid password is set.
•
The password protects the following menus: General Settings, Copy
Settings, Fax Settings, E-mail Settings, FTP Settings, Print Settings, and
Set Date and Time.
•
Security is protected when a password is set. If both the Advanced and
User Passwords are set, only the Advanced Password is valid for security.
Password Protect
Network/Ports
Accept Advanced
Password only
Accept Advanced and
User Passwords
Not Protected
Protects access to the Network/Ports menu
Note:
“Accept Advanced Password only” is the factory default setting.
Password Protect
Shortcuts
Accept Advanced
Password only
Accept Advanced and
User Passwords
Not Protected
Protects access to shortcut settings
Note:
“Accept Advanced Password only” is the factory default setting.
Password Protect
Create Scan Profile
Accept Advanced
Password only
Accept Advanced and
User Passwords
Not Protected
Protects access to scan profile creation settings
Note:
“Accept Advanced Password only” is the factory default setting.
Password Protect
LES configuration
Accept Advanced
Password only
Accept Advanced and
User Passwords
Not Protected
Protects access to embedded solutions settings
Note:
“Accept Advanced Password only” is the factory default setting.
Password Protect
Create/Change Passwords
Create Advanced
Password
Create User Password
Create Device Lockout
Pin
Protects access to password settings
179
Содержание InfoPrint 1759
Страница 1: ...InfoPrint Color 1759 MFP 1769 MFP MT 4886 4887 User s Guide S510 7102 00...
Страница 2: ......
Страница 14: ...14...
Страница 34: ...1 USB port 2 Ethernet port 3 Scanner connector 4 Scanner connector 34...
Страница 111: ...5 Pull the multipurpose feeder down and then open Door B 6 Remove the jammed paper 7 Close Door B 8 Touch Continue 111...
Страница 204: ...If the service message appears again contact Customer Support and report the message 204...
Страница 210: ...9 Insert the new waste toner box 10 Place the new printhead lens cleaner in the notches of Door E 11 Close Door E6 210...
Страница 214: ...8 Insert the waste toner box 9 Place the printhead lens cleaner in the notches of Door E 10 Close Door E6 214...
Страница 272: ...Printed in USA S510 7102 00...


