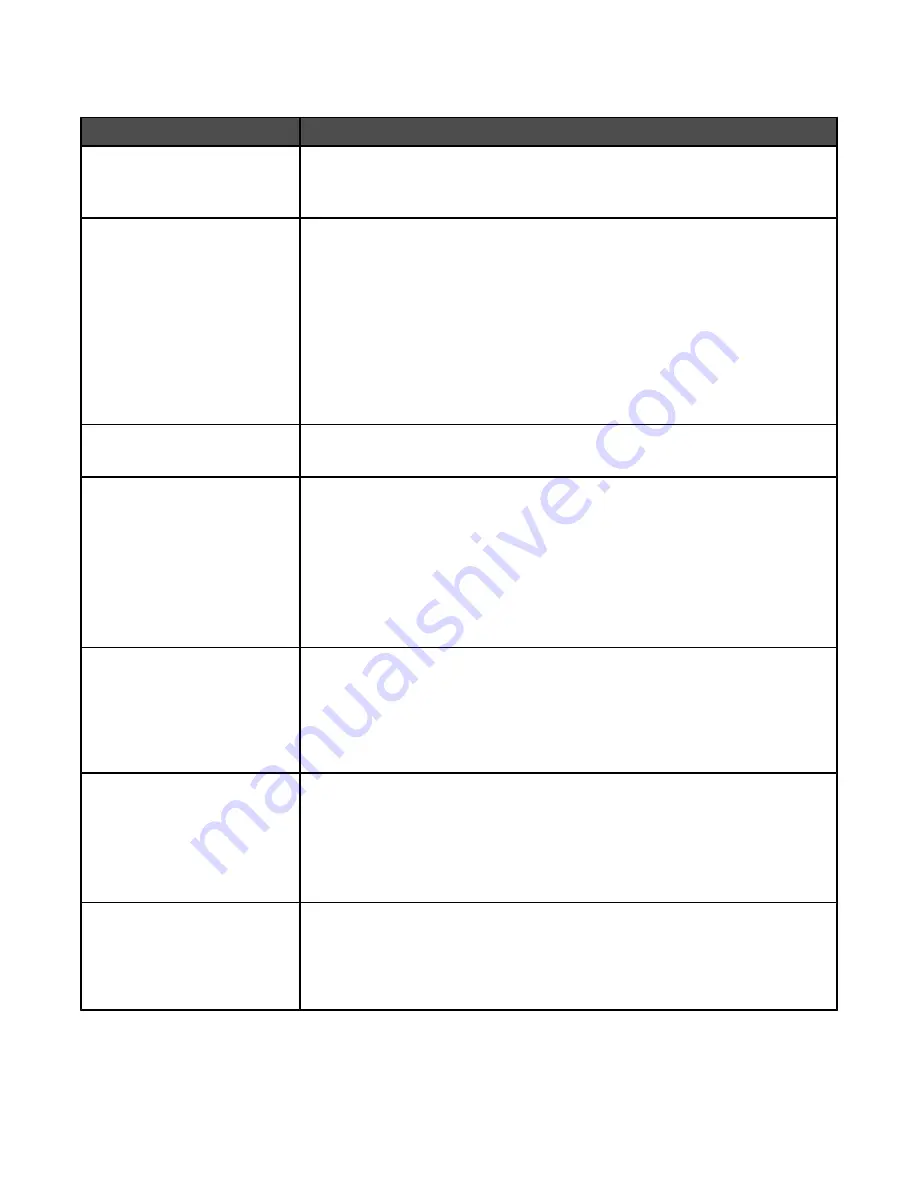
Quality menu
Menu item
Description
Print Mode
Color
Black Only
Specifies whether images are printed in grayscale or in color
Note:
Color is the factory default setting.
Color Correction
Auto
Off
Manual
Adjusts the color output on the printed page
Notes:
•
Auto is the factory default setting. Auto applies different color conversion
tables to each object on the printed page.
•
Off turns off color correction.
•
Manual allows customization of the color tables using the settings available
from the Manual Color menu.
•
Due to the differences in additive and subtractive colors, certain colors that
appear on computer monitors are impossible to duplicate on the printed page.
Print Resolution
2400 IQ
Specifies the printed output resolution
Note:
2400 IQ is the factory default setting.
Toner Darkness
1–5
Lightens or darkens the printed output
Notes:
•
4 is the factory default setting.
•
Selecting a smaller number can help conserve toner.
•
If Print Mode is set to Black Only, a setting of 5 increases toner density and
darkness to all print jobs.
•
If Print Mode is set to Color, a setting of 5 is the same as a setting of 4.
Color Saver
On
Off
Reduces the amount of toner used for graphics and images. The amount of toner
used for text is not reduced.
Notes:
•
Off is the factory default setting.
•
On overrides Toner Darkness settings.
RGB Brightness
-6 to +6
Adjusts brightness in color outputs
Notes:
•
0 is the factory default setting.
•
-6 is the maximum decrease. 6 is the maximum increase.
•
This does not affect files where CMYK color specifications are being used.
RGB Contrast
0–5
Adjusts contrast in color outputs
Notes:
•
0 is the factory default setting.
•
This does not affect files where CMYK color specifications are being used.
165
Содержание InfoPrint 1759
Страница 1: ...InfoPrint Color 1759 MFP 1769 MFP MT 4886 4887 User s Guide S510 7102 00...
Страница 2: ......
Страница 14: ...14...
Страница 34: ...1 USB port 2 Ethernet port 3 Scanner connector 4 Scanner connector 34...
Страница 111: ...5 Pull the multipurpose feeder down and then open Door B 6 Remove the jammed paper 7 Close Door B 8 Touch Continue 111...
Страница 204: ...If the service message appears again contact Customer Support and report the message 204...
Страница 210: ...9 Insert the new waste toner box 10 Place the new printhead lens cleaner in the notches of Door E 11 Close Door E6 210...
Страница 214: ...8 Insert the waste toner box 9 Place the printhead lens cleaner in the notches of Door E 10 Close Door E6 214...
Страница 272: ...Printed in USA S510 7102 00...


