24
En
Getting Started
4
Switching on
1
Press the STANDBY/ON
button on the remote control or
the front panel to switch on.
• To put the recorder back into
standby, press
STANDBY/ON
again. Make sure you never
disconnect the power cord before
the
POWER OFF
indication in the
display goes off. You could lose
portions of a recording.
2Switch on your TV and set the
video input to this recorder.
• You can set up the remote to
control your TV–see
page 30
for
how to do this.
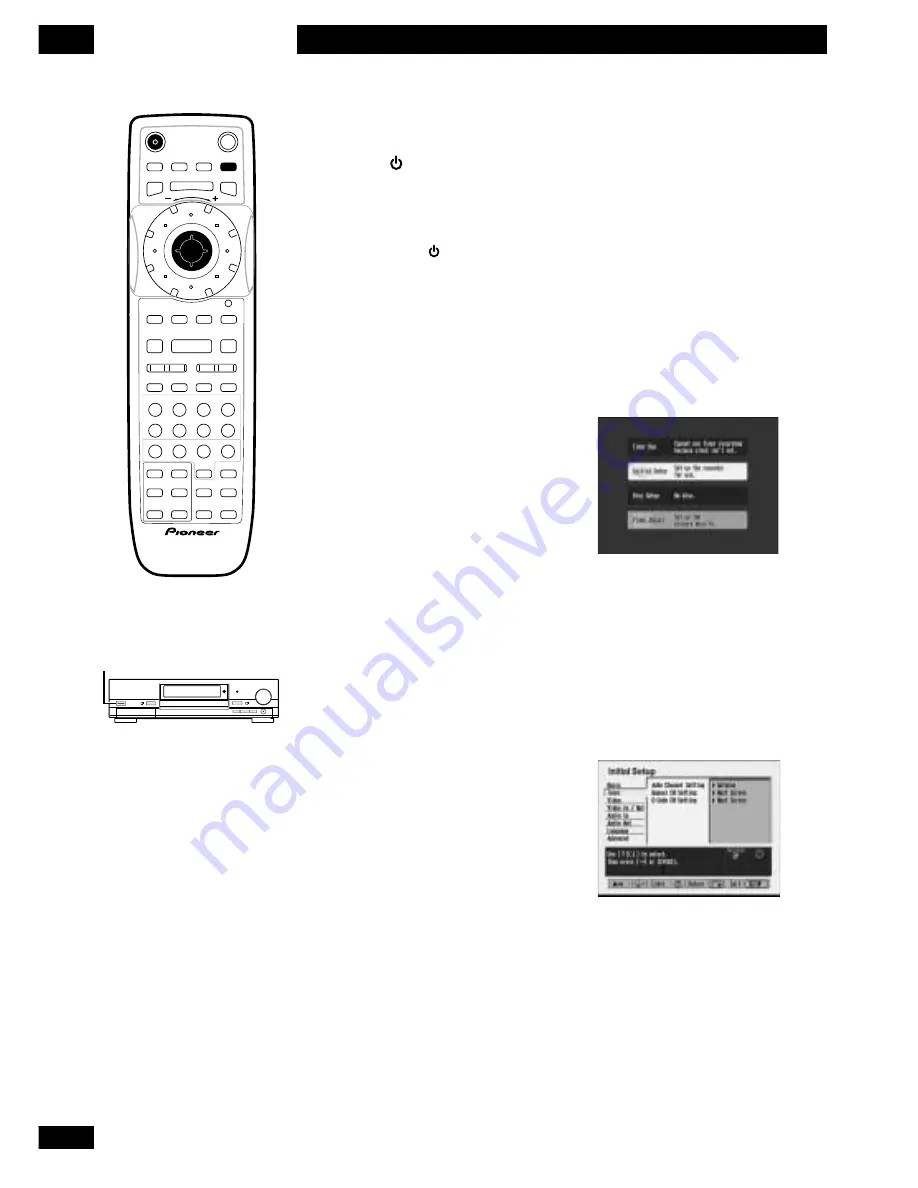
Using the on-screen
displays
Most of the settings and functions
of this recorder are accessed using
on-screen displays on your TV.
These are navigated very simply
using the joystick to change the
highlighted option (shown in
yellow), and pressing
ENTER
to
select it.
The following setup procedures
will not only get your recorder
setup for use, but will also get you
acquainted with the way the on-
screen displays work.
Information about the highlighted
option is displayed towards the
bottom of the screen. Under the
help information is a summary of
the controls used to navigate the
screen.
Setting up: Auto-
tuning channels
This recorder has a built-in TV
tuner for recording TV programs
off the air. We recommend that
you first use the Auto Channel
Setting described here to tune into
the channels in your area, then if
there are any unwanted channels,
you can disable them using
Channel Skip (described below).
1
Press SETUP.
2Choose ‘Initial Setup’ from the
menu.
• Move the joystick up/down to
change the highlighted option,
then press
ENTER
.
3
Choose ‘Tuner’ from the Initial
Setup menu.
Î
ENTER
STANDBY
/ON
OPEN
/CLOSE
PLAYLIST
CHP
MARK
NAVI
MARK
SETUP
ERASE
DISCNAVI
EDIT
PAUSE
CM SKIP RETURN JOG MODE
JOG MODE
REC
PLAY
STOP
PREV
NEXT
CHANNEL
PlusCode
REC
REC
MODE
MODE
SEARCH
SEARCH
MODE
MODE
INPUT
INPUT
SELECT
SELECT
TV
INPUT SELECT
INPUT SELECT
DISPLAY
TV VOLUME
AUDIO SUBTITLE
TV CHANNEL
MENU
TOP MENU
CM
4
¢
8
3
S
0
9
8
7
6
5
4
3
2
1
STANDBY/ON
Содержание DVR-7000
Страница 1: ...DVD Recorder DVR 7000 Operating Instructions 4 7 ...
Страница 103: ......


