CT/L-14 Controller Web-Interface
47
2. To add a new filter, click the
Add
button; to change parameters or delete a filter, click the title
bar in the page working area. The
Filter
window will be opened.
3. In the opened window set the necessary values for the event parameters that need to be
filtered from the general list.
•
Number
parameter sets the filter number (from 1 to 20);
•
Category
parameter sets the event category;
•
Code
parameter sets the event code;
•
Operating device
parameter sets the reader OD number;
•
Direction
parameter sets the reader OD direction;
•
Access
parameter sets the user’s validity: prohibited or expired;
•
User
parameter sets the user type: visitor / employee / vehicle;
•
Suspicious events
parameter sets the suspicious events presence: yes or no;
•
Time violation
and
location violation
parameter sets the time violation and location
violation possibility: yes or no;
•
Identification violation
parameter sets the identification violation reason: no card / no
finger / card not identified / unknown finger / user’s fingerprints are not in the database;
•
Confirmation
parameter sets the confirmation method: single / double / no UID violation
/ wrong UID violation / double no UID violation / double wrong UID violation / break-in
violation / prohibited by RC-panel command;
•
Verification
parameter sets the verification: confirmation / passage counter denial / RC-
panel denial / EVD denial / Software denial / verification timeout / no response from
passage counter / no response from RC-panel / no response from EVD / no response
from software / break-in violation;
•
Save
parameter sets the option of saving an event in the database, if it passes through
the filter (if all the set filter fields coincide with all the event fields (if a filter field is not set,
then the comparison is not performed)). If “yes” is set in the “Save” field, then the event
will be saved in the database, otherwise it will not be saved.
4. To save the filter, click the
Save
button. The
Filter
window will be closed.
5. To exit the
Filter
window
without saving changes, click the
Cancel
button. Also, it is possible
to close the window using the
Close
button .
6. To remove the response from the list, click the
Delete
button. The
Filter
window will be
closed; the filter will be deleted.
5. ACCESS CRITERIA
5.1
Time access criteria
5.1.1
Time zones
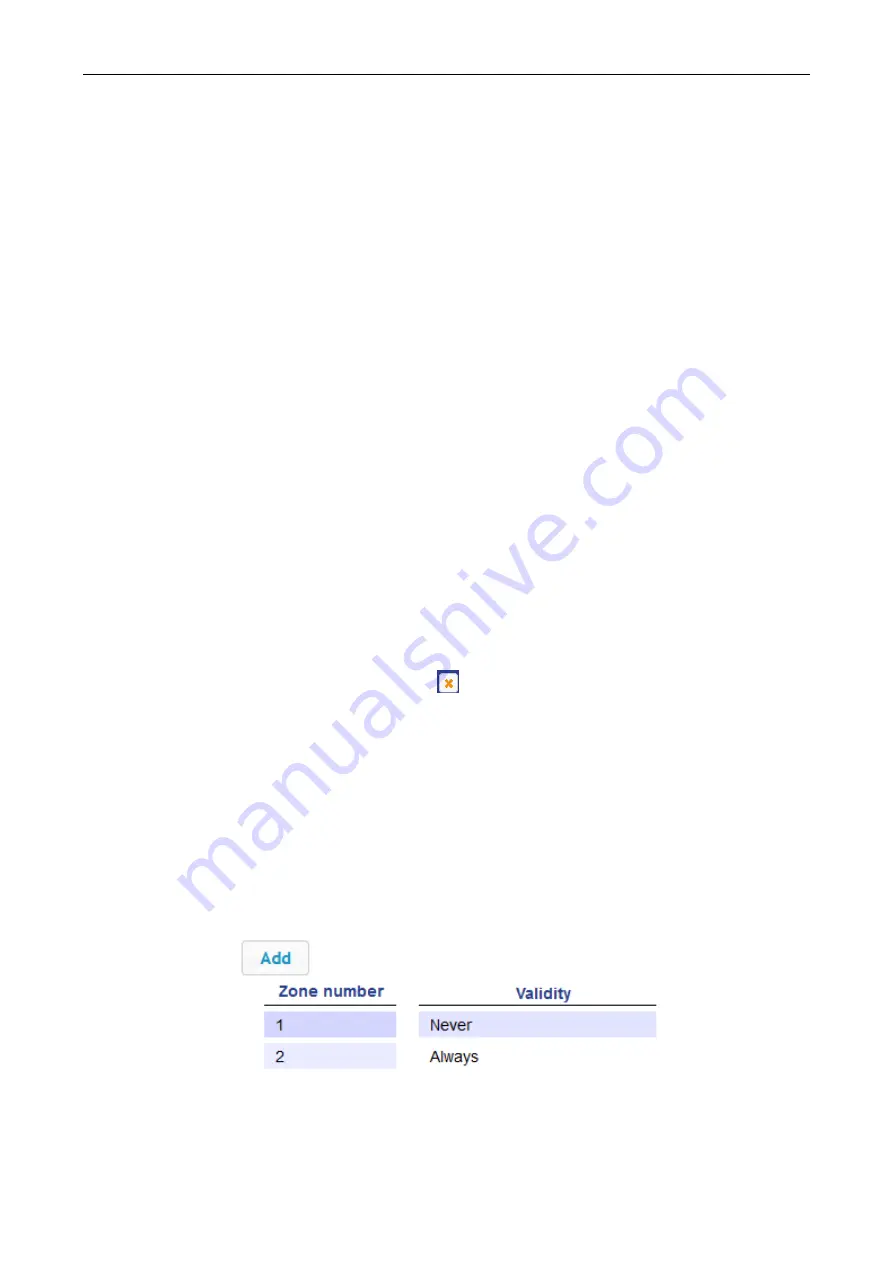
There are two preconfigured time zones - #1 – “Never” and #2 “Forever”.
To set the time zone parameters, proceed as follows:
1. Click consistently
Access
Timing criteria
Time zone
in the Web-interface menu
.
The
page with the following working area will be opened:
2. To add a new time zone, select the
Add
parameter; to change or to delete time zone
parameters, click the title bar in the working area. The
Time zones
window will be opened:
Содержание CT/L-14
Страница 1: ...Controller CT L 14 ASSEMBLY AND OPERATION MANUAL...
Страница 2: ...CT L 14 Controller Assembly Operation Manual...
Страница 58: ...www perco com...


