11-12
12
Auto Shrink
When the paper size of the received
F
ax does not match the size specified in the printe , the
received
F
ax will be shrinked according to the user-defined paper size to match the paper siz
in the printer.
If you disable the Auto Shrink option, the
F
ax will be printed at full size across multiple pages.
Auto Shrink is turned on by default.
Note:
• Make sure that the default paper size setting is consistent with the size of the
medium loaded in the paper tray.
Auto Shrink operations are as follows:
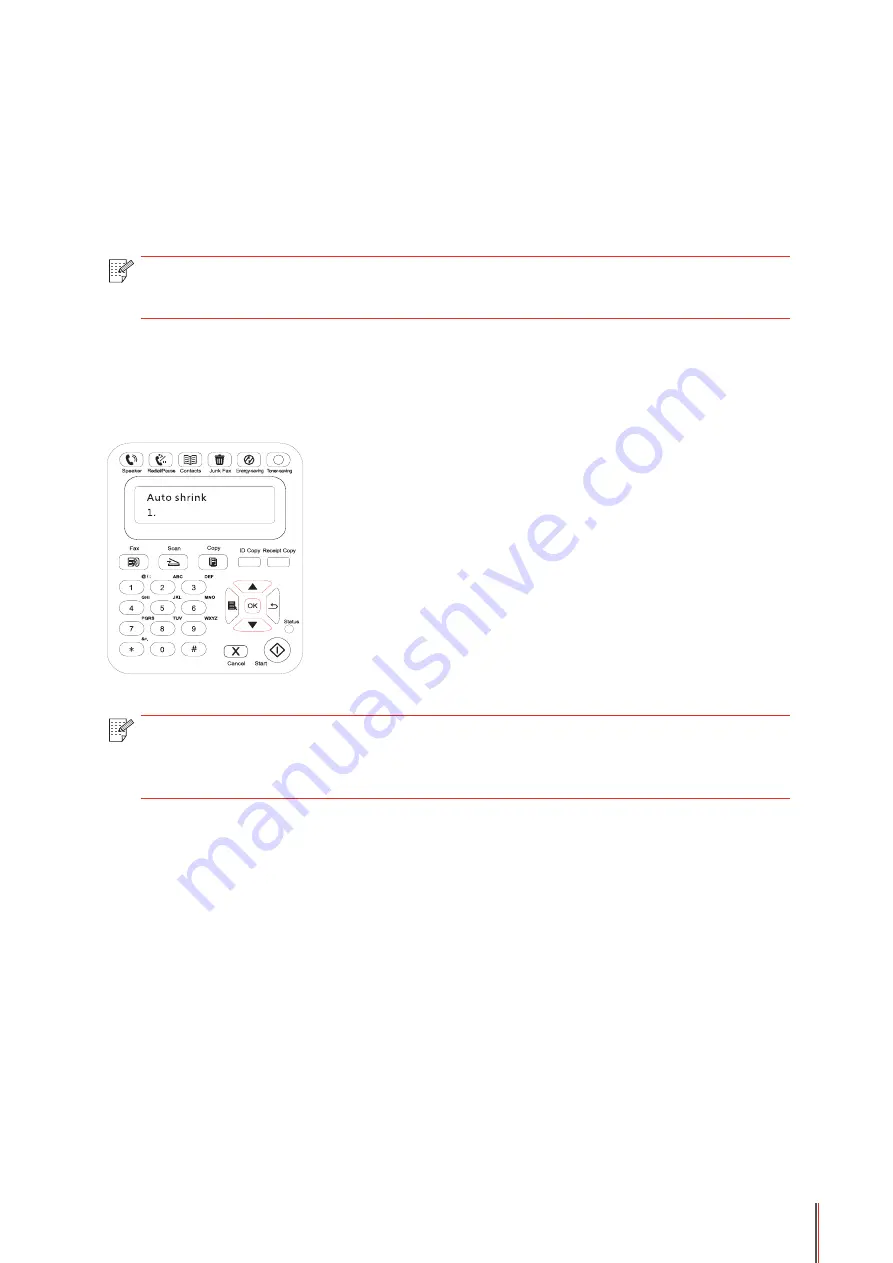
1) On the Control Panel, press Menu > Fax Settings > Receive Settings > Auto Shrink.
2) Set it to Turn On or Turn Off the auto shrink function and set the shrink size.
Turn off
3) When you complete the setup, press the OK button to save the settings.
Note:
• Receive to Memory: When the machine runs out of paper or there is a paper
jam, it automatically stores all the
F
axes that is being received to the memory. It will
automatically print the
F
axes when the paper jam is resolved or the paper is loaded.
11.4. Contacts
You can edit the Contacts to edit the speed dial number and the group dial number so that
you can use speed dial when you send a
F
ax.
Speed Dial Number
In the
F
ax interface, press the Contacts button to enter the speed dial interface, enter the
speed dial number, and the system will automatically search for it. If the speed dial number
exists, the corresponding information is displayed, then press the Start button to begin the
F
axing; If the speed dial number does not exist, an error message is displayed; You can store
200 speed dial numbers at the maximum.
Group Dial Number
In the
F
ax interface, press the OK button to enter the
F
ax parameter settings interface, select
Contacts to enter the Contacts interface, select the group dial to enter the group dial interface,
select one of the groups, and press the Start button to begin group
F
axing. You can set a
maximum of 10 groups for Group Dial with up to 99 numbers in each group.
Содержание M6200 series
Страница 90: ...8 10 Select the corresponding SSID 5 Open the document to be printed click on Document Print ...
Страница 91: ...8 After the window pops up set the printing parameters and press the Print button on the top right corner ...
Страница 151: ...14 14 1 Chapter Menu Structure 14 Menu Structure 2 ...
Страница 153: ...15 15 1 Chapter Product Specifications 15 Product Specification 2 ...
Страница 158: ......


