Chapter 4
Settings — [PROJECTOR SETUP] menu
162 - ENGLISH
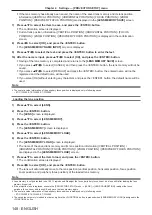
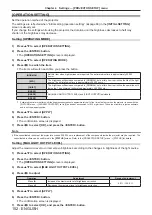
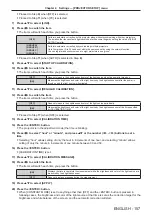
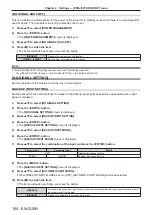
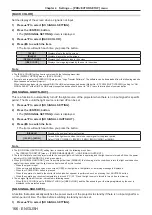
3) Set [CONSTANT MODE] of [BRIGHTNESS CONTROL SETUP] to [OFF], and select [APPLY], and then
press the <ENTER> button.
4) Set [OPERATING MODE] of each projector to the same setting. (
x
page 152)
5) Set the administrator account, [SUBNET MASK], and [IP ADDRESS] of each projector.
f
Set the administrator account (user name and password) of all linked projectors to the same setting.
f
To be able to communicate over the network, set the same value in [SUBNET MASK] for all projectors and
set a different value in [IP ADDRESS] for each projector.
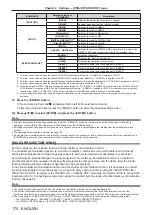
6) Wait for at least eight minutes after projection has started until the light source brightness becomes
steady.
7) Set all items in the [PICTURE] menu of all projectors to the same values.
8) Adjust [COLOR MATCHING] to match colors.
9) Display the internal test pattern “All white” in all projectors.
10) Set [LIGHT OUTPUT] of all projectors to 100 % or the maximum value that can be set.
f
Depending on the [OPERATING MODE] settings, [LIGHT OUTPUT] may not be able to be set to 100 %.
11) Set [LIGHT OUTPUT] of the projector with the least brightness to 90 % or 10 % lower than the
maximum value that can be set.
12) Adjust [LIGHT OUTPUT] of each projector.
f
Adjust [LIGHT OUTPUT] of all the other projectors so that the brightness will be the same as the projector
with the least brightness.
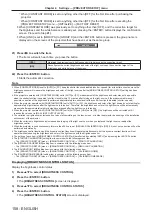
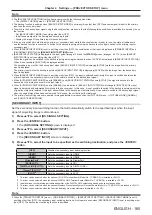
13) Set [CONSTANT MODE] of [BRIGHTNESS CONTROL SETUP] to [AUTO], and [LINK] to [GROUP A] in
all projectors.
14) Select [APPLY] of [BRIGHTNESS CONTROL SETUP] and press the <ENTER> button in all projectors.
f
Automatic correction by the brightness control function starts.
Note
f
Automatic correction is performed whenever the light source lights up by switching on/off the projector, etc.
f
When the variation in brightness or color has increased due to aging of the light source, or when the light source is replaced, reset
[BRIGHTNESS CONTROL SETUP].
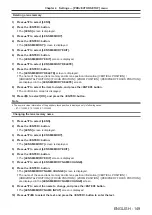
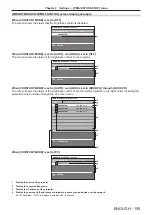
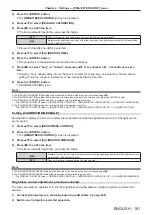
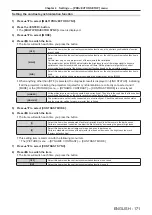
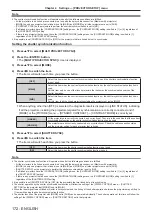
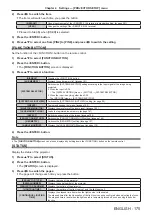
[STANDBY MODE]
Set the power consumption during standby.
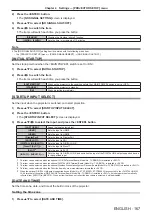
1) Press
as
to select [STANDBY MODE].
2) Press
qw
to switch the item.
f
The items will switch each time you press the button.
[NORMAL]
Select this item when using the network function during standby.
[ECO]
Select this item to reduce power consumption during standby.
Note
f
When [ECO] is set, the network function, the <SERIAL OUT> terminal, and some RS-232C commands become inoperable during standby.
When [NORMAL] is set, the network function and the <SERIAL OUT> terminal can be used during standby.
f
When [ECO] is set, it may take approximately 10 seconds longer before the projector starts projecting after the power is turned on,
compared with when [NORMAL] is set.
f
When [NORMAL] is set, power can be supplied using the <DC OUT> terminal even if the projector is in standby mode. If [ECO] is set, power
cannot be supplied in standby mode.
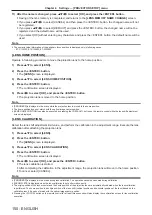
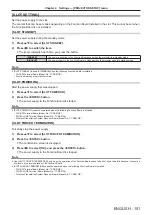
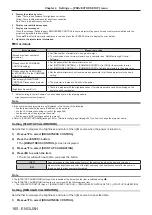
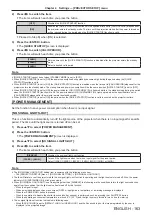
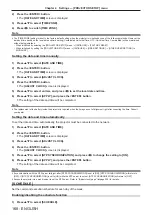
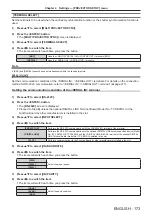
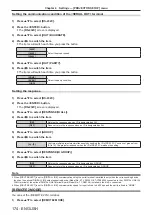
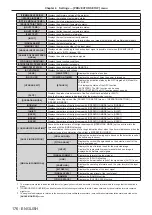
[QUICK STARTUP]
Set if the [QUICK STARTUP] function is enabled or disabled.
1) Press
as
to select [QUICK STARTUP].
Содержание PT-REQ12 Series
Страница 63: ...ENGLISH 63 Chapter 3 Basic Operations This chapter describes basic operations to start with...
Страница 208: ...208 ENGLISH Chapter 5 Operations This chapter describes how to use each function...
Страница 266: ...266 ENGLISH Chapter 7 Appendix This chapter describes specifications and after sales service for the projector...

