I N S T A L L A T I O N
94 / 216
XS10000_manual_ger_eng_it_V1.1.2.doc
R. Kistler
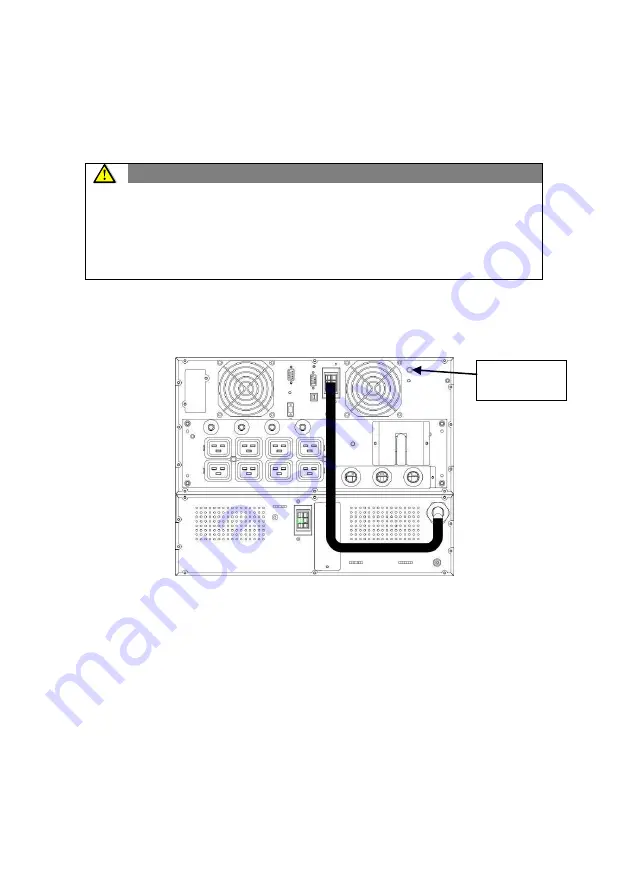
1. Connect each battery module to the ground connection (screw
on the rear side) using an additional cable (at least AWG 8) at
the ground potential (see Figure 11 bottom right).
CAUTION
A small spark can occur when the battery module is con-
nected to the UPS system. This is normal and does not pose
a hazard to people. Quickly and firmly insert the cable of the
battery module into the battery plug connection of the UPS
system.
2. Connect all plug connections between the battery modules
and the UPS system (see Figure 11). Up to four batteries can
be connected to the UPS system.
Figure 11: XANTO S 10000 with BP, Rack Installation (rear view)
3. Inserting the front covers:
Slide the front cover to the left until it engages in the holder on
the left side of the housing. Retighten the two screws on the
right side of the front cover.
Repeat the procedure for each additional battery module and
the UPS system.
4. Proceed with section
Electrical installation
.
Ground
connection
Содержание XANTO S 10000
Страница 2: ...2 216 XS6000 XS10000_manual_ger_eng_it_V1 1 2 doc R Kistler ...
Страница 70: ...T E C H N I S C H E D A T E N 70 216 XS6000 XS10000_manual_ger_eng_it_V1 1 2 doc R Kistler 9 3 CE Bestätigung ...
Страница 72: ...72 216 XS6000 XS10000_manual_ger_eng_it_V1 1 2 doc R Kistler ...
Страница 74: ...74 216 XS6000 XS10000_manual_ger_eng_it_V1 1 2 doc R Kistler ...
Страница 142: ...T E C H N I C A L D A T A 142 216 XS6000 XS10000_manual_ger_eng_it_V1 1 2 doc R Kistler 9 3 CE conformity ...
Страница 144: ...144 216 XS6000 XS10000_manual_ger_eng_it_V1 1 2 doc R Kistler ...
Страница 146: ...146 216 XS6000 XS10000_manual_ger_eng_it_V1 1 2 doc R Kistler ...
Страница 214: ...D A T I T E C N I C I 214 216 XS6000 XS10000_manual_ger_eng_it_V1 1 2 doc R Kistler 9 3 Dichiarazione CE ...
Страница 216: ...216 216 XS6000 XS10000_manual_ger_eng_it_V1 1 2 doc R Kistler ...


