I N S T A L L A T I O N
93 / 216
XS10000_manual_ger_eng_it_V1.1.2.doc
R. Kistler
5. Ensure that the connections of the battery modules do not
loosen. There must be sufficient bending radius and tension
relief for all cables.
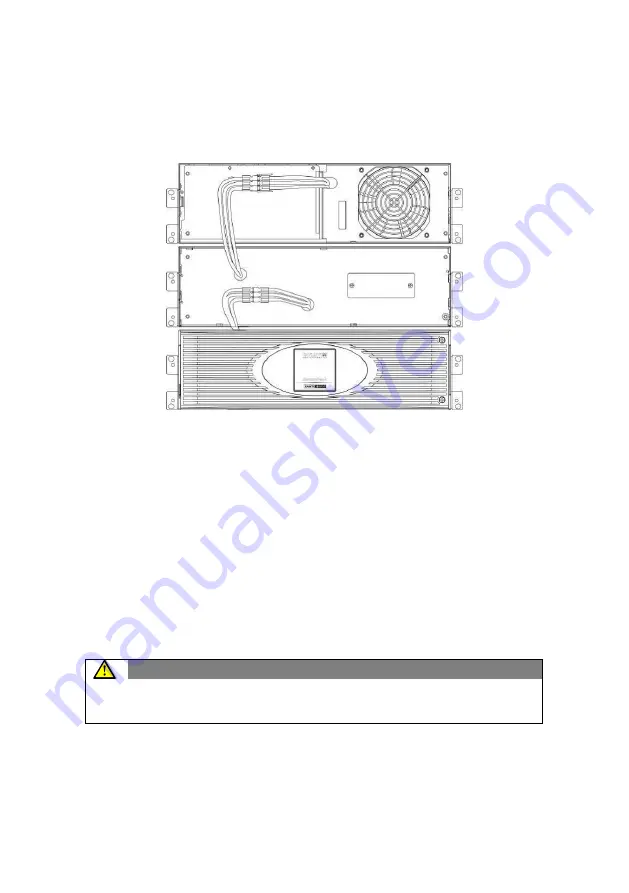
Figure 10: XANTO S 6000 with BP, Rack installation (front view)
6. Inserting the front cover of the battery module:
To insert the front cover again, make sure that the cables of
the battery module are guided through the cable ejections.
Then slide the front cover to the left until it engages in the
holder on the left side of the housing. Retighten the two
screws on the right side of the front cover.
Repeat the procedure for each additional battery module.
7. Proceed with section
Electrical installation
.
XANTO S 10000
CAUTION
Before connecting the battery modules to the UPS system,
the battery modules must be grounded.
Содержание XANTO S 10000
Страница 2: ...2 216 XS6000 XS10000_manual_ger_eng_it_V1 1 2 doc R Kistler ...
Страница 70: ...T E C H N I S C H E D A T E N 70 216 XS6000 XS10000_manual_ger_eng_it_V1 1 2 doc R Kistler 9 3 CE Bestätigung ...
Страница 72: ...72 216 XS6000 XS10000_manual_ger_eng_it_V1 1 2 doc R Kistler ...
Страница 74: ...74 216 XS6000 XS10000_manual_ger_eng_it_V1 1 2 doc R Kistler ...
Страница 142: ...T E C H N I C A L D A T A 142 216 XS6000 XS10000_manual_ger_eng_it_V1 1 2 doc R Kistler 9 3 CE conformity ...
Страница 144: ...144 216 XS6000 XS10000_manual_ger_eng_it_V1 1 2 doc R Kistler ...
Страница 146: ...146 216 XS6000 XS10000_manual_ger_eng_it_V1 1 2 doc R Kistler ...
Страница 214: ...D A T I T E C N I C I 214 216 XS6000 XS10000_manual_ger_eng_it_V1 1 2 doc R Kistler 9 3 Dichiarazione CE ...
Страница 216: ...216 216 XS6000 XS10000_manual_ger_eng_it_V1 1 2 doc R Kistler ...


