Roll-to-Roll Media Installation
7/26/04
3-5
3.3
Roll-to-Roll Media Installation
Successful media installation is dependent on several factors, including:
•
Centering/alignment of the supply media roll on the supply mandrel
•
Matching lengths of the supply and take-up cores
•
Aligned installation of the supply and take-up cores on the supply and take-up
mandrels
Inexact installation may result in media encoder errors, the misreading of the media width,
media rippling and/or head strikes.
3.3.1
Installing Supply Media
Follow the steps below to install a new supply media roll:
1.
Install the supply media on the mandrel (see Figure 3-3), ensuring that the media is
centered (see Figure 3-4), and secure the locking hubs.
2.
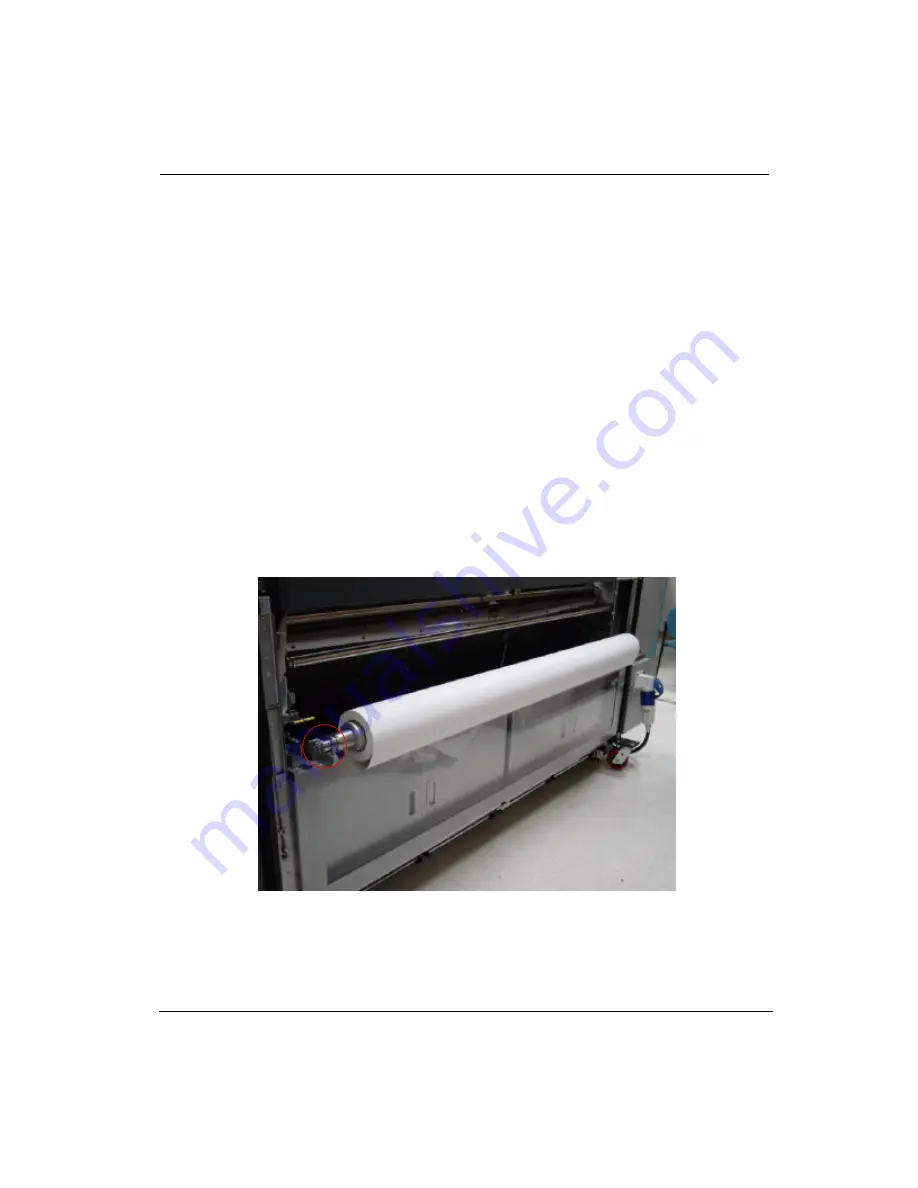
Lower the mandrel assembly support arms on both sides of the frame and place the
mandrel/media assembly into the machine (see Figure 3-5). Make sure the mandrel is
seated properly on the gear and steel rollers (see Figure 3-6)
.
Figure 3-5 Mandrel/Media Assembly on the Support Arms
Содержание Arizona 500
Страница 1: ...Oc Arizona 500 User Manual Revision F July 26 2004 Using ColorBlend six color printing technology...
Страница 2: ...Oc Display Graphics Systems 2004 All Rights Reserved...
Страница 6: ...Oc vi...
Страница 12: ...Oc Table of Contents xii...
Страница 26: ...Oc Ink System 2 6...
Страница 54: ...Oc Media System 3 28...
Страница 88: ...Oc Control Panel 4 34...
Страница 106: ...Oc Printer Maintenance 5 18...
Страница 114: ...Oc Error Messages and Troubleshooting 6 8...
Страница 116: ...Oc A 2 Figure A 1 Copies Reprints Menu...
Страница 117: ...7 26 04 A 3 Figure A 2 Print Parameters Menu...
Страница 118: ...Oc A 4 Figure A 3 Test Prints Menu...
Страница 119: ...7 26 04 A 5 Figure A 4 Maintenance Menu Part 1...
Страница 120: ...Oc A 6 Figure A 5 Maintenance Menu Part 2...
Страница 121: ...7 26 04 A 7 Figure A 6 Prewarm Menu...
Страница 122: ...Oc A 8 Figure A 7 Media Menu...
Страница 123: ...7 26 04 A 9 Figure A 8 Ink Menu...
Страница 124: ...Oc A 10 Figure A 9 About Printer Menu...
Страница 125: ...7 26 04 A 11 Figure A 10 Units Menu...
Страница 126: ...Oc A 12 Figure A 11 Set Clock Menu...
Страница 127: ...7 26 04 A 13 Figure A 12 Configure I O Menu...
Страница 128: ...Oc A 14...
Страница 136: ...Oc B 8 The printer is now ready to receive the first print of the day Photo 1...
Страница 137: ...7 26 04 B 9 Photo 2 Photo 3...
Страница 138: ...Oc B 10 Photo 4 Photo 5...
Страница 152: ...Oc C 14...
Страница 156: ...Oc Index Index 4...


