Product Description
7/26/04
1-3
printer can be run with media routed to the EMTU or to the conventional internal roller.
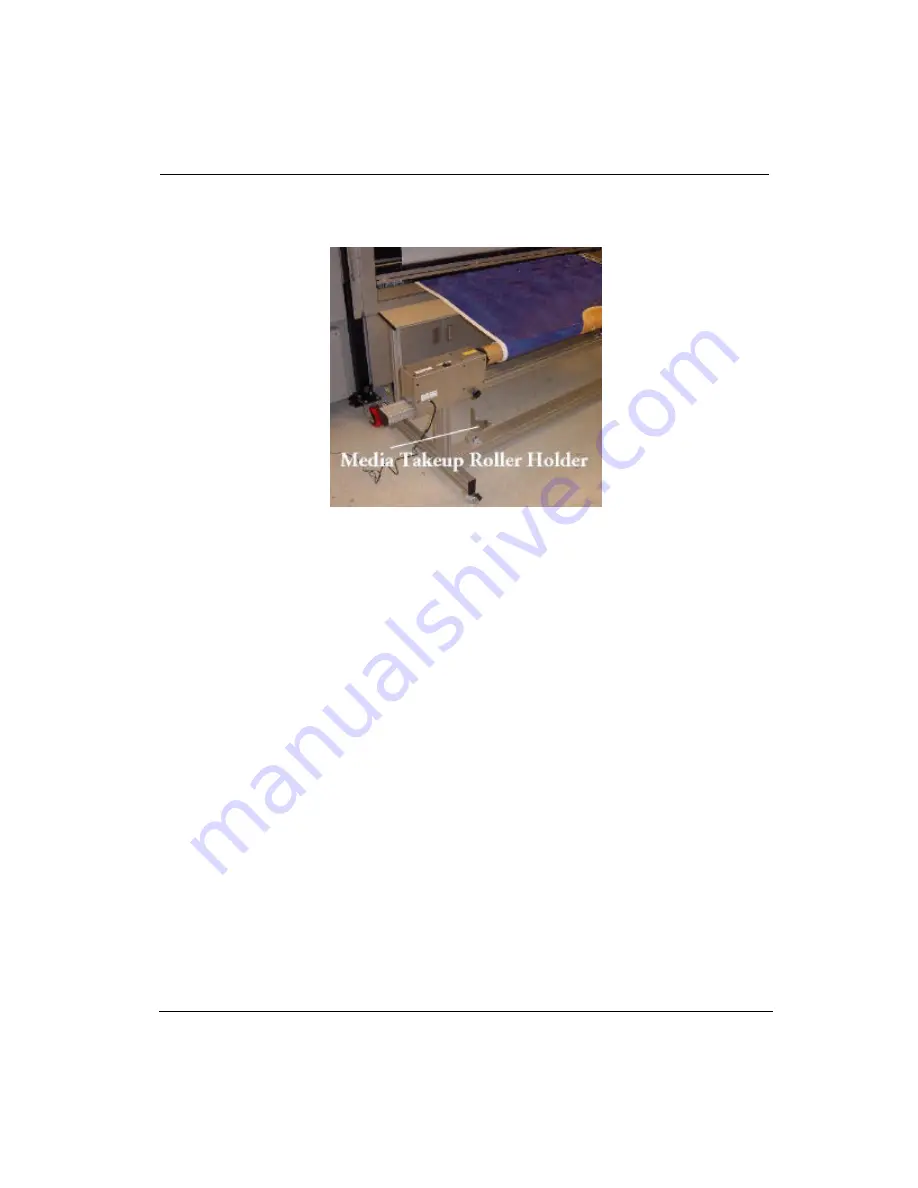
The EMTU contains a holder for the conventional roller when it is not in use (see Figure
1-1).
Figure 1-1 Media Take-up Roller Holder
Firmware changes that accommodate the Print & Go feature present a few operational
changes, including:
•
Whenever the ADVANCE MEDIA button is used to reposition the media, no
adjustment of the position occurs at the beginning of the next print. The effect
of the button is the same as if the user pressed the CANCEL button to
terminate the ADVANCE MEDIA function.
•
Océ strongly recommends that only a small amount of media be rewound
using the ADVANCE MEDIA button because the exposed media may not
track smoothly back through the printer.
•
When in Print & Go mode, the operator can ignore the take-up roll diameter
question because that diameter is not used.
•
The MEDIA USED value (feet/meters) is not displayed on the control panel.
•
Every print must pass through a dry cycle to prevent wet ink from offsetting
onto the lower black roller. (When a print enters the drying: cycle, a print
cannot be cancelled. If another print was in the queue prior to the print being
cancelled, the operator is given the option to continue drying or to cancel the
print.)
The media loading procedure for Print & Go mode is documented in “Print & Go Media
Installation” on page 3-15.
Содержание Arizona 500
Страница 1: ...Oc Arizona 500 User Manual Revision F July 26 2004 Using ColorBlend six color printing technology...
Страница 2: ...Oc Display Graphics Systems 2004 All Rights Reserved...
Страница 6: ...Oc vi...
Страница 12: ...Oc Table of Contents xii...
Страница 26: ...Oc Ink System 2 6...
Страница 54: ...Oc Media System 3 28...
Страница 88: ...Oc Control Panel 4 34...
Страница 106: ...Oc Printer Maintenance 5 18...
Страница 114: ...Oc Error Messages and Troubleshooting 6 8...
Страница 116: ...Oc A 2 Figure A 1 Copies Reprints Menu...
Страница 117: ...7 26 04 A 3 Figure A 2 Print Parameters Menu...
Страница 118: ...Oc A 4 Figure A 3 Test Prints Menu...
Страница 119: ...7 26 04 A 5 Figure A 4 Maintenance Menu Part 1...
Страница 120: ...Oc A 6 Figure A 5 Maintenance Menu Part 2...
Страница 121: ...7 26 04 A 7 Figure A 6 Prewarm Menu...
Страница 122: ...Oc A 8 Figure A 7 Media Menu...
Страница 123: ...7 26 04 A 9 Figure A 8 Ink Menu...
Страница 124: ...Oc A 10 Figure A 9 About Printer Menu...
Страница 125: ...7 26 04 A 11 Figure A 10 Units Menu...
Страница 126: ...Oc A 12 Figure A 11 Set Clock Menu...
Страница 127: ...7 26 04 A 13 Figure A 12 Configure I O Menu...
Страница 128: ...Oc A 14...
Страница 136: ...Oc B 8 The printer is now ready to receive the first print of the day Photo 1...
Страница 137: ...7 26 04 B 9 Photo 2 Photo 3...
Страница 138: ...Oc B 10 Photo 4 Photo 5...
Страница 152: ...Oc C 14...
Страница 156: ...Oc Index Index 4...


