Océ
C-4
Advantages of Two-sided Printing, Updated Instructions
Traditionally, vinyl graphics that are viewable from both sides have been printed on
separate pieces of material and subsequently sewn or stitched together back to back. The
obvious advantage of two-sided printing is the immediate savings resulting from using
half the amount of media. Other advantages include easier finishing and thereby reduced
finishing costs, faster time to market or turnaround time, less weight, more flexibility,
and reduced chance of damage during stitching.
The Océ Arizona 500 printer is capable of creating two-sided banner vinyl graphics for
use in many popular applications. Flags, POP banners, trade-show graphics and two-
way viewable graphics of all kinds can be made easily and accurately using the unique
capabilities of the Océ Arizona 500. This feature requires user input at the control panel,
and direct marking of the media to determine starting points from print to print. With
minimal hardware set-up and a little practice, the use of the two-sided printing feature
provides an effective means by which to produce two-sided vinyl graphics.
Two-Sided Printing
Step 1: Marking the platen
A. Load 75" vinyl into the machine in Roll-to-Roll mode.
Note: Two-sided printing will only work
effectively in the Roll-to-Roll printing mode.
Using the Print & Go external take-up
device is not recommended.
B. Specify "first side" in the control panel
when loading.
C. Allow machine to load normally.
D. Using the
Maintenance
menu, perform a
high purge.
E. Allow the machine to complete its purge,
and print the accompanying nozzle test - do
not advance the media.
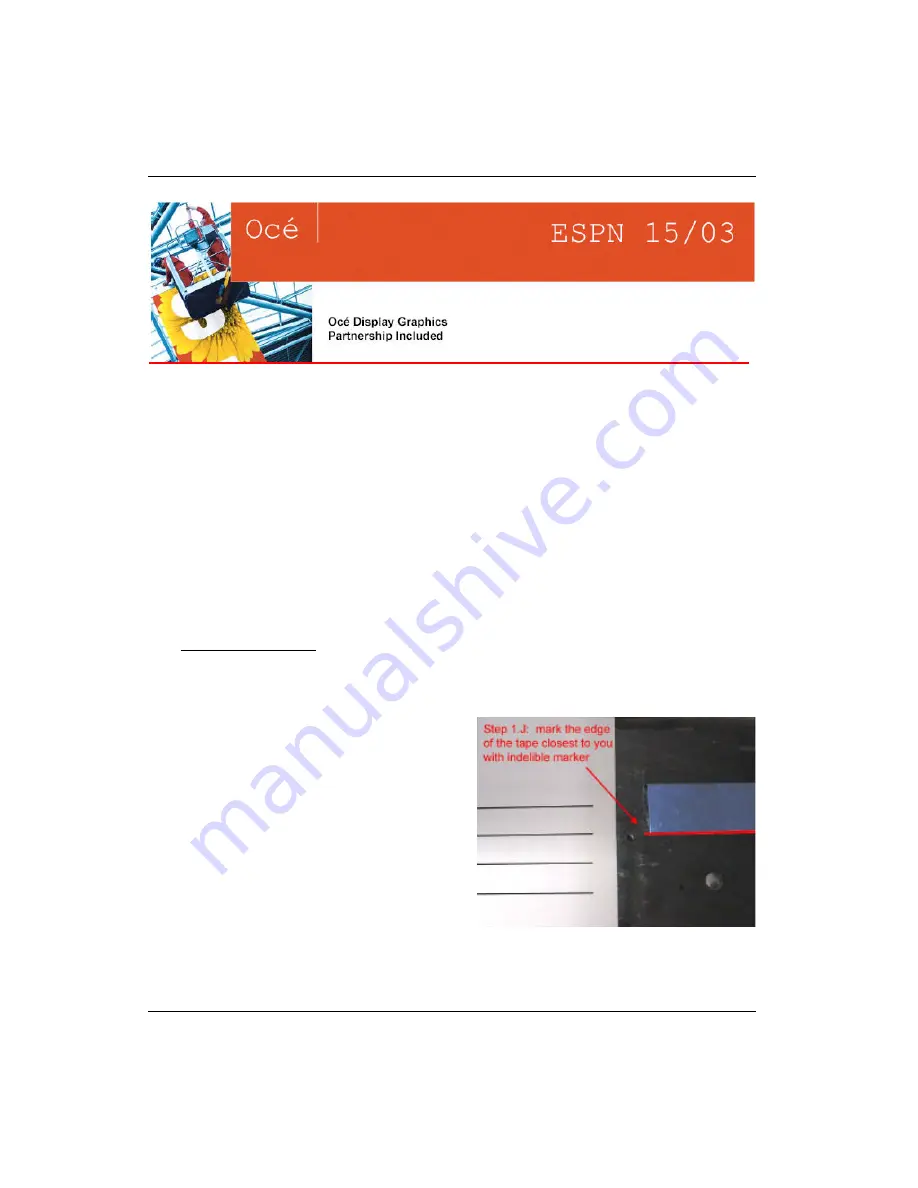
F. After the nozzle print is complete, open
Figure A
the lid of the printer.
Содержание Arizona 500
Страница 1: ...Oc Arizona 500 User Manual Revision F July 26 2004 Using ColorBlend six color printing technology...
Страница 2: ...Oc Display Graphics Systems 2004 All Rights Reserved...
Страница 6: ...Oc vi...
Страница 12: ...Oc Table of Contents xii...
Страница 26: ...Oc Ink System 2 6...
Страница 54: ...Oc Media System 3 28...
Страница 88: ...Oc Control Panel 4 34...
Страница 106: ...Oc Printer Maintenance 5 18...
Страница 114: ...Oc Error Messages and Troubleshooting 6 8...
Страница 116: ...Oc A 2 Figure A 1 Copies Reprints Menu...
Страница 117: ...7 26 04 A 3 Figure A 2 Print Parameters Menu...
Страница 118: ...Oc A 4 Figure A 3 Test Prints Menu...
Страница 119: ...7 26 04 A 5 Figure A 4 Maintenance Menu Part 1...
Страница 120: ...Oc A 6 Figure A 5 Maintenance Menu Part 2...
Страница 121: ...7 26 04 A 7 Figure A 6 Prewarm Menu...
Страница 122: ...Oc A 8 Figure A 7 Media Menu...
Страница 123: ...7 26 04 A 9 Figure A 8 Ink Menu...
Страница 124: ...Oc A 10 Figure A 9 About Printer Menu...
Страница 125: ...7 26 04 A 11 Figure A 10 Units Menu...
Страница 126: ...Oc A 12 Figure A 11 Set Clock Menu...
Страница 127: ...7 26 04 A 13 Figure A 12 Configure I O Menu...
Страница 128: ...Oc A 14...
Страница 136: ...Oc B 8 The printer is now ready to receive the first print of the day Photo 1...
Страница 137: ...7 26 04 B 9 Photo 2 Photo 3...
Страница 138: ...Oc B 10 Photo 4 Photo 5...
Страница 152: ...Oc C 14...
Страница 156: ...Oc Index Index 4...


