Chapter 8
Capturing Images with Advanced Setting Menu
85
Photogr
ap
hin
g and
Playi
ng Image
s
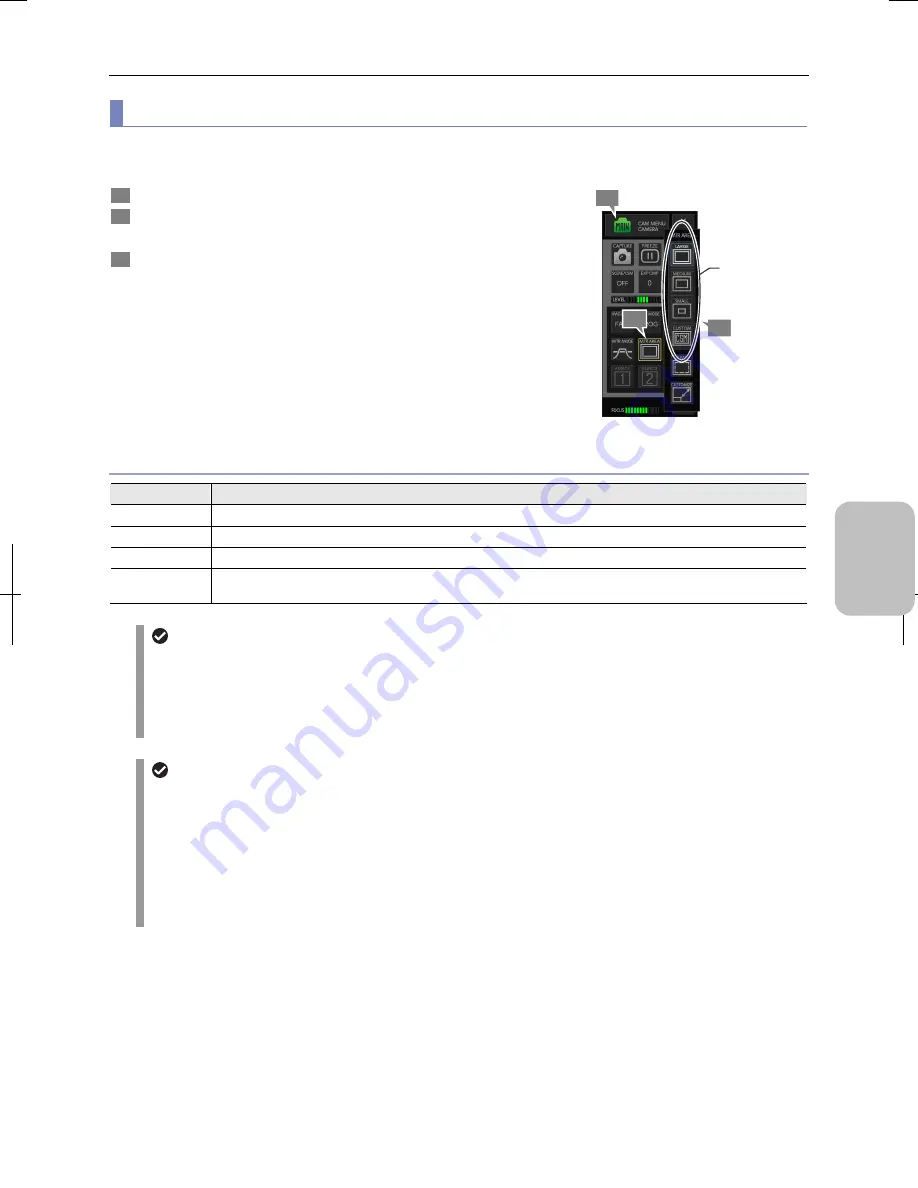
(4) Switching the metering area
Select the size of the area for metering brightness of the object (metering area) and move the area to an arbitrary position on
the screen if necessary.
1
Display the [CAM MENU: CAMERA] long screen.
2
Press the [MTR AREA] button.
The [MTR AREA] submenu appears.
3
Select a size of the metering area.
For details of each option, refer to the table below.
•
[LARGE] (default)
•
[MEDIUM]
•
[SMALL]
•
[CUSTOM]
When you select a metering area size, the icon of the [MTR
AREA] button changes accordingly.
Note: The photometry area is used for white balancing.
Switching the size of photometry area
Options of photometry area
Option
Description
Large
This mode measures the brightness in the 90%-size area of the photographed image.
Medium
This mode measures the brightness in the 50%-size area of the photographed image.
Small
This mode measures the brightness in the 20%-size area of the photographed image.
Custom
The photographer specifies the photometry area.
Refer to “Customizing the photometry area” for setting details.
Setting for power-on
•
The size and position of the photometry area is saved at the time of power-off and recovered at the next
power-on. If [[CUSTOM No] is set to a registered custom option number in the [SETUP MENU: MAIN], the
photometry area size specified by the custom setting is used.
•
If the metering area is set to [CUSTOM] for custom settings registration, the resulting metering area will be half
the size of [SMALL] with (or a quarter). The position is set to the center.
Automatic change of the photometry area
In some cases, the photometry area changes with the following operations:
•
Selection of [SCENE/CSM]:
The photometry area size is changed to the value registered in the scene mode/custom setting. The area position
becomes the center of the screen. If the metering area is set to [CUSTOM] for custom settings registration, the
resulting metering area will be half the size of [SMALL] with (or a quarter). The position is set to the center.
•
Execution of [CLR SET]:
Executing [CLR SET] in the [CAM MENU: NR/SD/SET] screen changes the photometry area size to [LARGE]
and its position to the center.
1
3
2
Select a size
of photometry
area.
Содержание DS-L3
Страница 2: ......


