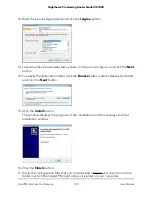
If your device is a Windows 64-bit system, the OpenVPN client utility is installed by
default in the
C:\Program files\OpenVPN\config\
folder.
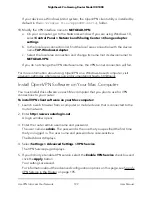
18. Modify the VPN interface name to NETGEAR-VPN:
a. On your computer, go to the Networks window. If you are using Windows 10,
select Control Panel > Network and Sharing Center > Change adapter
settings.
b. In the local area connection list, find the local area connection with the device
name TAP-Windows Adapter.
c. Select the local area connection and change its name (not its device name) to
NETGEAR-VPN.
If you do not change the VPN interface name, the VPN tunnel connection will fail.
For more information about using OpenVPN on a Windows-based computer, visit
openvpn.net/index.php/open-source/documentation/howto.html#quick.
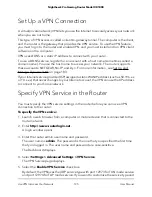
Install OpenVPN Software on Your Mac Computer
You must install this software on each Mac computer that you plan to use for VPN
connections to your router.
To install VPN client software on your Mac computer:
1. Launch a web browser from a computer or mobile device that is connected to the
router network.
2. Enter http://www.routerlogin.net.
A login window opens.
3. Enter the router admin user name and password.
The user name is admin. The password is the one that you specified the first time
that you logged in. The user name and password are case-sensitive.
The Dashboard displays.
4. Select Settings > Advanced Settings > VPN Service.
The VPN Service page displays.
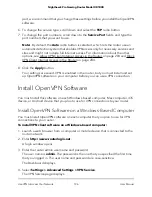
5. If you did not yet enable VPN service, select the Enable VPN Service check box and
click the Apply button.
Your settings are saved.
For information about the advanced configuration options on this page, see Specify
VPN Service in the Router on page 195.
User Manual
199
Use VPN to Access Your Network
Nighthawk Pro Gaming Router Model XR1000


