General Description 2-13
USING YOUR SERVER
This section describes basic operations of the server.
Power On
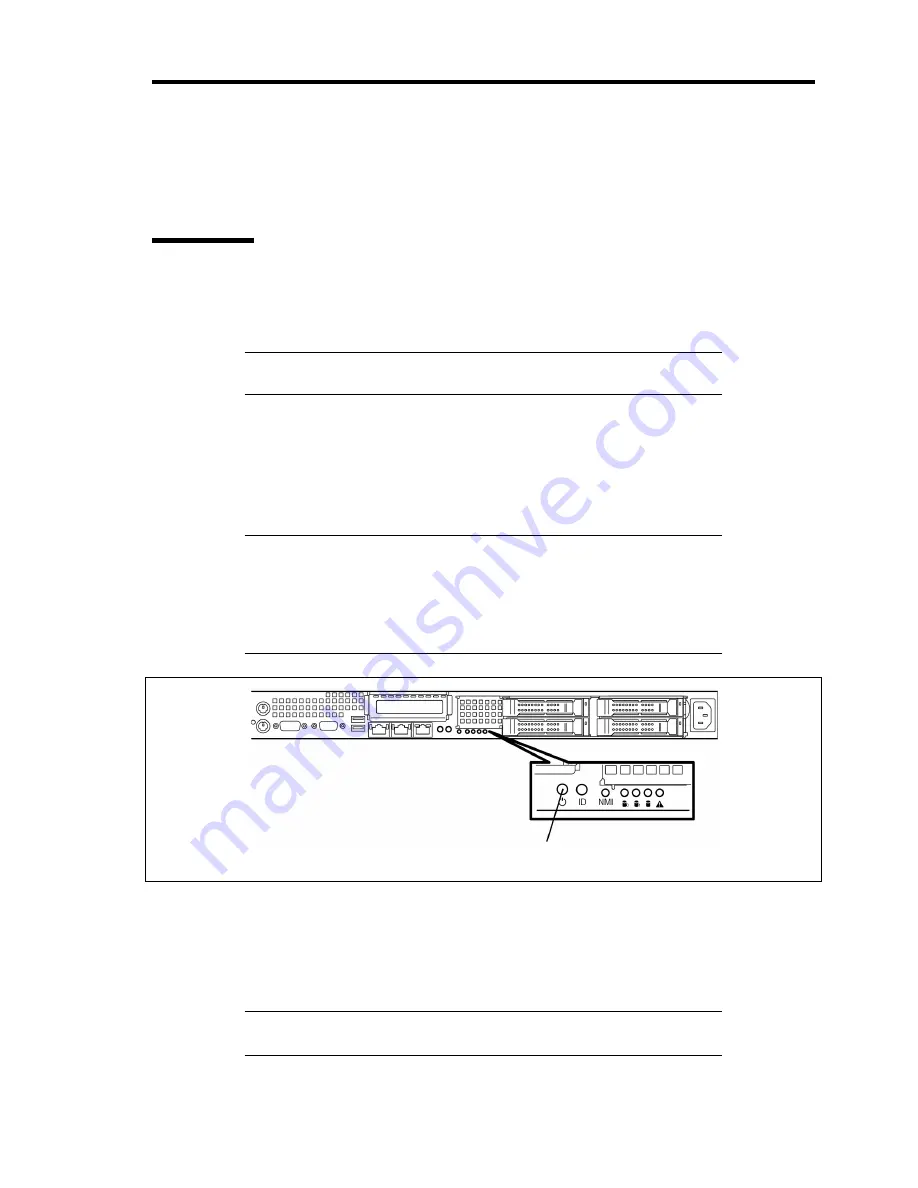
Press the POWER switch on the front of the chassis to power on the server.
Power on the server in the following procedure.
IMPORTANT:
Connect a display unit to the monitor connector located
at front of the server before turning on the server.
1.
Turn on the display unit and peripheral devices connected with the server.
2.
Press the POWER switch on the front panel of the server.
The POWER LED goes on green, and after a while, NEC logo appears on the screen of
the display unit.
IMPORTANT:
Connect the power cord to AC inlet and wait for 10 seconds or
longer before pressing the POWER switch.
Do not turn off the server until characters and NEC logo appear on
the screen.
While the NEC logo is being displayed, the server runs POST (Power On Self-Test) to
check the system board, CPU module, memory, keyboard, and installed peripheral
devices.
When POST completes, the operating system starts.
NOTE:
If POST detects an error, it pauses and displays error message.
See Chapter 8 for POST error message.
POWER LED / POWER switch
Содержание N8100-1573F
Страница 16: ...x This page is intentionally left blank...
Страница 19: ...Notes on Using Your Server 1 3 3 5 inch Disk Model FRONT REAR...
Страница 126: ...4 50 Configuring Your Server This page is intentionally left blank...
Страница 202: ...6 8 Installing and Using Utilities 4 Click Parameter File Creator Parameter File Creator will appear...
Страница 296: ...A 2 Specifications This page is intentionally left blank...
Страница 304: ...C 2 IRQ This page is intentionally left blank...
Страница 333: ...Installing Windows Server 2008 D 29 4 Activate Windows The Windows activation is complete...
Страница 390: ...G 2 Using a Client Computer Which Has a CD Drive This page is intentionally left blank...
Страница 394: ...H 4 Product Configuration Record Table This page is intentionally left blank...


