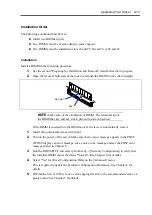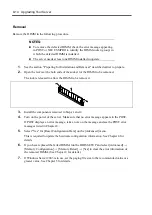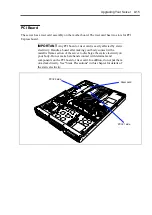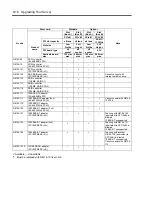
Upgrading Your Server 9-11
1.
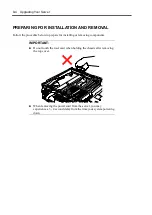
See the section "Preparing for Installation and Removal" described earlier to prepare.
2.
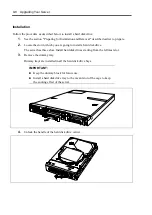
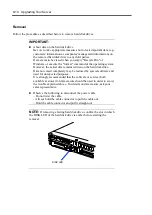
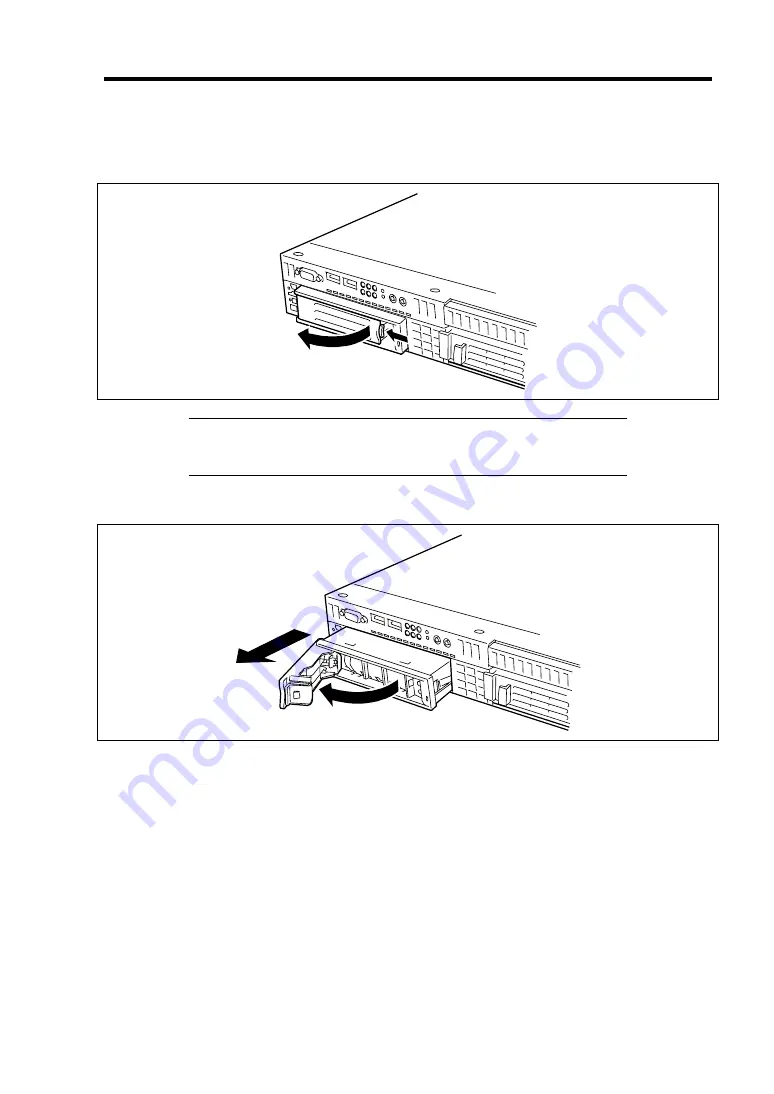
Push the lever to unlock, and open the handle.
NOTE:
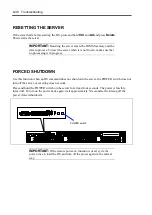
The POWER switch is located close to the hard disk drive bay.
Be careful not to press the POWER switch when installing or removing
the hard disk drive. Otherwise, the system shutdown will occur.
3.
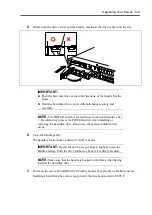
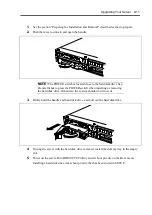
Firmly hold the handle and hard disk drive, and pull out the hard disk drive.
4.
If using the server with the hard disk drive removed, install the dummy tray in the empty
slot.
5.
Power on the server. Run BIOS SETUP utility and set boot priority on the Boot menu.
Installing a hard disk drive clears boot priority that has been stored in SETUP.
Содержание N8100-14522F
Страница 16: ...x This page is intentionally left blank...
Страница 122: ...4 54 Configuring Your Server This page is intentionally left blank...
Страница 165: ...Installing and Using Utilities 6 9 4 Click Parameter File Creator Parameter File Creator will appear...
Страница 178: ...6 22 Installing and Using Utilities This page is intentionally left blank...
Страница 190: ...7 12 Maintenance This page is intentionally left blank...
Страница 254: ...A 2 Specifications This page is intentionally left blank...
Страница 262: ...C 2 IRQ This page is intentionally left blank...
Страница 316: ...F 2 Using a Client Computer Which Has a CD Drive This page is intentionally left blank...
Страница 320: ...G 4 Product Configuration Record Table This page is intentionally left blank...

