5-24 Installing the Operating System with Express Setup
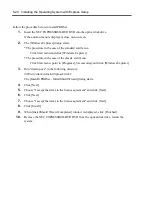
[When PROSet is installed]
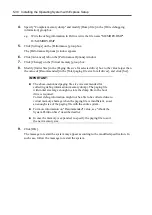
1.
The [Intel(R) PROSet] dialog box appears.
* The procedure in the case of the standard start menu
Click Start menu, point to [Control Panel], [administrative tools], and click
[Computer Management] and then double click the [(Network Adapter Name)] in the
Network Adapter list.
* The procedure in the case of the classic start menu
1. Click Start menu, point to [Settings] and click [Control Panel].
2. Click [administrative tools].
3. Click [Computer Management] and double click the [(Network Adapter Name)] in
the Network Adapter list.
2.
Click the [Link] and specify the [Speed and Duplex] value the same as the value specified
for HUB.
3.
Click [Apply] and click [OK].
Also, add or delete any protocols and services if necessary.
You can operate the process on the property dialog box for local area network which can be
appeared from [Network and Dial-up Connection].
NOTE:
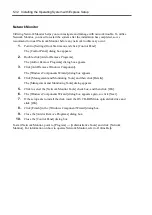
We recommend you to add [Network Monitor] at [Adding
Services]. [Network Monitor] can monitor the frame (or the
packet)that the computer installing [Network Monitor] sends or
receives. This tool is valuable when analyzing network trouble. For
information on how to install the tool, see the "Setting for Solving
Problems" described later in this chapter.
Содержание N8100-14522F
Страница 16: ...x This page is intentionally left blank...
Страница 122: ...4 54 Configuring Your Server This page is intentionally left blank...
Страница 165: ...Installing and Using Utilities 6 9 4 Click Parameter File Creator Parameter File Creator will appear...
Страница 178: ...6 22 Installing and Using Utilities This page is intentionally left blank...
Страница 190: ...7 12 Maintenance This page is intentionally left blank...
Страница 254: ...A 2 Specifications This page is intentionally left blank...
Страница 262: ...C 2 IRQ This page is intentionally left blank...
Страница 316: ...F 2 Using a Client Computer Which Has a CD Drive This page is intentionally left blank...
Страница 320: ...G 4 Product Configuration Record Table This page is intentionally left blank...

