Chapter 3
Setting Up a Design
3-14
ni.com
6.
Click
OK
to return to the
Part Groups
tab. The newly created group
appears in the
Groups
list.
7.
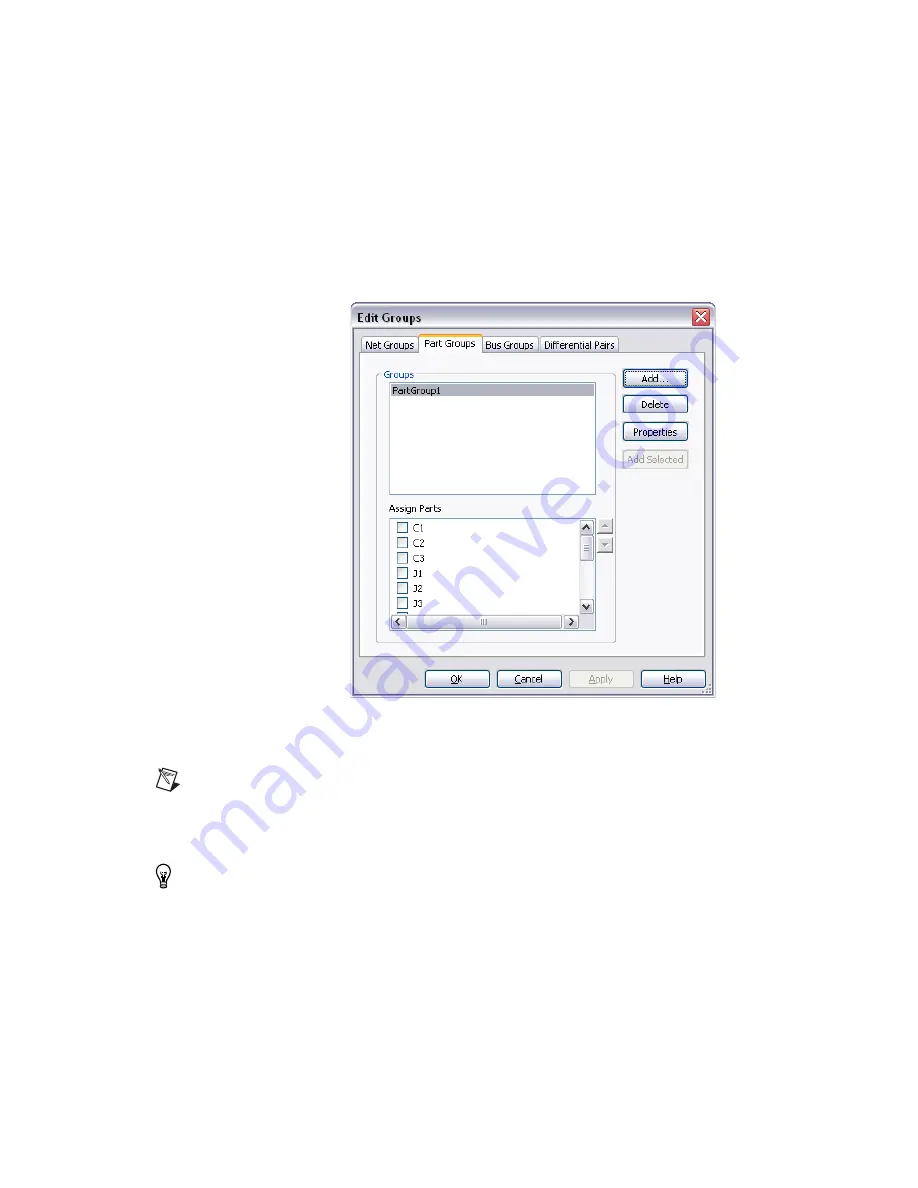
Highlight the new group to display a list of parts you can add to the
group in the
Assign Parts
list, as shown in the example below.
8.
Click checkboxes beside the desired parts in the
Assign Parts
list and
click
Apply
to add them to the group.
Note
You cannot assign a part to more than one group. Therefore, parts that are already
assigned to another group do not appear in the
Assign Nets
list.
9.
Click
OK
to close the
Edit Groups
dialog box.
Tip
When adding parts to a
Part Group
, you can select parts on the workspace and then
click
Add Selected
in the
Part Groups
tab—the selected parts are added to the group.


