Chapter 4
Working with Parts
4-42
ni.com
•
The
Parts
panel, which lists the parts in the selected sub-category. The
Parts
panel contains the following buttons to help you work with the
parts:
•
The
Preview
panel, which allows you to preview the part you selected
in the
Parts
panel. To manipulate the view of the part, click in the
Preview
area and use any of the following:
–
Show Dimensions
button—Displays selected dimensions of the
part (unit of measure is set from the
Units
drop-down list). To
change the displayed dimensions, click on the down-arrow beside
the
Show Dimensions
button.
–
Zoom In
button—Click to zoom in on the part for more detail.
You can also press the F8 key.
–
Zoom Out
button—Click to zoom out. Shows less detail and
more of the whole part. You can also press the F9 key.
–
Zoom Window
button—Click (or press <F6>) and then drag a
rectangle around the portion of the part you want to enlarge. The
area inside the rectangle enlarges to fill the
Preview
panel.
–
Zoom Full
button—Click to view the entire part. You can also
press <Ctrl-F7>.
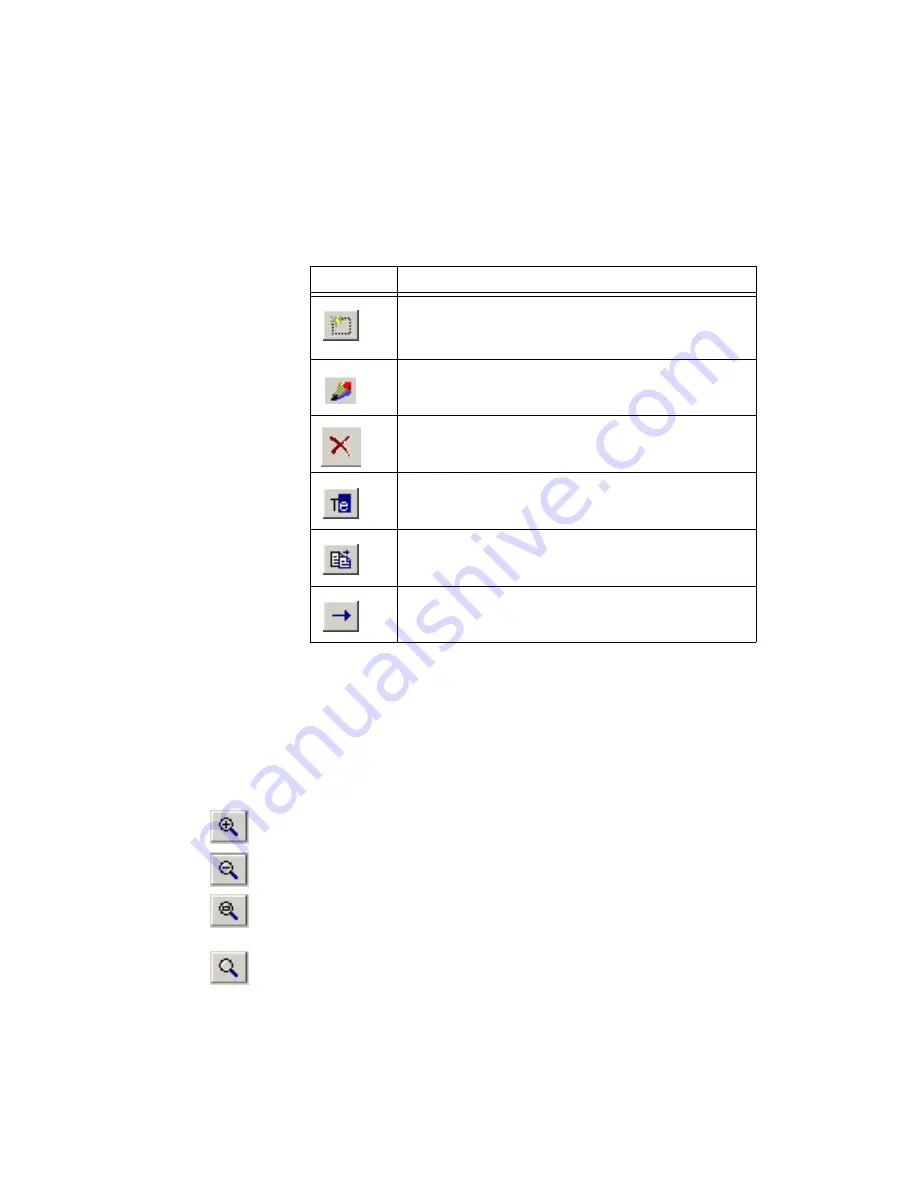
Button
Description
New
button. Creates a new part. Refer to the
Database Manager to Create a Part
section for more
information.
Edit
button. Edits a part. Refer to the
section for more information.
Delete
button. Deletes a part.
Rename
button. Renames a part.
Copy
button. Copies a part.
Move
button. Moves a part.


