Chapter 4
Working with Parts
4-28
ni.com
•
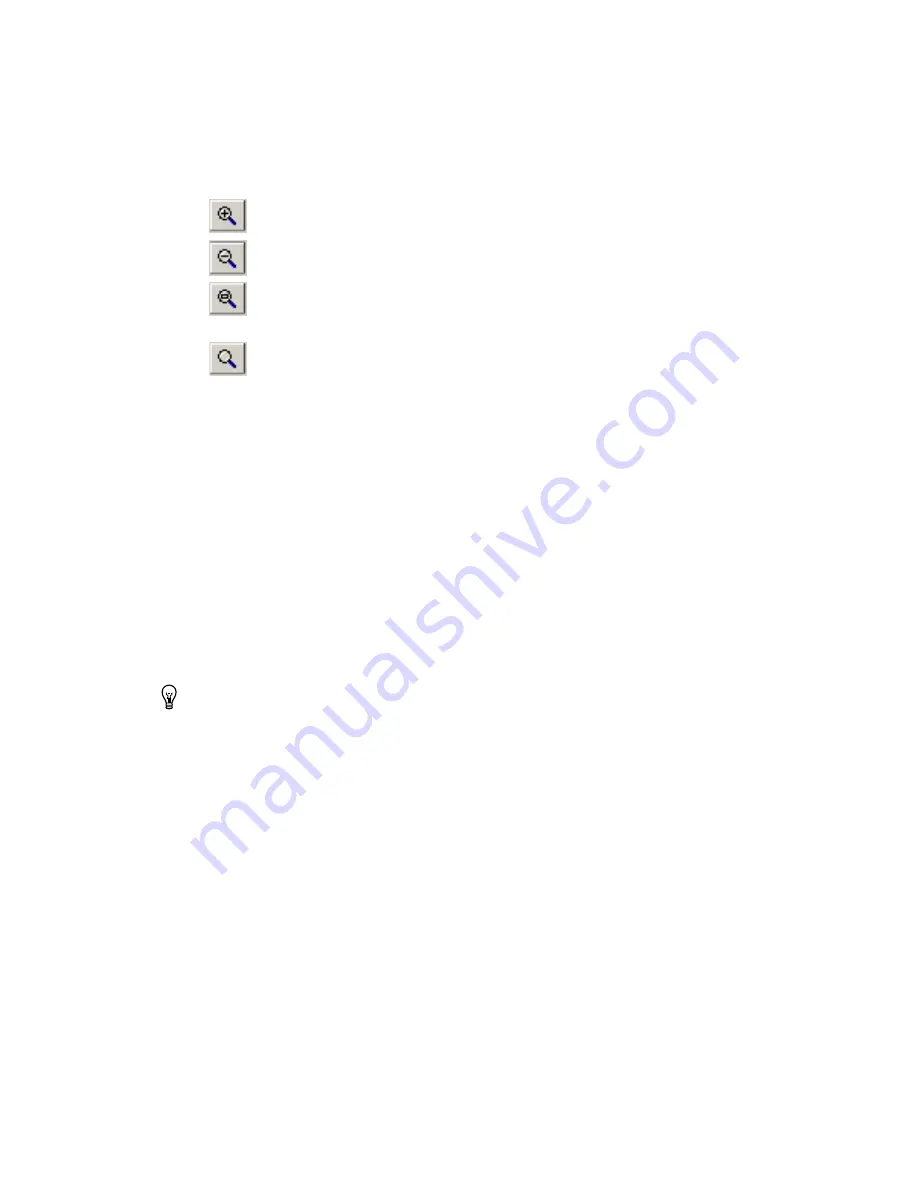
Zoom In
button—Click to zoom in on the part for more detail.
You can also press the F8 key.
•
Zoom Out
button—Click to zoom out. Shows less detail and
more of the whole part. You can also press the F9 key.
•
Zoom Window
button—Click (or press <F6>) and then drag a
rectangle around the portion of the part you want to enlarge. The
area inside the rectangle enlarges to fill the
Preview
panel.
•
Zoom Full
button—Click to view the entire part. You can also
press <Ctrl-F7>.
•
Mouse Wheel
—If your mouse has a center wheel, you can use it
to zoom in and out on the part.
•
Scroll bars
—When the part has been enlarged beyond the borders
of the
Preview
area, scroll bars appear that you can move in the
usual manner to locate the desired section of a part.
4.
Click
OK
. The
Get a part from the Database
dialog box disappears,
and the
Enter Reference Designation for Part
dialog box appears.
5.
Enter the part’s
REFDES
(Reference Designator) and
Value
(for
example, 20 ohms for a resistor) and click
OK
.
6.
Move the pointer over the board. The selected part is attached to the
pointer.
7.
When the part is in position, click to drop it on the board.
8.
Optionally, adjust or move the part further into position. Refer to the
Tools to Assist Part Placement
section for more information.
Tip
When you place parts from the database you must add them to the netlist. Refer to the
section of Chapter 5,
Working with Traces and Copper
, for more
information.


