


Chapter 6
190
Using tiled fill attributes
Tiled fill attributes are patterns based on a repeating object, or tile, that you create from graphics
or text pasted into the Object panel. You cannot create a tiled fill from an EPS image, bitmap
image, another tiled fill, or a lens-filled object.
To create and apply a tiled fill attribute to a selected fill in the Object panel:
1
Copy the graphics or text you want to use as a tile.
2
Select the object you want to fill.
3
In the Object panel, do one of the following:
•
Select the fill to which you want to add a tiled attribute.
•
Click the Add Fill button.
4
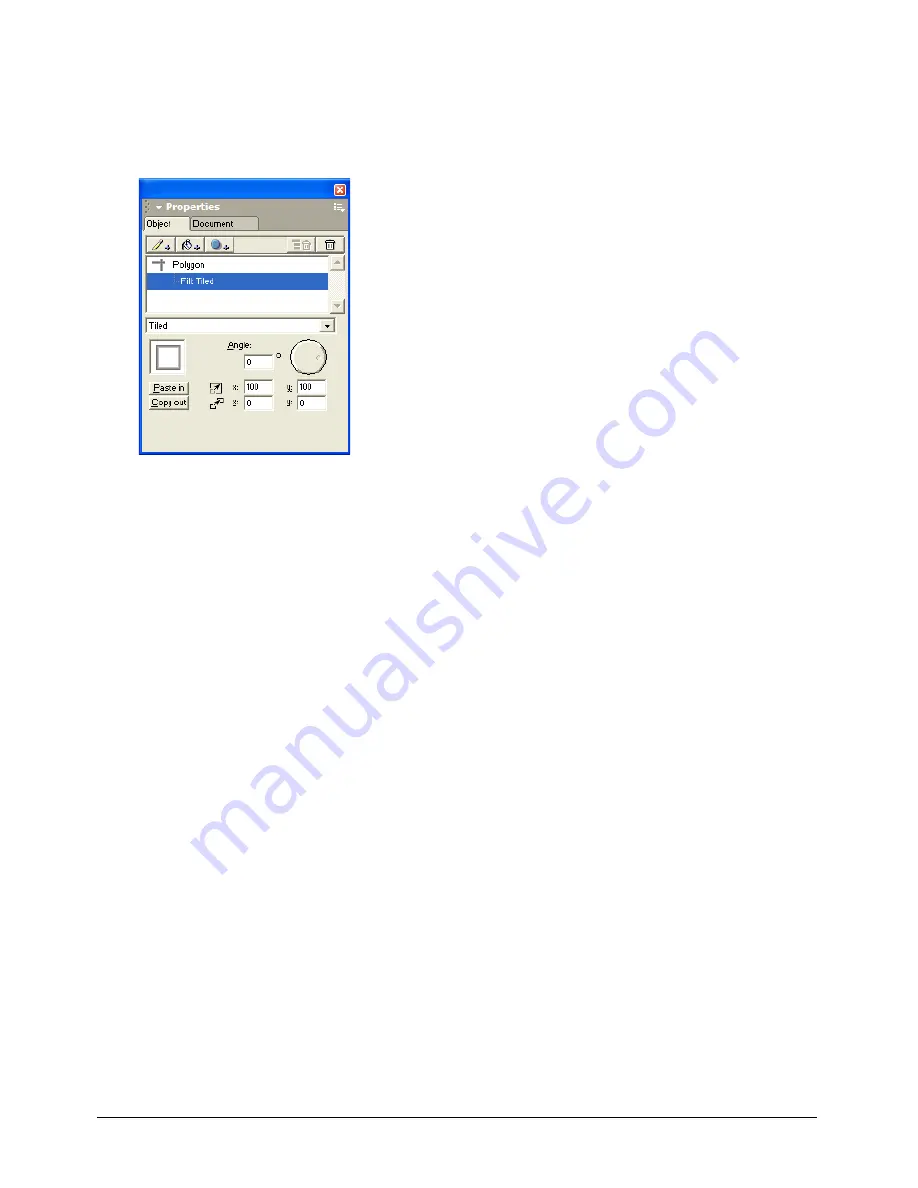
Select Tiled from the fill type pop-up menu.
5
Click Paste In to paste the tile in the preview pane.
6
For Angle, enter a value or drag the dial to set the tile’s orientation.
7
In the scale text boxes, enter x and y percentage values to resize the tile.
8
In the offset text boxes, enter values to shift the tile’s position within the object being filled:
•
Positive x values move the fill to the right; negative values move it left.
•
Positive y values move the fill up; negative values move it down.
To copy a tile attribute from a selected fill in the Object panel:
1
Select the fill that contains the tile attribute you want to copy.
2
In the Object panel, the tile appears in the preview pane. Click Copy Out to copy the tile
object to the Clipboard.
You can now copy the tile object into your document or use it to create a tiled fill for
another object.
Содержание FreeHand MX
Страница 1: ...Using FreeHand MX Macromedia FreeHand MX...
Страница 42: ...Chapter 1 42...
Страница 192: ...Chapter 6 192...
Страница 232: ...Chapter 7 232...
Страница 288: ...Chapter 8 288...
Страница 308: ...Chapter 9 308...
Страница 340: ...Chapter 11 340...
Страница 362: ...Chapter 12 362...
Страница 374: ...Chapter 13 374...
Страница 388: ...Chapter 14 388...


