3
Touch
Scan to USB
and adjust the settings if necessary.
Note:
If the USB Drive screen does not appear, then touch
USB Drive
on the home screen.
4
Scan the document.
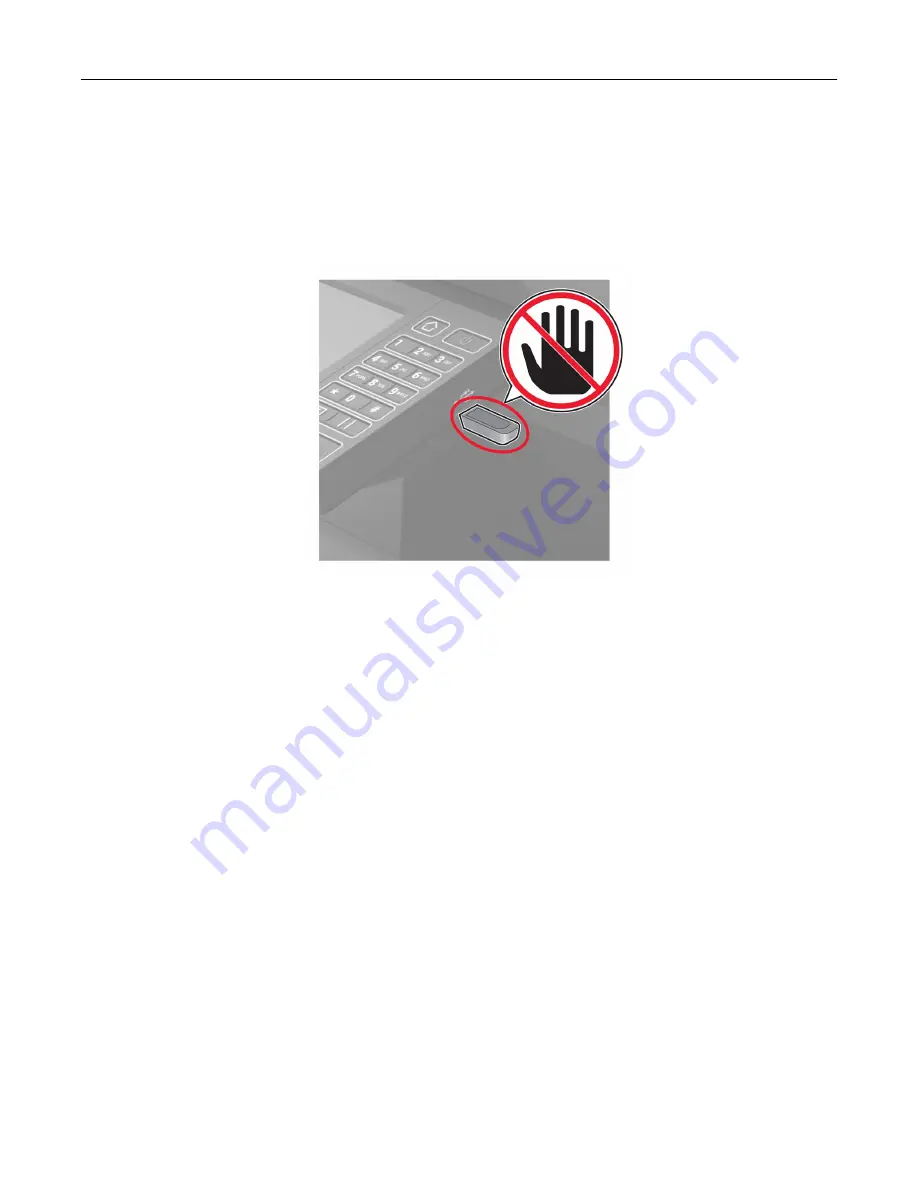
Warning—Potential Damage:
To avoid loss of data or printer malfunction, do not touch the flash drive or
the printer in the area shown while actively printing, reading, or writing from the memory device.
Scanning to a fax server
1
Load an original document into the ADF tray or on the scanner glass.
2
From the home screen, touch
Scan Center
, and then from the list of destinations, select
Fax
.
3
Select a fax destination.
Note:
To create a fax destination, touch
Create Fax
.
4
Scan the document.
Sending scanned documents to a computer
1
Load an original document into the ADF tray or on the scanner glass.
2
From the home screen, touch
Scan Profiles
>
Scan To Computer
.
3
Select the scan profile where you want to save the document.
Scanning to a Cloud Connector profile
1
Load the document into the ADF tray or on the scanner glass.
2
From the home screen, touch
Cloud Connector
.
Scanning
60
Содержание XM5365
Страница 48: ...3 From the Shortcut Type menu select Copy and then configure the settings 4 Apply the changes Copying 48 ...
Страница 159: ...5 Insert the new fuser until it clicks into place 6 Lock the fuser 7 Close the door Maintaining the printer 159 ...
Страница 167: ...2 Remove the used pick roller 3 Unpack the new pick roller Maintaining the printer 167 ...
Страница 173: ...6 Insert the new ADF feed roller until it clicks into place Maintaining the printer 173 ...


