Jam locations
1
Door C
2
Trays
3
Multipurpose feeder
4
Door A
5
Standard bin
6
Automatic document feeder
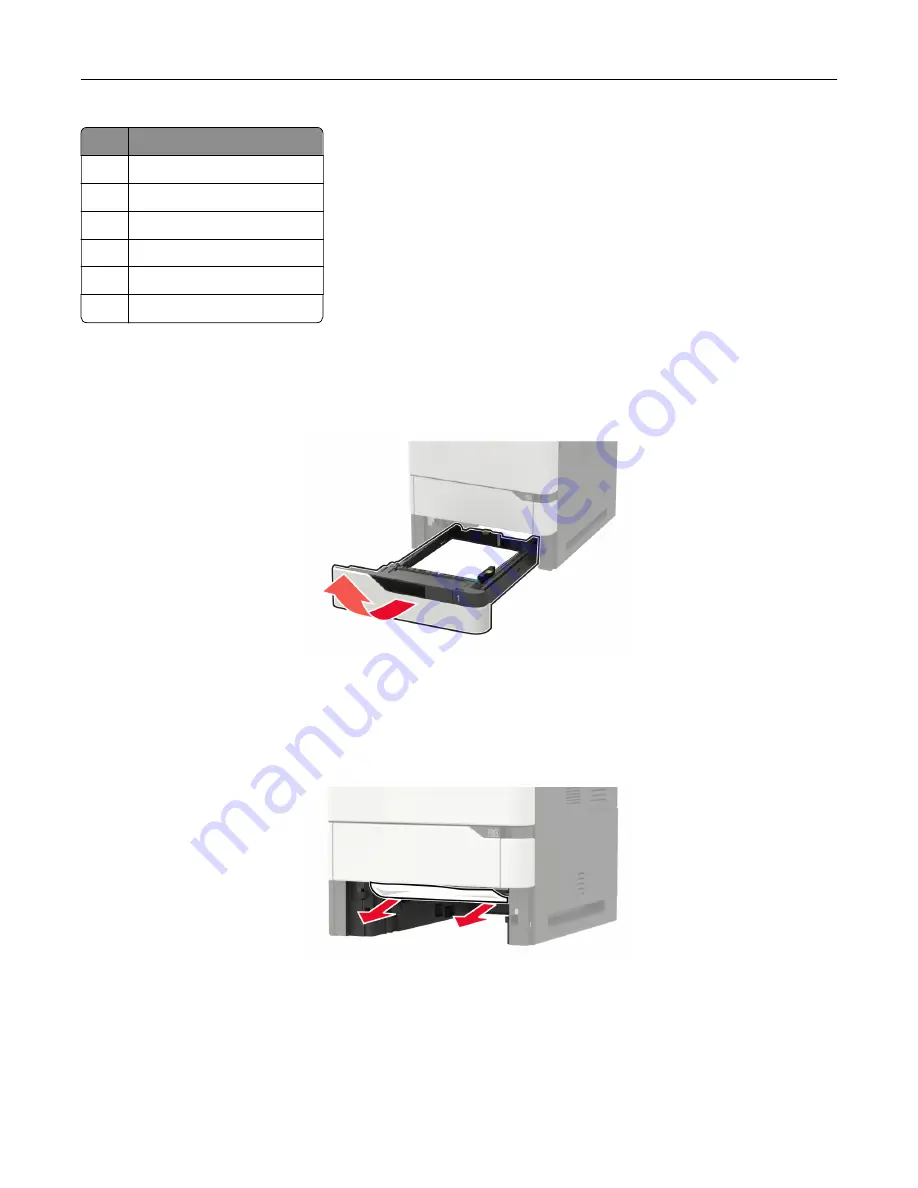
Paper jam in trays
1
Remove the tray.
Warning—Potential Damage:
A sensor inside the optional tray is easily damaged by static electricity.
Touch a metal surface before removing the jammed paper in the tray.
2
Remove the jammed paper.
Note:
Make sure that all paper fragments are removed.
3
Insert the tray.
Paper jam in door A
1
Open door A.
Clearing jams
185
Содержание XM5365
Страница 48: ...3 From the Shortcut Type menu select Copy and then configure the settings 4 Apply the changes Copying 48 ...
Страница 159: ...5 Insert the new fuser until it clicks into place 6 Lock the fuser 7 Close the door Maintaining the printer 159 ...
Страница 167: ...2 Remove the used pick roller 3 Unpack the new pick roller Maintaining the printer 167 ...
Страница 173: ...6 Insert the new ADF feed roller until it clicks into place Maintaining the printer 173 ...


