Faxing
Setting up the printer to fax
Notes:
•
The following connection methods are applicable only in some countries or regions.
•
During the initial printer setup, clear the fax function check box and any other function that you plan to
set up later, and then select
Continue
.
•
If the fax function is enabled and not fully set up, then the indicator light may blink red.
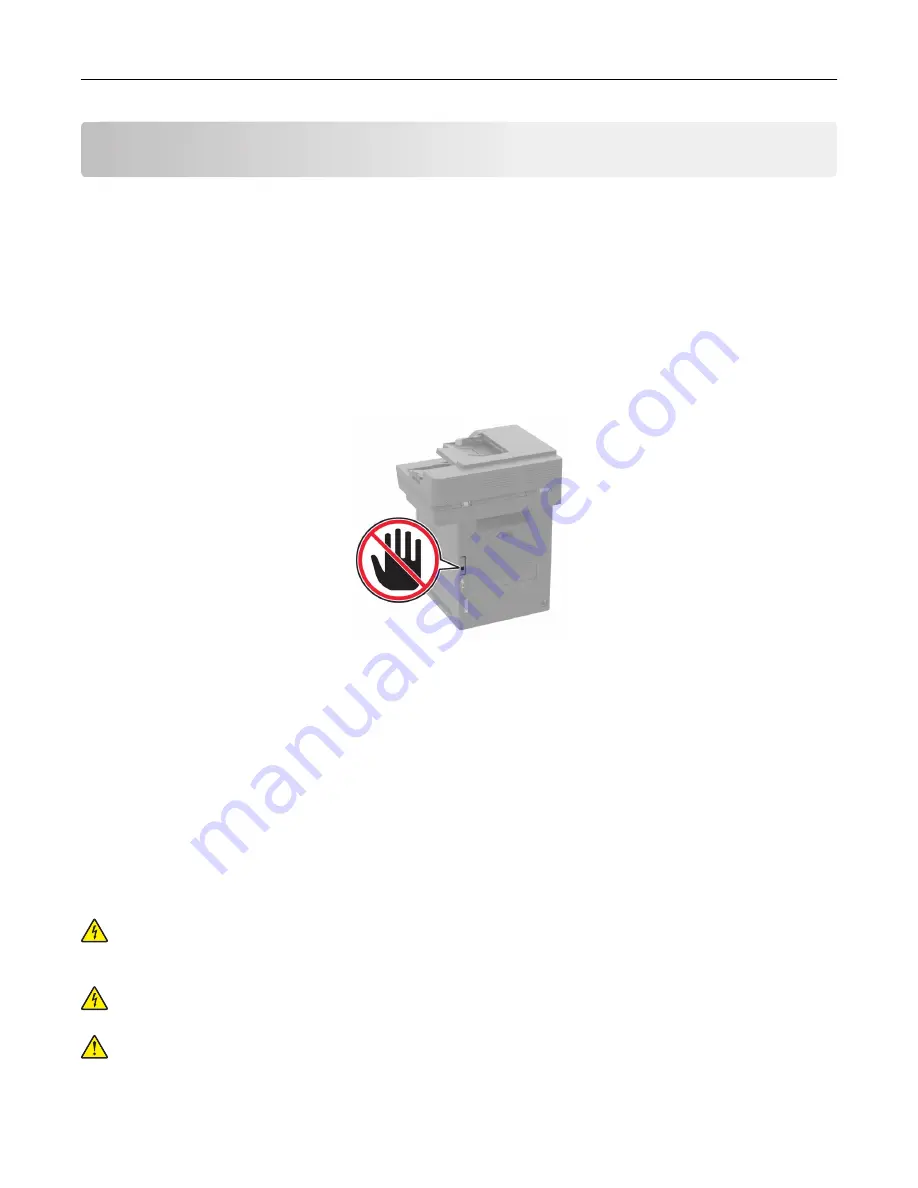
Warning—Potential Damage:
To avoid loss of data or printer malfunction, do not touch cables or the printer
in the area shown while actively sending or receiving a fax.
Setting up the fax function
1
From the home screen, touch
Settings
>
Device
>
Preferences
>
Run Initial Setup
.
2
Turn off the printer, wait for about 10 seconds, and then turn it back on.
3
From the Before You Begin screen, select
Change the Settings and Continue with the Wizard
.
4
From the Fax/Email Server Setup screen, enter the needed information.
5
Finish the setup.
Setting up fax using a standard telephone line
CAUTION—SHOCK HAZARD:
To avoid the risk of electrical shock, do not set up this product or make
any electrical or cabling connections, such as the power cord, fax feature, or telephone, during a
lightning storm.
CAUTION—SHOCK HAZARD:
To avoid the risk of electrical shock, do not use the fax feature during a
lightning storm.
CAUTION—POTENTIAL INJURY:
To reduce the risk of fire, use only a 26 AWG or larger
telecommunications (RJ-11) cord when connecting this product to the public switched telephone
network. For users in Australia, the cord must be approved by the Australian Communications and Media
Authority.
Faxing
51
Содержание XM5365
Страница 48: ...3 From the Shortcut Type menu select Copy and then configure the settings 4 Apply the changes Copying 48 ...
Страница 159: ...5 Insert the new fuser until it clicks into place 6 Lock the fuser 7 Close the door Maintaining the printer 159 ...
Страница 167: ...2 Remove the used pick roller 3 Unpack the new pick roller Maintaining the printer 167 ...
Страница 173: ...6 Insert the new ADF feed roller until it clicks into place Maintaining the printer 173 ...


