3
Unpack the tray, and then remove all packing material.
Note:
If optional trays are already installed, then unlock them from the printer before lifting the printer. Do
not try to lift the printer and trays at the same time.
4
Install the tray on the caster base.
Note:
Make sure that the caster base wheels are locked.
CAUTION—POTENTIAL INJURY:
If the tray weight is greater than 18 kg (40 lb), then it requires two
or more trained personnel to lift it safely.
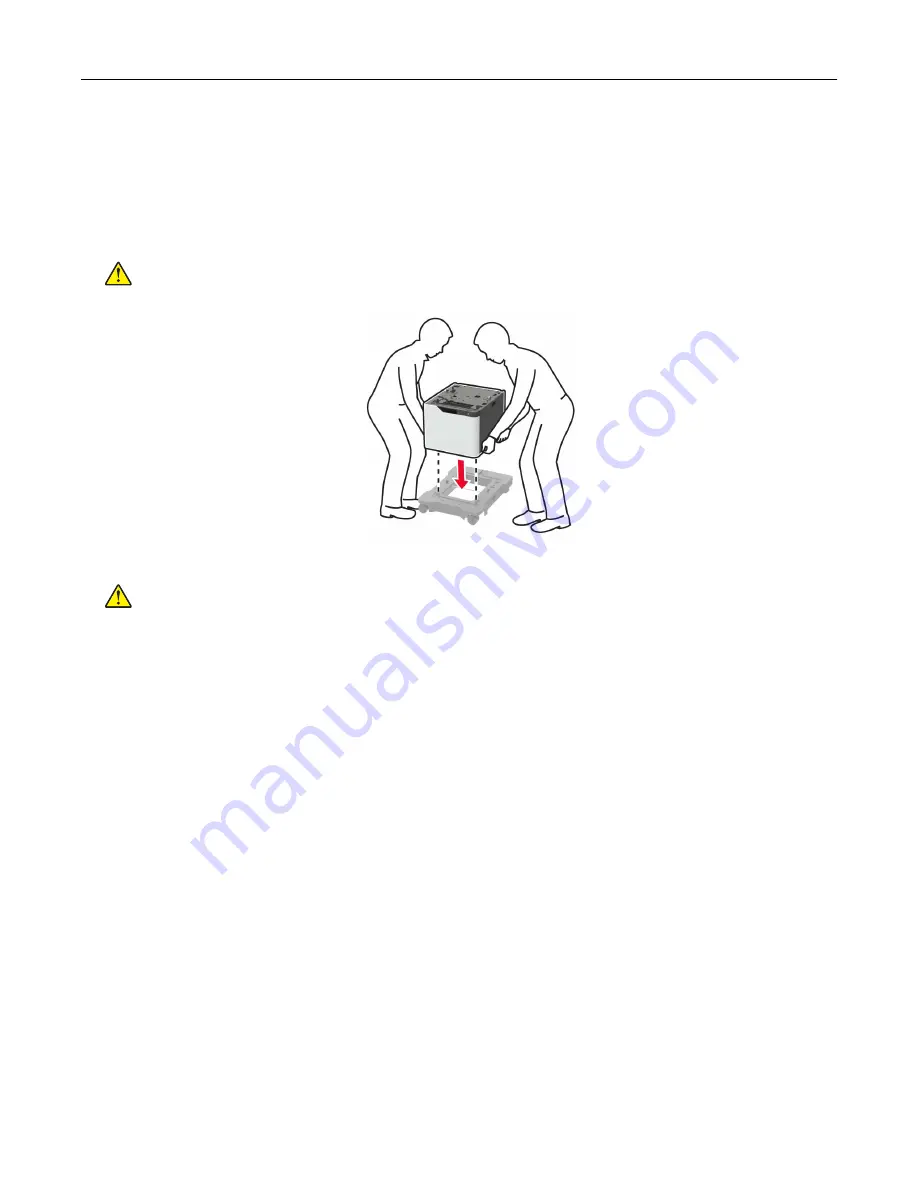
5
Align the printer with the tray, and then lower the printer until it
clicks
into place.
CAUTION—POTENTIAL INJURY:
If the printer weight is greater than 18 kg (40 lb), then it requires
two or more trained personnel to lift it safely.
Upgrading and migrating
251
Содержание XM5365
Страница 48: ...3 From the Shortcut Type menu select Copy and then configure the settings 4 Apply the changes Copying 48 ...
Страница 159: ...5 Insert the new fuser until it clicks into place 6 Lock the fuser 7 Close the door Maintaining the printer 159 ...
Страница 167: ...2 Remove the used pick roller 3 Unpack the new pick roller Maintaining the printer 167 ...
Страница 173: ...6 Insert the new ADF feed roller until it clicks into place Maintaining the printer 173 ...


