200 Paper Jam <x> Pages Jammed (Check Areas A-F, T1-5, MPF)
118
Clearing jams
L
e
xm
ar
k Co
nf
id
en
ti
al
u
n
ti
l an
no
un
ced - Re
vi
si
on:
02
/18
/05
3
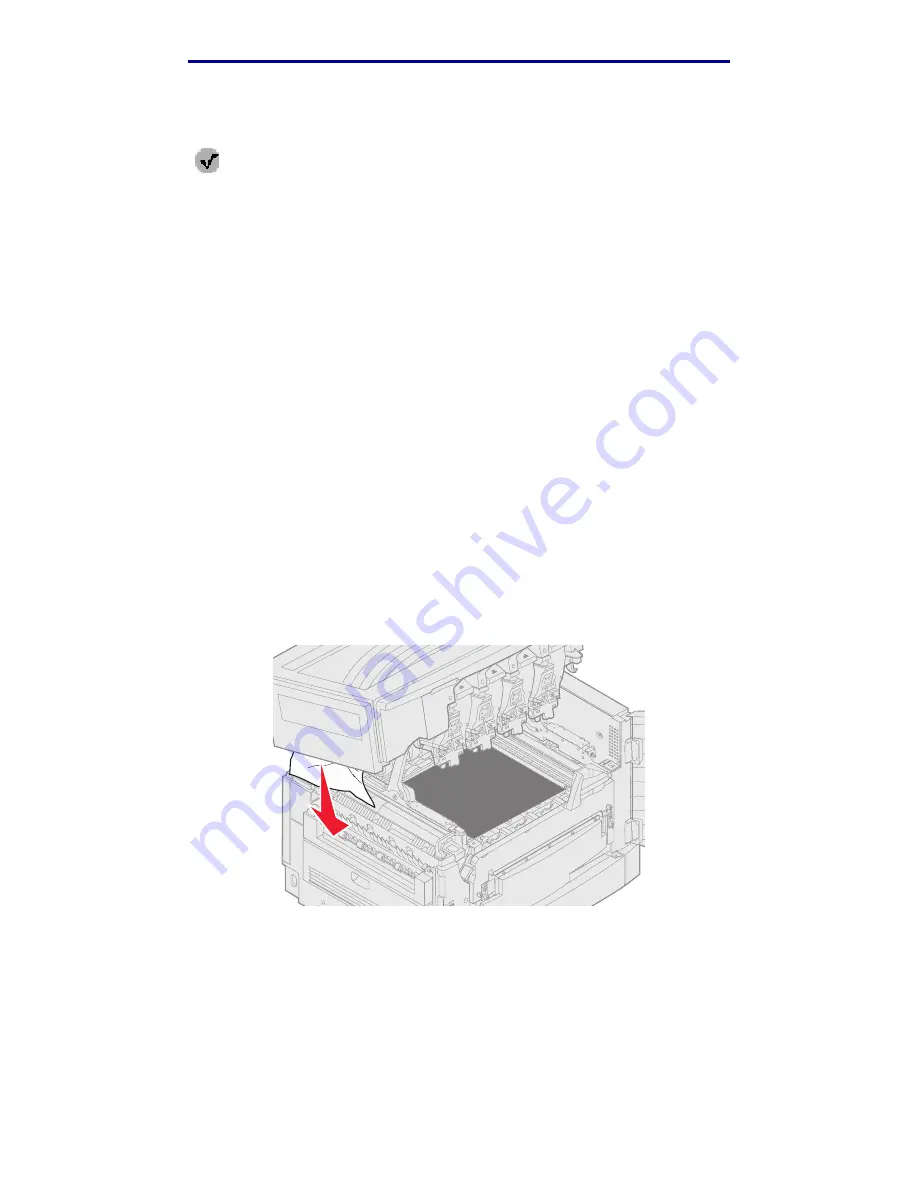
Check the fuser area and top cover for additional jams.
If there is no jam in the fuser area or top cover, close the top cover and front door, and then
press
. If a jam is present, continue with
.
Note: If you need instructions on how to close the top cover, see
4
Grasp the fuser handles, then press the fuser release buttons with your thumbs.
CAUTION:
The fuser may be hot. Let it cool before touching it.
5
Lift the fuser up and out of the printer. Set it on a clean, flat surface.
6
Open the standard tray and remove the green fuser screwdriver.
7
Loosen the 2 red screws.
8
Grasp the green tab and open the fuser access door.
9
Remove the jam.
10
Replace the fuser.
11
Replace the fuser screwdriver and close the tray.
12
Check the top cover for additional jams.
If there is no jam in the top cover, close the top cover and front door. If a jam is present,
continue with
13
Remove the jam from the top cover.
14
Close the top cover and the front door.


