9
1
Printer overview
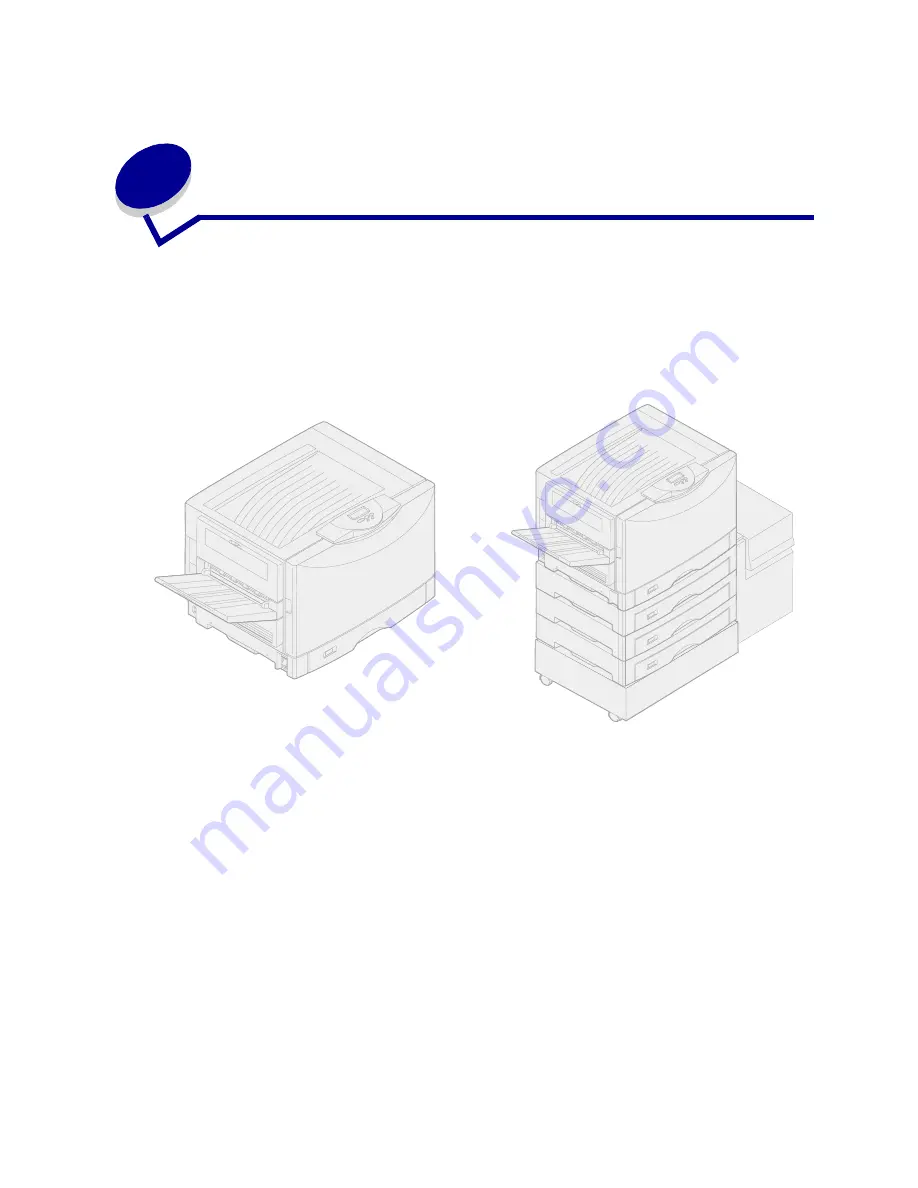
The following illustrations show a Lexmark™ C910 standard model configuration and a fully configured
network printer. If you have attached paper handling options to your printer, it may look more like the
fully configured model. For information on other possible configurations, refer to the
Setup Guide.
The Lexmark C910 is a network color printer that uses electrophotographic technology to deliver high
quality images, presentation graphics, line art, and text. Its fast output, up to 28 pages per minute
(ppm) for both four-color and monochrome print jobs-makes it the ideal solution for businesses where
performance is critical.
The printer's flexible design allows it to support a variety of printing needs. For example, if you print a
mixture of color and mono (black only) jobs, you can choose to maximize print speed or maximize
supplies yield. If you need the printer to match the color process used in a particular application, you
can select RGB or CMYK color corrections. You can also adjust the printed colors to more closely
represent the colors on your computer display.
A variety of connectivity options make the printer an excellent choice for all types of system
environments. You can attach up to two internal adapters to support network configurations requiring
Ethernet, Token-Ring, LocalTalk, serial, infrared, or additional parallel ports. You can even attach a
class 1 fax modem to the optional serial port and receive faxes directly to your printer.
Standard model configuration
Fully configured
Содержание 12N0003 - C 910 Color Laser Printer
Страница 1: ...www lexmark com User s Reference October 2001 Lexmark C910 ...
Страница 2: ......
Страница 10: ...viii ...
Страница 53: ...51 4 Close the multipurpose feeder door ...
Страница 99: ...97 5 Loosen the thumbscrews on each side of the transfer belt cover 6 Lift and remove the transfer belt cover ...
Страница 100: ...98 7 Loosen the thumbscrews on each side of the transfer belt 8 Pull the transfer belt out ...
Страница 102: ...100 3 Slide the transfer belt in until it is fully seated 4 Tighten the transfer belt thumbscrews ...
Страница 127: ...125 5 Lift the optional drawer ...
Страница 128: ...126 36 Removing the duplex unit 1 Turn the printer off 2 Open the duplex unit door ...
Страница 129: ...127 3 Loosen the thumbscrews securing the duplex unit 4 Slide the duplex unit out ...
Страница 130: ...128 5 Close the duplex unit door ...
Страница 158: ...156 3 Loosen the two screws shown 4 Pull out the duplex unit far enough to see the duplex unit inlet ...
Страница 169: ...167 3 Close the top cover 4 Press Go ...


