65
When printing on envelopes:
•
Try a sample of any envelopes before buying large quantities.
•
Use envelopes made from 90 to 105 g/m
2
(24 to 28 lb) bond paper. Do not use envelopes that:
–
Have excessive curl
–
Are stuck together
–
Are damaged
–
Contain windows, holes, perforations, cutouts, or embossing
–
Use metal clasps or string ties
–
Have postage stamps attached
–
Have any exposed adhesive when the flap is in the sealed or closed position
•
Use envelopes that can withstand temperatures of 175°C (347°F) without sealing, excessive
curling, wrinkling, or releasing hazardous emissions.
•
Adjust the left, and front paper guides to fit the envelope width.
Labels
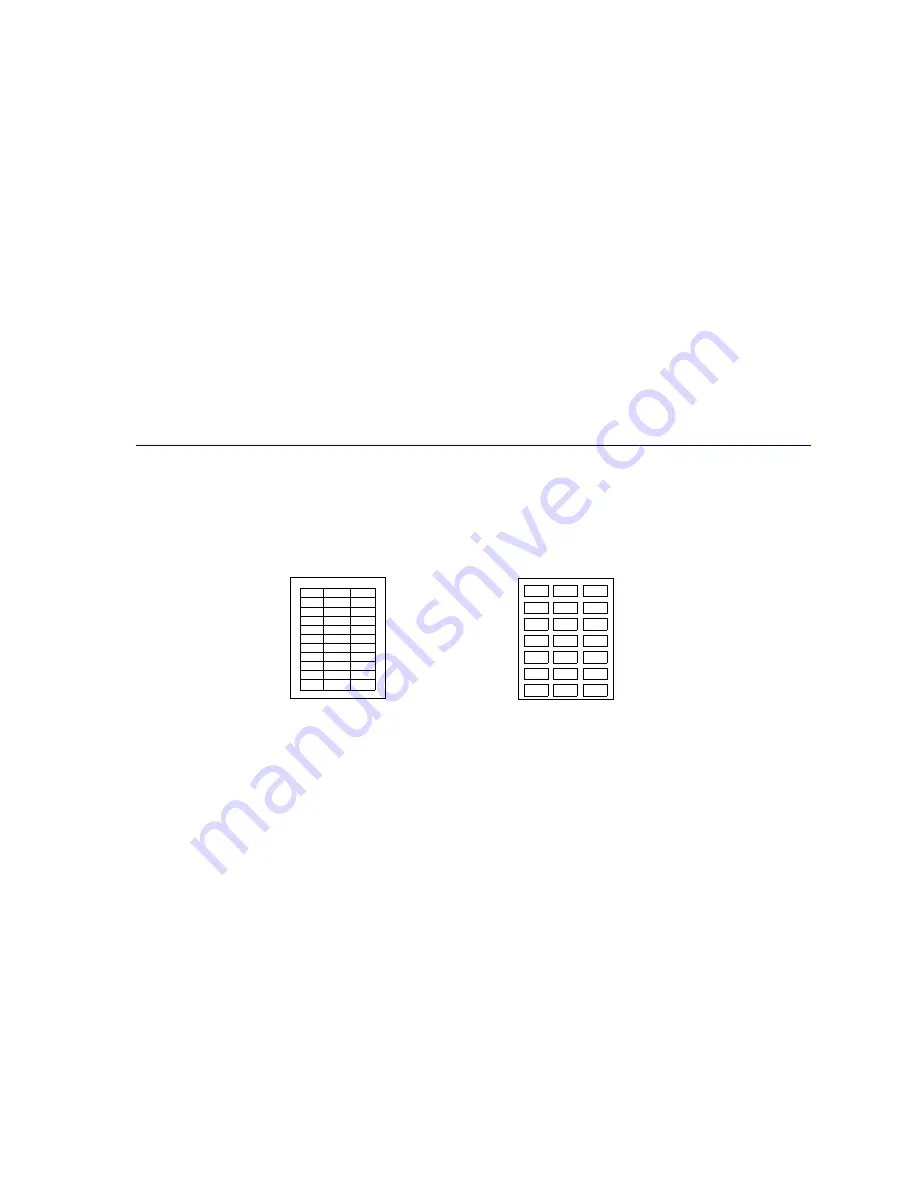
Use only labels designed for laser printers. Use only label sheets that have no gaps between the
labels, as shown. Try a sample of any labels before purchasing a large quantity.
Labels must be able to withstand temperatures of 175°C (347°F) without melting, discoloring,
offsetting, or releasing hazardous emissions. For detailed information on label printing, characteristics,
and design, refer to the Card Stock & Label Guide on the drivers CD.
Feed labels only from the multipurpose feeder. When printing on labels:
•
Use only paper labels. Do not use vinyl labels.
•
Do not print a large number of labels consecutively.
•
Do not use labels that have adhesive exposed on the sheets.
•
Do not use labels that have coating or sizing applied to make the labels liquid-resistant.
•
From the operator panel or from MarkVision, set the Paper Type to Labels.
For label loading instructions, see
Loading paper, card stock, or labels
.
Acceptable labels
Unacceptable labels
Содержание 12N0003 - C 910 Color Laser Printer
Страница 1: ...www lexmark com User s Reference October 2001 Lexmark C910 ...
Страница 2: ......
Страница 10: ...viii ...
Страница 53: ...51 4 Close the multipurpose feeder door ...
Страница 99: ...97 5 Loosen the thumbscrews on each side of the transfer belt cover 6 Lift and remove the transfer belt cover ...
Страница 100: ...98 7 Loosen the thumbscrews on each side of the transfer belt 8 Pull the transfer belt out ...
Страница 102: ...100 3 Slide the transfer belt in until it is fully seated 4 Tighten the transfer belt thumbscrews ...
Страница 127: ...125 5 Lift the optional drawer ...
Страница 128: ...126 36 Removing the duplex unit 1 Turn the printer off 2 Open the duplex unit door ...
Страница 129: ...127 3 Loosen the thumbscrews securing the duplex unit 4 Slide the duplex unit out ...
Страница 130: ...128 5 Close the duplex unit door ...
Страница 158: ...156 3 Loosen the two screws shown 4 Pull out the duplex unit far enough to see the duplex unit inlet ...
Страница 169: ...167 3 Close the top cover 4 Press Go ...


