120
3
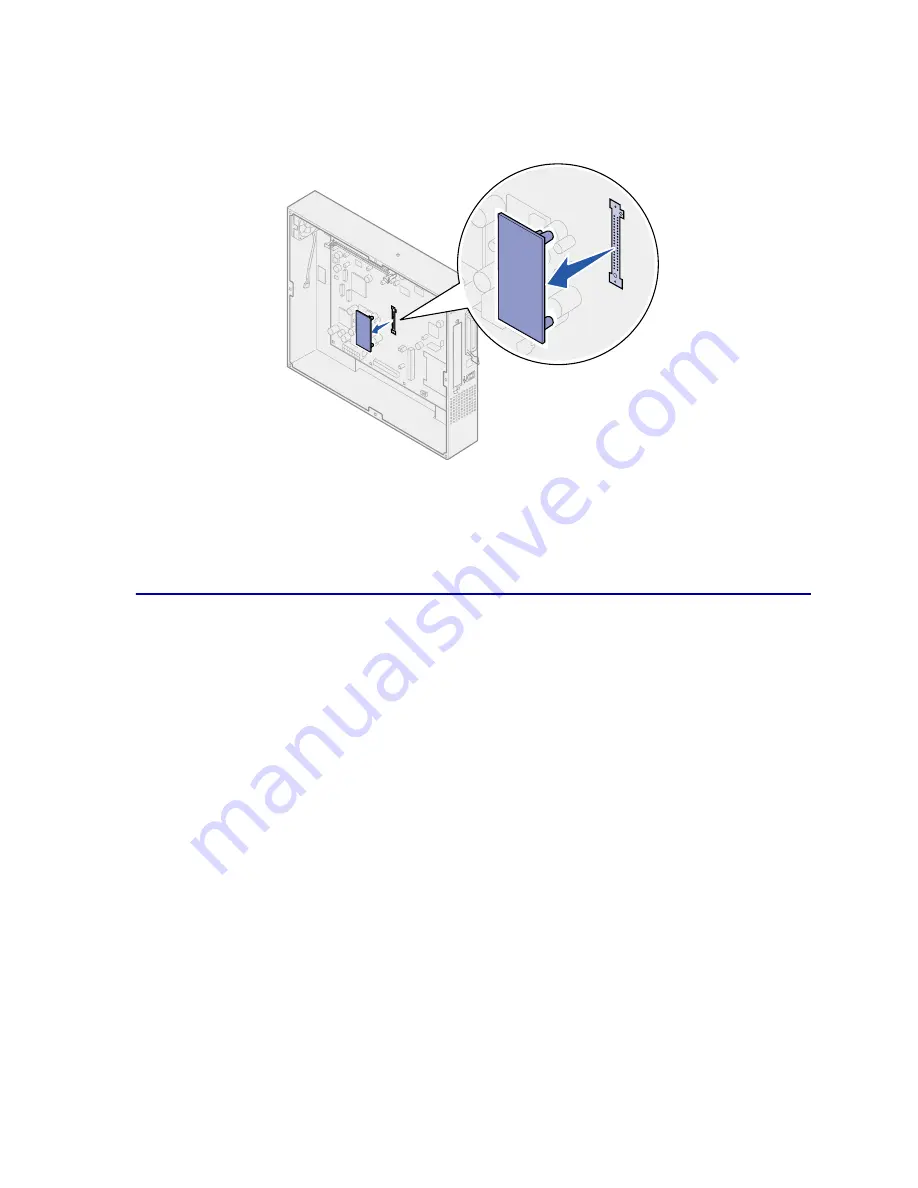
Holding the firmware card by its sides, gently pull the card completely out.
Avoid touching the metal pins on the bottom of the card.
4
Place the firmware card in its original packaging.
If you do not have the original packaging, wrap the firmware card in paper and store it in a box.
5
If you removed an option card to access the firmware card, reinstall the option card.
Removing a hard disk
1
Make sure the printer is turned off and the power cord is unplugged.
2
Complete the steps for
Removing the system board access cover
if it is still installed.
W
ARNING
:
Hard disks are easily damaged by static electricity. Touch something metal such as
the printer frame before you touch a hard disk.
If an option card has been installed, you need to remove the option card before removing the hard disk.
3
Pull the hard disk out of the holes on the system board. It is attached by three posts on the
mounting plate.
Содержание 12N0003 - C 910 Color Laser Printer
Страница 1: ...www lexmark com User s Reference October 2001 Lexmark C910 ...
Страница 2: ......
Страница 10: ...viii ...
Страница 53: ...51 4 Close the multipurpose feeder door ...
Страница 99: ...97 5 Loosen the thumbscrews on each side of the transfer belt cover 6 Lift and remove the transfer belt cover ...
Страница 100: ...98 7 Loosen the thumbscrews on each side of the transfer belt 8 Pull the transfer belt out ...
Страница 102: ...100 3 Slide the transfer belt in until it is fully seated 4 Tighten the transfer belt thumbscrews ...
Страница 127: ...125 5 Lift the optional drawer ...
Страница 128: ...126 36 Removing the duplex unit 1 Turn the printer off 2 Open the duplex unit door ...
Страница 129: ...127 3 Loosen the thumbscrews securing the duplex unit 4 Slide the duplex unit out ...
Страница 130: ...128 5 Close the duplex unit door ...
Страница 158: ...156 3 Loosen the two screws shown 4 Pull out the duplex unit far enough to see the duplex unit inlet ...
Страница 169: ...167 3 Close the top cover 4 Press Go ...


