180
Solving memory problems
If your printer encounters a memory shortage when trying to print a job, it may post an error message
(
37 Insufficient Collation Area, 37 Insufficient Defrag Memory, 38 Memory Full,
or
39 Complex Page
)
, depending on the task it is trying to complete. See
Understanding printer
messages
for more information about these and other messages.
If these messages appear frequently, you probably want to install additional printer memory. If they
only occur rarely, try reducing the following:
•
The number of pages in the job
•
The number of fonts or graphics on each page
•
The size of scalable fonts used in the document
•
The number of fonts or macros downloaded to printer memory
•
Deleting Held Jobs
You may also try adjusting the following settings:
•
Print resolution to 600 dpi
•
Page Protect On from the Setup Menu
•
Resource Save Off from the Setup Menu
Allocating memory
A portion of printer memory is reserved for input buffers that hold print jobs sent from your software
application. Your printer has an input buffer for each interface (parallel, serial, network, LocalTalk, or
infrared). You can change the amount of memory allocated to each buffer, depending on your system
requirements. For more information about using printer menus to allocate memory for each interface,
see
Using printer menus
and select the interface menu you want information about.
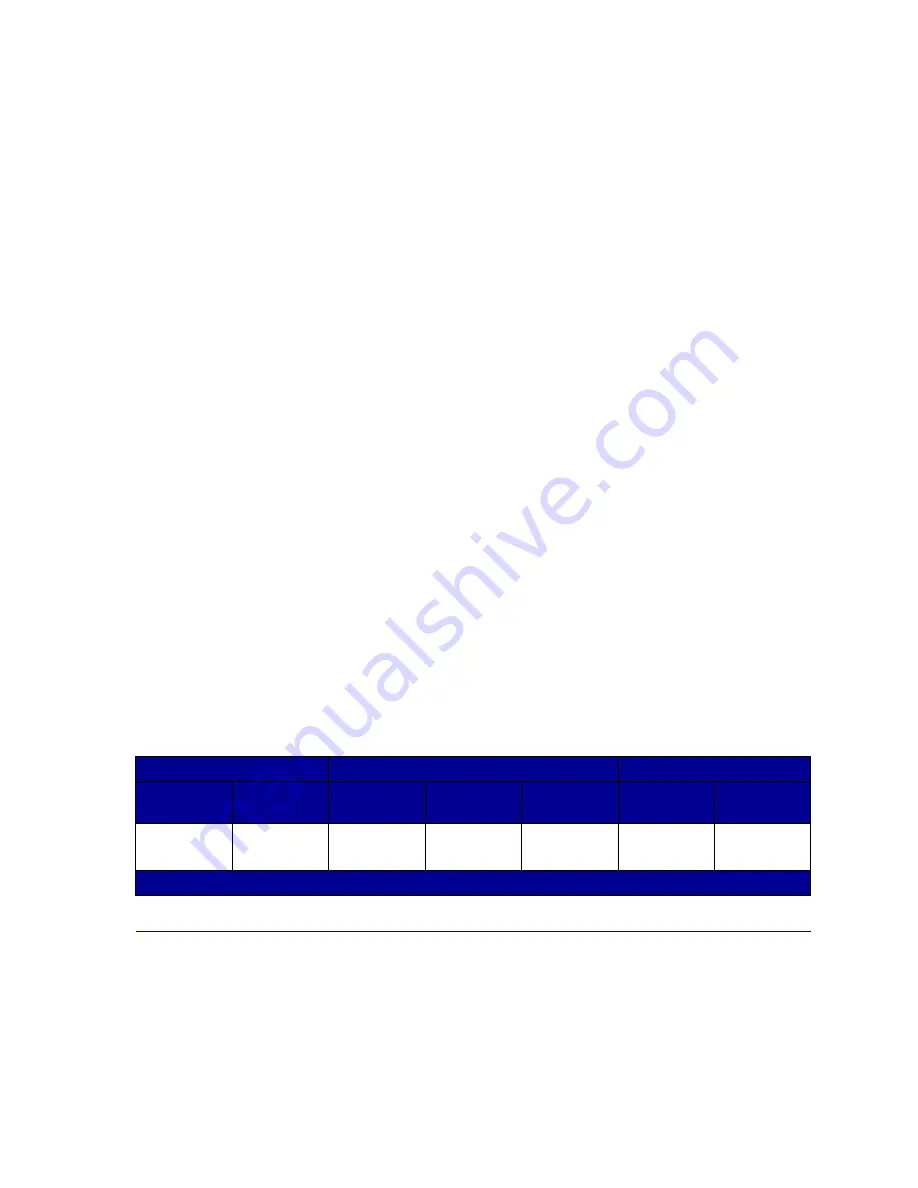
The size of the input buffers varies with the amount of memory installed in the printer. The following
table lists the default size of the input buffers for each interface. If your printer is not using a particular
interface, the allocated memory is reserved for job processing.
For more detailed information about these input buffers and memory allocation, refer to the Technical
Reference.
Flash memory
You can add optional flash memory to your printer. If you frequently download fonts, macros, forms, or
symbol sets to your printer, you may want to use flash memory storage rather than RAM. Resources
stored in flash memory are not lost when the printer power is turned off.
Default input buffer size
Installed
memory
Each parallel
port
Each serial
port
Each
network port
LocalTalk
port
Infrared port
USB port
64MB
128MB
2MB
300KB
2MB
1MB
300KB
300KB
1
1MB allocated to standard parallel port if no optional adapter is installed.
Содержание 12N0003 - C 910 Color Laser Printer
Страница 1: ...www lexmark com User s Reference October 2001 Lexmark C910 ...
Страница 2: ......
Страница 10: ...viii ...
Страница 53: ...51 4 Close the multipurpose feeder door ...
Страница 99: ...97 5 Loosen the thumbscrews on each side of the transfer belt cover 6 Lift and remove the transfer belt cover ...
Страница 100: ...98 7 Loosen the thumbscrews on each side of the transfer belt 8 Pull the transfer belt out ...
Страница 102: ...100 3 Slide the transfer belt in until it is fully seated 4 Tighten the transfer belt thumbscrews ...
Страница 127: ...125 5 Lift the optional drawer ...
Страница 128: ...126 36 Removing the duplex unit 1 Turn the printer off 2 Open the duplex unit door ...
Страница 129: ...127 3 Loosen the thumbscrews securing the duplex unit 4 Slide the duplex unit out ...
Страница 130: ...128 5 Close the duplex unit door ...
Страница 158: ...156 3 Loosen the two screws shown 4 Pull out the duplex unit far enough to see the duplex unit inlet ...
Страница 169: ...167 3 Close the top cover 4 Press Go ...


