14
Toner darkness
This setting lets you adjust the amount of toner released during printing. Your printer offers five Toner
Darkness settings. The values range from 1 (lightest setting) to 5 (darkest setting). The default toner
darkness setting is 4.
Printing text
In both PostScript and PCL emulations, 100% black text prints using black toner (K of CMYK). This
results in sharp, crisp text characters. The printer applies a unique screening algorithm to small text
(less than 24 points in size). This helps ensure that small point size text has smooth, crisp edges.
Halftone screens
The term halftone screen refers to the pattern of dots applied to an object on the page (text, graphics,
or images). If you look at a black and white photograph in a magazine, it appears to contain many
shades of gray. If you place the same picture under a magnifying glass, you see that it is actually
composed of a large number of small dots. These dots, also known as pels, may be of varying sizes or
varying tones. Without halftoning, it would not be possible to produce quality photographic images on a
page printer. This process of representing an image as a series of halftones is known as halftone
screening.
Attributes
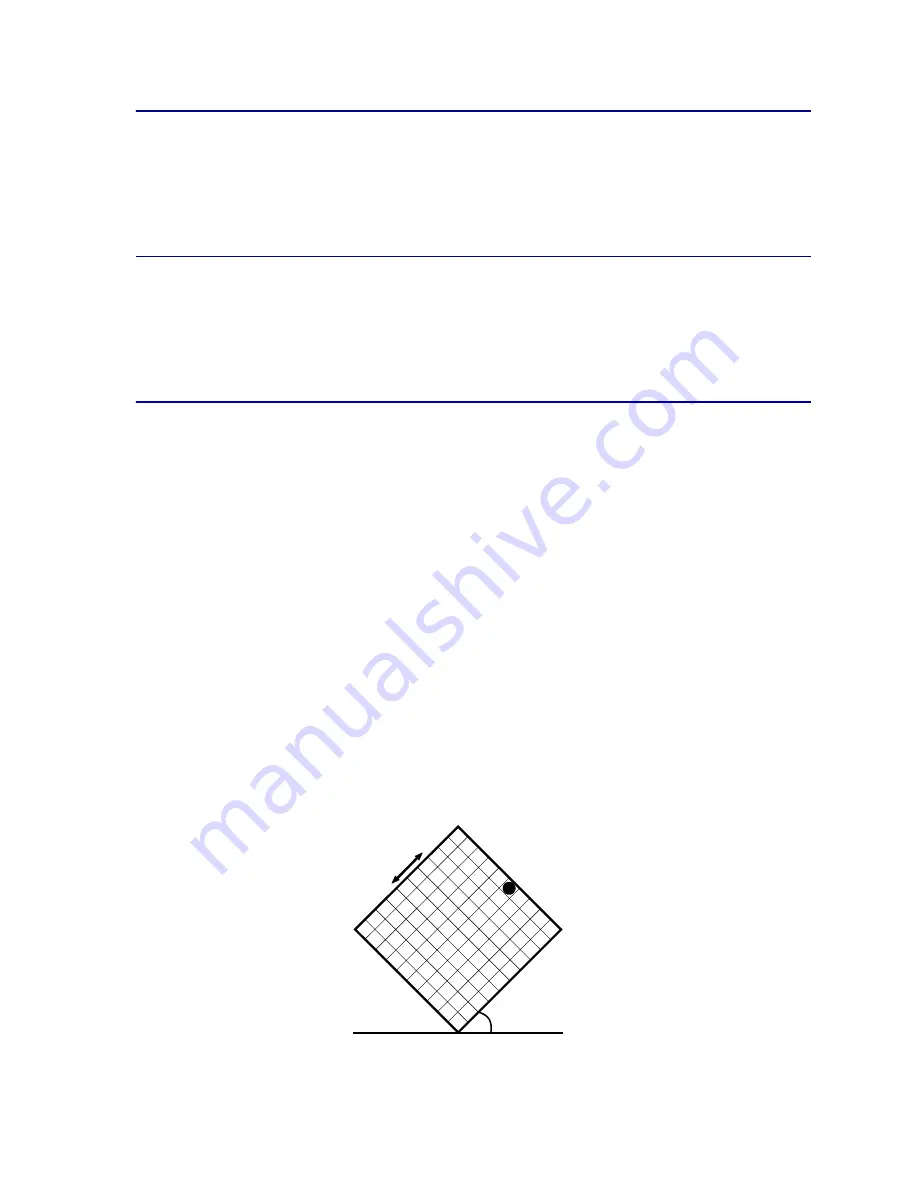
Halftone screens have three main attributes: screen frequency, screen angle, and spot function. The
halftone screen is further divided into halftone cells. These cells contain the individual pel spaces. The
screen frequency and angle attributes determine both the number of halftone cells that make up a
halftone screen and the orientation of the cell.
The spot function determines which of the individual pels in the halftone cell is turned on to represent a
particular gray level or color tone. The following illustration shows a halftone screen and halftone cells
rotated 45 degrees.
Frequency (cells
per inch)
Angle
Spot function
Содержание 12N0003 - C 910 Color Laser Printer
Страница 1: ...www lexmark com User s Reference October 2001 Lexmark C910 ...
Страница 2: ......
Страница 10: ...viii ...
Страница 53: ...51 4 Close the multipurpose feeder door ...
Страница 99: ...97 5 Loosen the thumbscrews on each side of the transfer belt cover 6 Lift and remove the transfer belt cover ...
Страница 100: ...98 7 Loosen the thumbscrews on each side of the transfer belt 8 Pull the transfer belt out ...
Страница 102: ...100 3 Slide the transfer belt in until it is fully seated 4 Tighten the transfer belt thumbscrews ...
Страница 127: ...125 5 Lift the optional drawer ...
Страница 128: ...126 36 Removing the duplex unit 1 Turn the printer off 2 Open the duplex unit door ...
Страница 129: ...127 3 Loosen the thumbscrews securing the duplex unit 4 Slide the duplex unit out ...
Страница 130: ...128 5 Close the duplex unit door ...
Страница 158: ...156 3 Loosen the two screws shown 4 Pull out the duplex unit far enough to see the duplex unit inlet ...
Страница 169: ...167 3 Close the top cover 4 Press Go ...


