170
49
Configuring printer alerts
You can configure the printer several ways to let you know when it requires attention.
Using the Setup Menu
Selecting
Auto Continue
may affect how the printer alerts execute. This setting defines how long the
printer waits after displaying a message before it resumes printing.
Using MarkVision Professional
MarkVision™ Professional, Lexmark’s network printer management utility, indicates when it is time to
replace supplies and points out actual or potential problems. When a printer needs attention, it alerts
the network administrator with a detailed graphic of the printer showing the cause for the alert (for
example, an empty paper tray). For more information about MarkVision Professional, refer to the
drivers CD that shipped with your printer.
Using MarkVision Messenger
MarkVision Messenger lets you create Actions that execute specific commands whenever messages
like
Tray <x> Missing
or
88 <color> Toner Low
appear on the display. For example, you can
create an Action that sends an e-mail to the administrator when the printer runs out of paper.
Actions can be set up to occur automatically, as well as conditionally or repeatedly. For more
information about MarkVision Messenger, refer to the drivers CD that shipped with your printer.
Menu item
Function
Value
Result
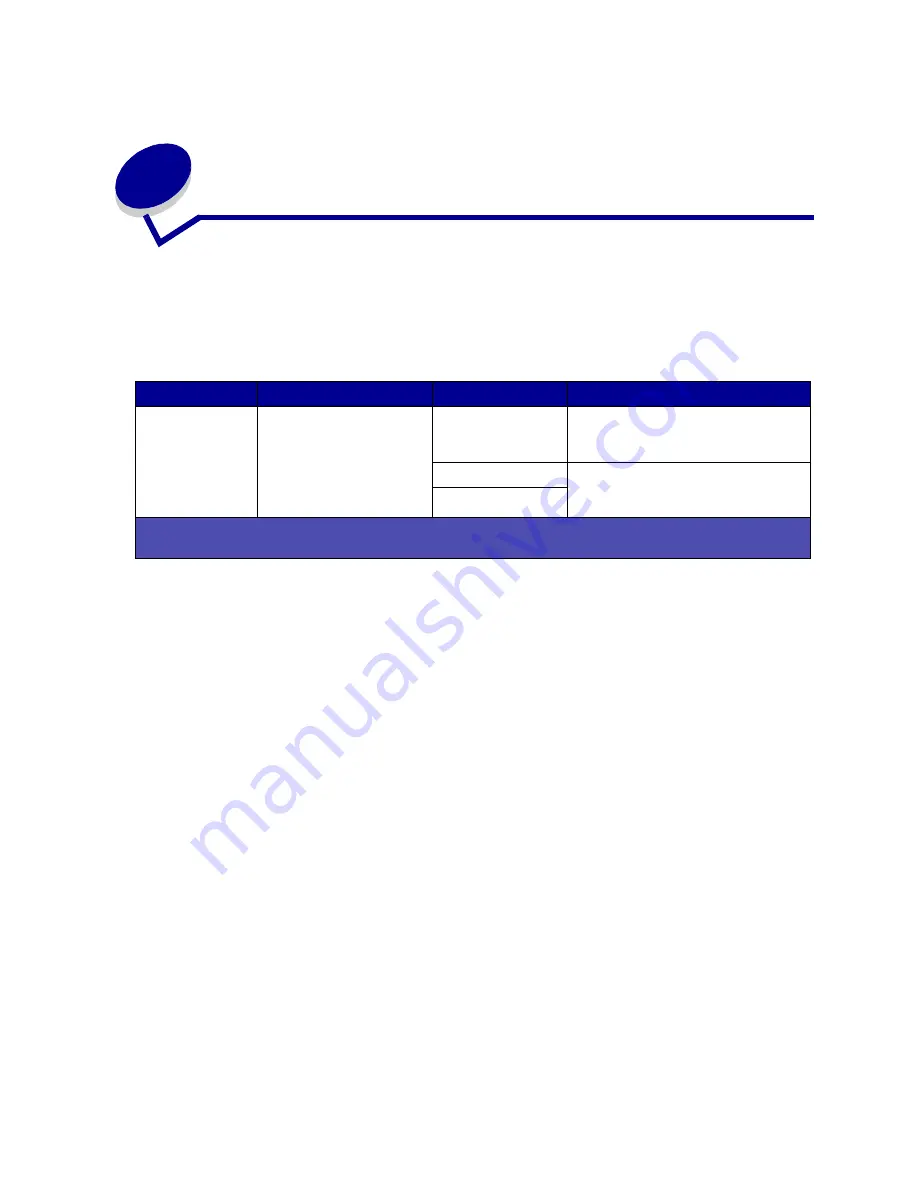
Alarm Control
Lets you establish whether
the printer sounds an alarm
when the printer requires
operator intervention.
Off
The alarm does not sound, but printing
stops until the interventions are
cleared.*
Single
The printer stops printing, displays a
message, and activates the selected
alarm type.
Continuous
*If multiple attendance conditions are pending, the alarm only sounds when the first message is displayed. No
additional alarms sound as subsequent attendance conditions arise.
Содержание 12N0003 - C 910 Color Laser Printer
Страница 1: ...www lexmark com User s Reference October 2001 Lexmark C910 ...
Страница 2: ......
Страница 10: ...viii ...
Страница 53: ...51 4 Close the multipurpose feeder door ...
Страница 99: ...97 5 Loosen the thumbscrews on each side of the transfer belt cover 6 Lift and remove the transfer belt cover ...
Страница 100: ...98 7 Loosen the thumbscrews on each side of the transfer belt 8 Pull the transfer belt out ...
Страница 102: ...100 3 Slide the transfer belt in until it is fully seated 4 Tighten the transfer belt thumbscrews ...
Страница 127: ...125 5 Lift the optional drawer ...
Страница 128: ...126 36 Removing the duplex unit 1 Turn the printer off 2 Open the duplex unit door ...
Страница 129: ...127 3 Loosen the thumbscrews securing the duplex unit 4 Slide the duplex unit out ...
Страница 130: ...128 5 Close the duplex unit door ...
Страница 158: ...156 3 Loosen the two screws shown 4 Pull out the duplex unit far enough to see the duplex unit inlet ...
Страница 169: ...167 3 Close the top cover 4 Press Go ...


