145
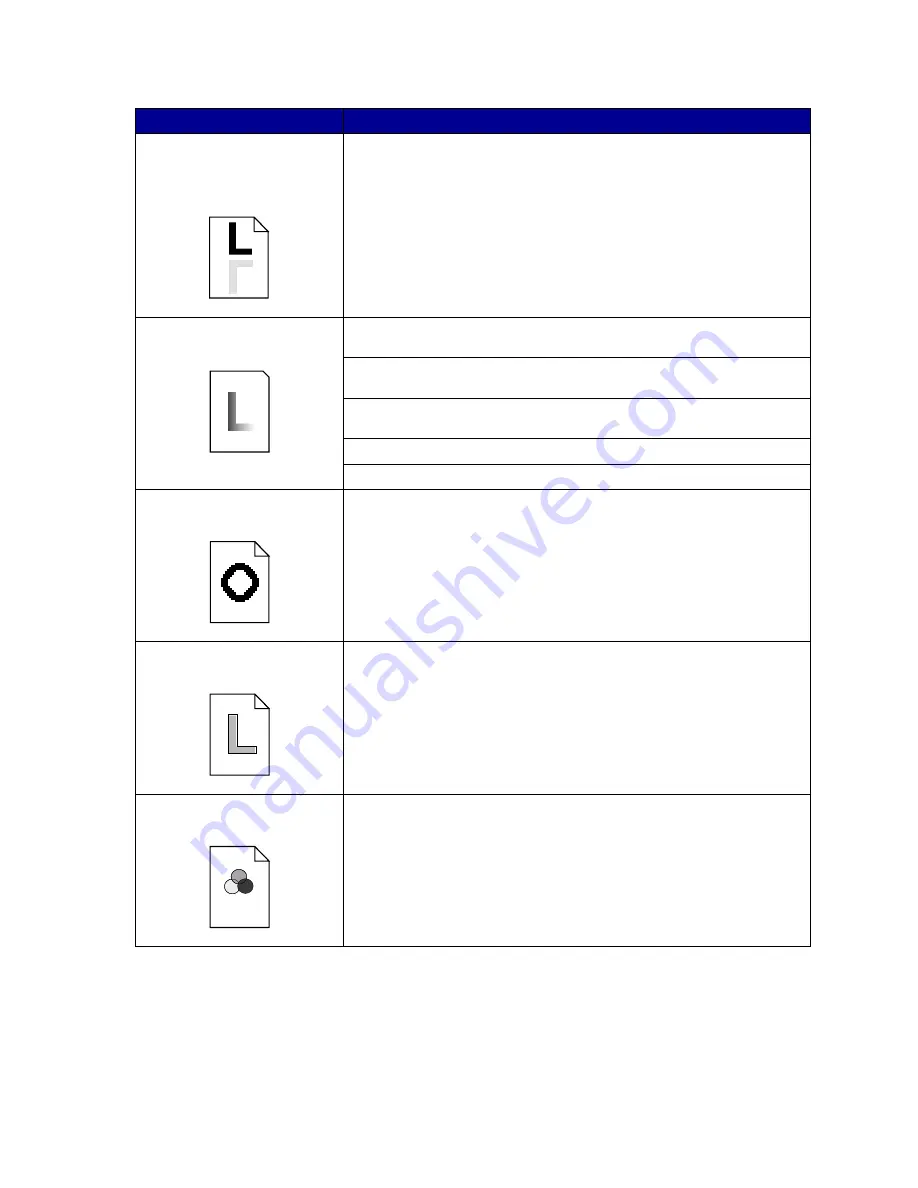
Printed materials delivered by
the postal service arrive with
ghosting or mirror images of the
text visible on the page.
When preparing printed materials for mailing:
• Use 24 lb (90 g/m
2
) paper.
• Avoid rough paper; select paper with a smoothness from 100 to 150
Sheffield points.
• Fold sheets with the text facing outward.
• Meter envelopes or use precanceled stamps.
• Place envelopes in trays and deliver to the post office; do not drop
envelopes into mailboxes.
Quality of printed transparencies
is inadequate.
Make sure you’re using recommended Lexmark transparencies. See
Transparencies
.
Make sure you’re loading transparencies properly. See
Loading
transparencies
When printing transparencies, always set the Paper Type to Transparency.
See
Paper Type
.
Set the Color Correction menu item to Vivid. See
Color Correction
.
Avoid getting fingerprints on transparencies before printing.
Quality of printed images is
inadequate.
Set
Toner Darkness
to 4 in the
Color Menu
.
A white gap is noticeable
between color fills.
Turn the printer off and back on. The printer calibrates the photodevelopers
and drive gears, which may improve registration. See
Print Alignment
for
more information.
Colors do not print as you
expect.
Make sure you have selected the appropriate Color Correction and Print
Mode values for the job you’re printing. See
Color Menu
for more
information.
Problem
Action
Содержание 12N0003 - C 910 Color Laser Printer
Страница 1: ...www lexmark com User s Reference October 2001 Lexmark C910 ...
Страница 2: ......
Страница 10: ...viii ...
Страница 53: ...51 4 Close the multipurpose feeder door ...
Страница 99: ...97 5 Loosen the thumbscrews on each side of the transfer belt cover 6 Lift and remove the transfer belt cover ...
Страница 100: ...98 7 Loosen the thumbscrews on each side of the transfer belt 8 Pull the transfer belt out ...
Страница 102: ...100 3 Slide the transfer belt in until it is fully seated 4 Tighten the transfer belt thumbscrews ...
Страница 127: ...125 5 Lift the optional drawer ...
Страница 128: ...126 36 Removing the duplex unit 1 Turn the printer off 2 Open the duplex unit door ...
Страница 129: ...127 3 Loosen the thumbscrews securing the duplex unit 4 Slide the duplex unit out ...
Страница 130: ...128 5 Close the duplex unit door ...
Страница 158: ...156 3 Loosen the two screws shown 4 Pull out the duplex unit far enough to see the duplex unit inlet ...
Страница 169: ...167 3 Close the top cover 4 Press Go ...


